Tiny house air admittance valves can vent certain fixture drains where local rules permit, but they cannot replace every open plumbing vent. Choose a listed valve for the fixture load, install it upright with airflow and replacement access, and have the complete drainage layout approved before closing walls or cabinets.
Table of Contents
What an air admittance valve actually does
An air admittance valve, or AAV, opens when draining water creates suction in the piping. It admits air to help protect the water seal in a trap, then closes. It does not pump wastewater, clear a blockage, or provide an escape route for positive pressure in the drainage system.
That distinction matters in a tiny house because a small plastic fitting can look like an easy substitute for an awkward vent route. Oatey describes this one-way operation and stresses that acceptance depends on local requirements. A compact sink location can benefit from an approved AAV without making the rest of the plumbing optional.
Quick answer by situation:
- Sink far from a conventional vent: Ask whether a listed AAV is permitted for that fixture and layout.
- New tiny house: Plan the whole drainage and vent system before assigning cabinet space.
- Slow sink: Investigate the drain and trap before purchasing a replacement valve.
- Holding tank or pumped waste: Obtain a system-specific vent design rather than adding a sink valve.
- Valve hidden behind a finished wall: Restore suitable service access and an air path.
Show the plumber where the house will connect to sewer, septic, or storage tanks. A floor plan alone does not explain what happens downstream.
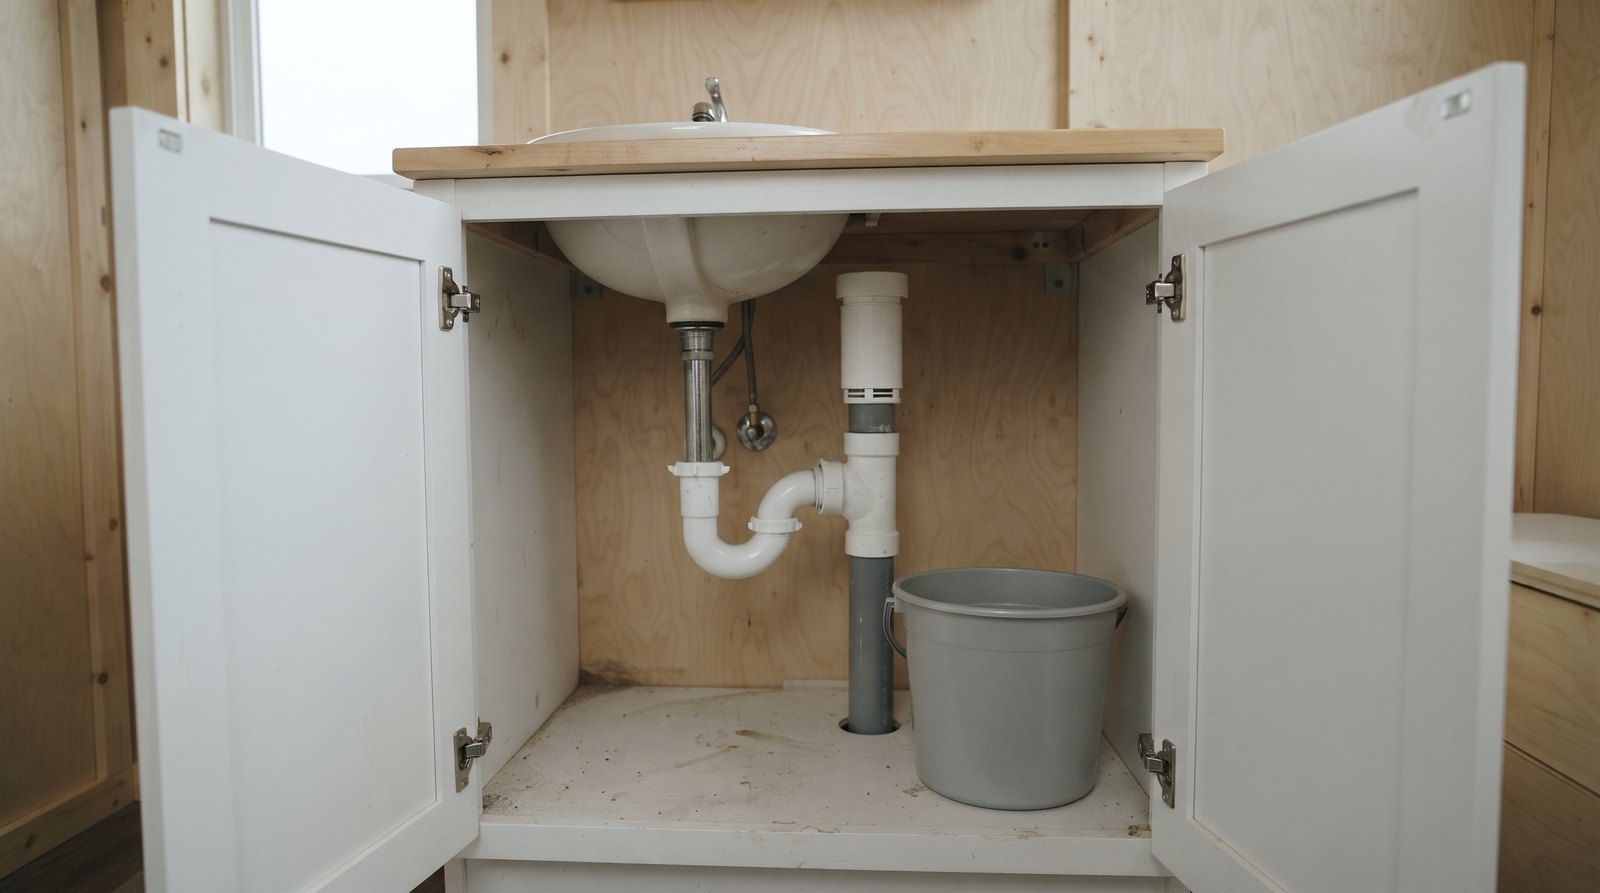
Where an AAV can go, and where it cannot
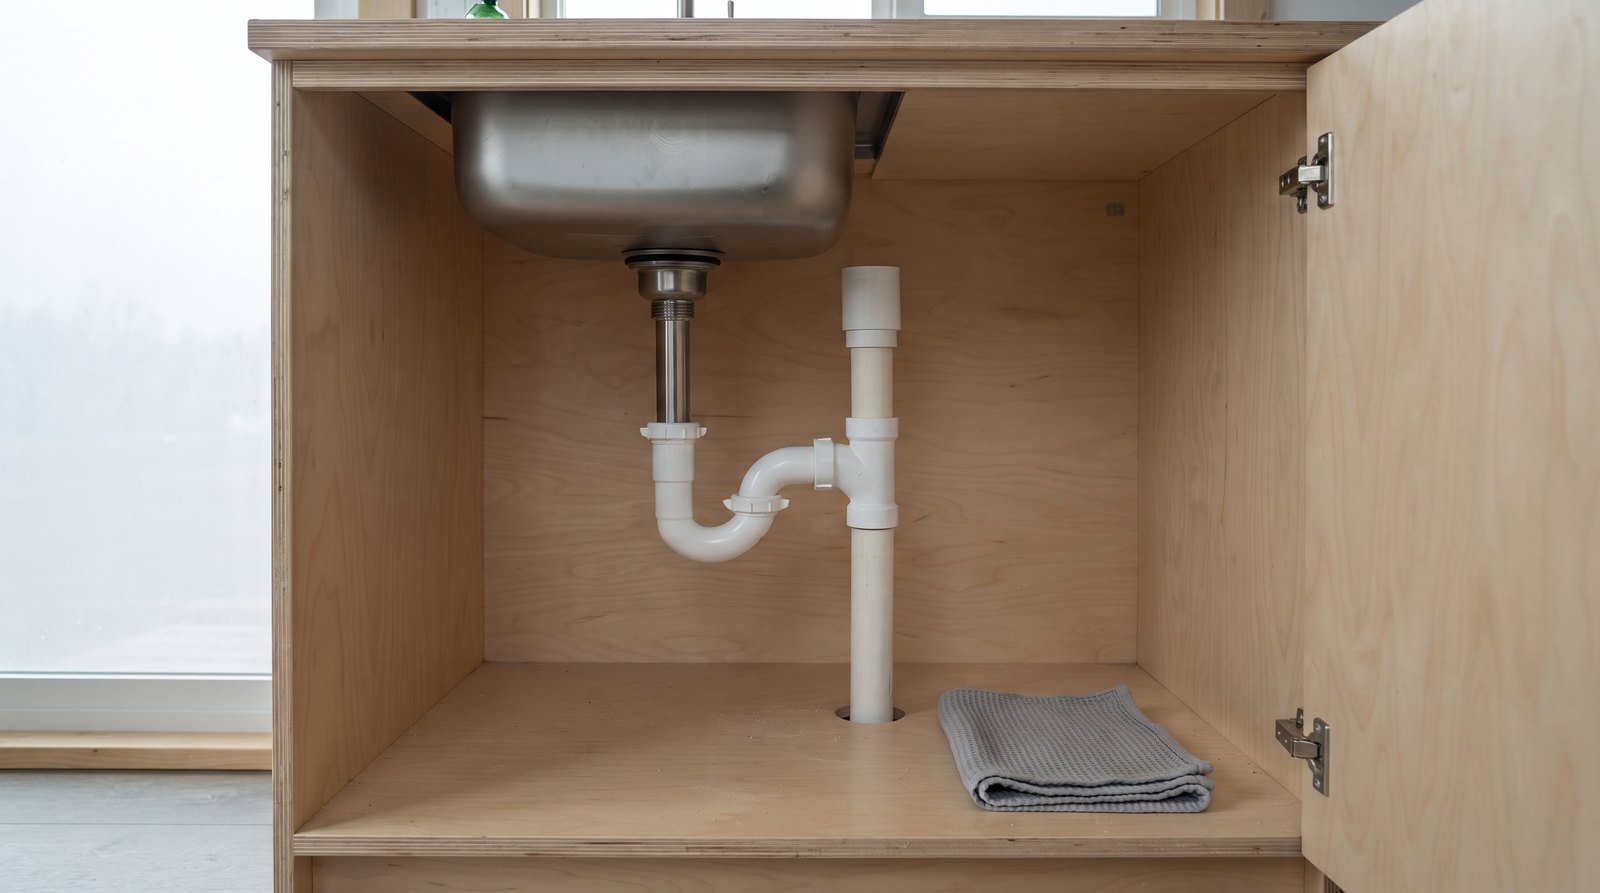
A suitable location keeps the valve above the drain it serves, within the permitted venting distance, upright, and accessible. Approval depends on the adopted plumbing code and the specific product instructions. A cabinet that has enough physical space may still be unsuitable if the vent connection or drainage arrangement is wrong.
For a common manufacturer example, Oatey specifies at least four inches above the horizontal branch drain and installation within 15 degrees of vertical. That dimension is not measured from the cabinet floor. Check the instructions for the actual valve, including clearance above insulation where applicable.
Do not transfer a branch-valve detail to a stack application. The ICC installation explanation distinguishes these arrangements and explains why an open outdoor vent remains necessary for positive-pressure relief. Its examples discuss earlier model-code editions, so use them to understand the principle and confirm the currently adopted local requirements separately.
An AAV is also not a general-purpose tank vent. A greywater tank, sewage ejector, or pumped appliance can create different pressure conditions. Give the designer the equipment manual and connection diagram. Do not cap an existing roof vent because a sink now drains quietly.
For a remodel, photograph the original routing before any demolition. Mark the proposed valve location on the cabinet drawing so the installer and cabinetmaker work from the same arrangement. Use a licensed plumber whenever local rules require one.
How to choose the right valve and connection
Select an AAV by its listing, permitted application, drainage fixture unit rating, connection size, and installation conditions. Floor area is not a sizing method. A tiny bathroom can still contain several fixtures, and a valve that fits a pipe mechanically may have the wrong rating for the job.
Drainage fixture units, abbreviated DFUs, describe fixture loading for plumbing design. Ask the plumber to identify every fixture served by the proposed valve and calculate the applicable load. Keep that calculation with the installation record, especially if a washing machine or additional sink may be added later.
The Studor Mini-Vent product information, for example, lists different capacities for branch and stack use. This shows why a large number printed on a product page is insufficient by itself. Confirm the rating that applies to the actual location and configuration.
Match the adapter and joining method to the pipe material. Do not assume two plastic parts can be solvent-welded together because both are white or both fit inside the cabinet. Keep the package, model number, and instructions until the inspection and final checks are complete.
When comparing products, check whether the advertised package includes the required adapter. Also check the available clearance for removing the assembled valve. A slightly shorter unit can solve a space problem only if its listing and instructions still suit the installation.
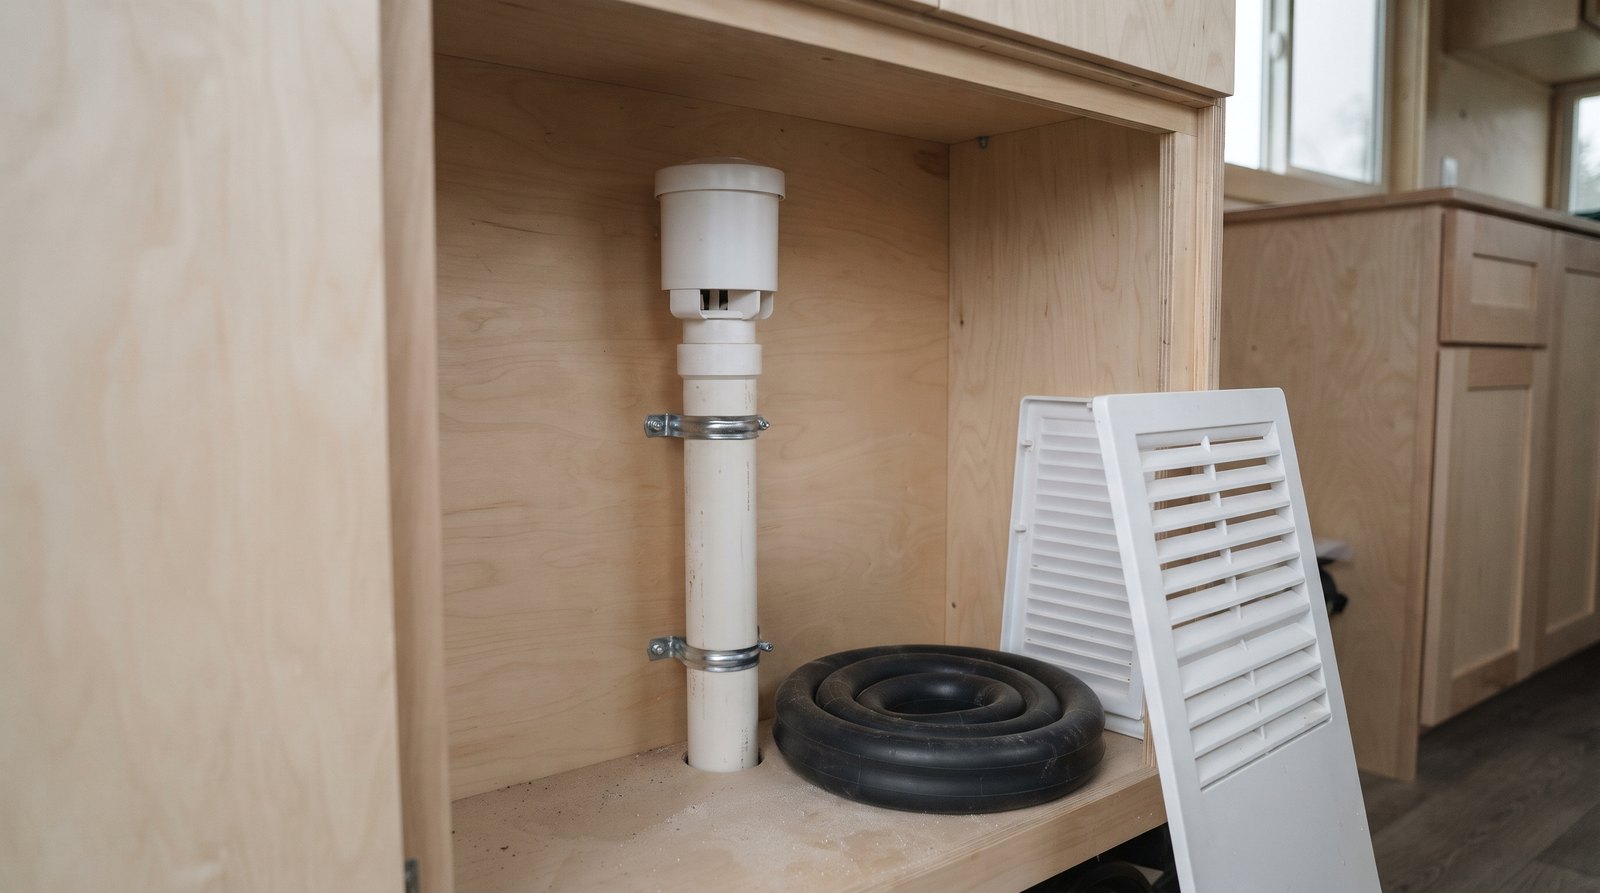
Leave room for air, inspection, and replacement
Good access means a person can see the valve, reach its connection, and remove it without cutting finished construction. The valve also needs an unobstructed air supply. Design the compartment around those needs before adding drawers, bins, insulation, or a decorative cover that turns usable space into a sealed box.
Under a vanity, reserve the valve area instead of treating every empty inch as storage. A tall cleaning bottle, stacked towels, or a pullout waste bin can interfere with the intended air path or strike the fitting. Check the cabinet with its normal contents in place.
A wall installation needs an appropriate access arrangement. A removable panel solves the reach problem only if the enclosure also provides adequate airflow. Ask the installer to demonstrate removal of the valve before the trim is finished. That demonstration is more useful than a promise that access will be possible later.
Record a clear photo of the installed valve and its model label for the maintenance folder. Include a wider photo showing how to reach it. For a broader view of repair access and moisture control, see our guide to how long tiny houses last.
Diagnose odors and gurgling before replacing parts
Odor, gurgling, and slow drainage are clues rather than a diagnosis. Check when the symptom occurs, which fixtures are affected, and whether anything changed recently. A failed AAV is one possibility, but a blocked drain, dry trap, leaking connection, or other venting problem can require a different repair.
Start with observations that do not involve dismantling the system. Note whether the smell appears after a long absence, after a large discharge, or only after towing. Look for moisture at accessible joints and confirm that the compartment has not been packed with storage. Give those details to the plumber.
Oatey warns that a partial drain blockage can produce positive pressure, keeping the valve closed. Replacing it does not remove that obstruction. A smell near the valve can justify checking its seal, but the whole surrounding installation deserves inspection.
If several fixtures misbehave together, say so when booking service. That pattern is different from one sink developing a problem after its trap was replaced. Also disclose recent cabinet work, insulation changes, or a new appliance connection. Small changes can hide the useful explanation.
Do not leave the valve removed as a permanent experiment, tape its openings shut, or conceal a recurring odor with fragrance. If a replacement is needed, match the approved specification and correct any access or support problems during the same visit. Keep the old model details for comparison.
Cold weather and travel need separate planning
A valve temperature rating does not make the surrounding plumbing freeze-proof, and a parked installation does not automatically suit road travel. Keep the drainage system within its intended operating conditions, maintain the required air path, and inspect accessible components after moving the house or reopening it after winter storage.
The Studor Mini-Vent instructions state a temperature range of minus 40 to 150 degrees Fahrenheit for that product. This is a component specification, not a guarantee that water in nearby traps or pipes cannot freeze. Follow the house and equipment winterizing procedures.
Avoid wrapping the valve in insulation that blocks its inlet. If the compartment sits outside the conditioned envelope, have the plumber and builder resolve the installation detail together. Moving a pipe into an inconvenient corner can exchange one problem for another.
For a house on wheels, keep stored objects from hitting the riser and confirm that the piping has suitable support. Oatey notes that vehicle motion and drainage-system configuration can affect valve operation. After parking and leveling, check accessible joints and observe the fixtures during normal use.
Add that inspection to the arrival checklist alongside utility hookups. Our guide to moving a tiny house covers the wider planning considerations.
Budget for the installation, not just the valve
The valve itself can be a modest purchase, while access work and drainage corrections determine much of the installed cost. Get an itemized local quote that separates the replacement part, fittings, labor, inspection, and finish repair. A visible threaded replacement and a concealed plumbing redesign are different jobs.
For a limited price reference, a retail listing for an Oatey Sure-Vent with PVC adapter showed $20.41 when checked for this November 2026 guide. That is a product-price snapshot, not an installed estimate or a recommendation that this model fits your house. Seller, location, shipping, and availability can change it.
Ask whether the service quote includes diagnosis. Otherwise, a low replacement price may leave you paying for another visit when the real issue is downstream. Specify whether cabinet contents must be removed and whether the installer will need access beneath the house.
For new construction, request two complete options when practical: an approved AAV arrangement and conventional vent routing. Compare the finished work, maintenance access, and inspection requirements. The cheapest loose fitting does not establish which option costs less over the life of the installation.
What to check before accepting the finished work
Accept the installation only after the approved layout, product instructions, service access, and required testing have been addressed. Ask the installer to show the valve location and explain its purpose. Save the inspection record and product information so a future owner or repair technician can identify the system correctly.
Use a short handover checklist:
- Record the valve manufacturer, model, and installation date.
- Identify the fixtures it serves and the system’s required open vent route.
- Demonstrate access with cabinet doors, drawers, and removable panels installed.
- Check that normal stored items cannot strike or cover the valve.
- Observe drainage and inspect accessible joints during the installer’s final checks.
- Confirm what maintenance and post-travel observations the builder recommends.
Do not substitute running a faucet for the prescribed plumbing tests or inspection. The Studor instructions specify installation after rough-in and pressure testing. Let the installer follow the actual testing sequence required for your product and jurisdiction.
Before final payment for a larger remodel, reconcile the finished arrangement with the approved drawing. Any revised route should be documented. That record is particularly valuable in a tiny house, where later furniture or storage changes can hide the original service space.
Frequently asked questions
The useful answers depend on the complete plumbing layout, the valve model, and local acceptance. These common questions can help you discuss the job with a plumber, but they do not replace the installation instructions or the inspector’s decision about the particular tiny house and site.
Can an AAV replace every roof vent in a tiny house?
No. An AAV admits air under negative pressure and cannot provide positive-pressure relief. Conventional building drainage arrangements still require an open outdoor vent under the applicable rules. Have the entire vent design checked before removing or capping any existing pipe, even when every sink appears to drain normally.
How high should a tiny house AAV be installed?
Use the applicable code and the specific manufacturer’s instructions. A common individual or branch-valve requirement is at least four inches above the horizontal branch or fixture drain being vented. Stack applications and insulation clearances have different considerations. Measure from the specified plumbing reference, not from the cabinet floor.
Can I hide an air admittance valve inside a wall?
Only with an approved arrangement that preserves access and adequate airflow. Do not permanently bury it behind drywall, tile, or insulation. Plan a suitable service opening and enough room to remove the valve. Confirm that the finished cover, stored items, and surrounding construction will not obstruct its air supply.
Will replacing the AAV fix a slow sink?
Not necessarily. A partially blocked drain, incorrect trap arrangement, or another system problem may cause the symptom. Note whether one fixture or several are affected and have the cause diagnosed. Replacing a valve without checking the drain can leave the original restriction and the slow drainage unchanged.
Can a sink AAV vent a tiny house holding tank?
Do not assume it can. Tanks and pumped waste systems need venting designed for their operating pressures and equipment. An ordinary sink AAV cannot release positive pressure. Obtain the tank or pump manufacturer’s requirements and an approved system design before changing a vent or adding a valve.