A workable tiny house kitchen needs at least one uninterrupted prep zone, a sink large enough for your biggest pan, a cooktop matched to your electrical or propane system, and storage placed where you use it. Prioritize workflow and ventilation before decorative finishes. A simple one-wall or L-shaped plan usually performs best.
Table of Contents
Start With the Work You Actually Do
The right tiny house kitchen design starts with your normal meals, not a catalog photograph. Someone who reheats prepared food needs a different layout from someone who bakes bread, cooks with a wok, or prepares meals for two every night. List your five most common cooking jobs, then give each job a place.
Measure the pans, cutting boards, small appliances, groceries, and dishes you already own. This turns vague wishes into dimensions. If your largest skillet is 12 inches across, the sink and drying area must accommodate it. If a coffee maker lives on the counter every day, count that footprint before calling the remaining surface prep space.
A small kitchen needs a landing area beside the refrigerator, a genuine prep area between the sink and cooktop, and a safe landing spot beside the cooktop. You may not achieve the broad counters of a conventional house, but avoid forcing hot pans across the aisle or balancing groceries on the sink.
For many owners, 36 to 48 inches of uninterrupted prep counter is a useful target. It is not a code minimum, and some cooks manage with less, but it gives one person room for a cutting board, ingredients, and a mixing bowl. A fitted sink cover can add temporary surface, although it should not replace all permanent counter space.
Quick answer by situation:
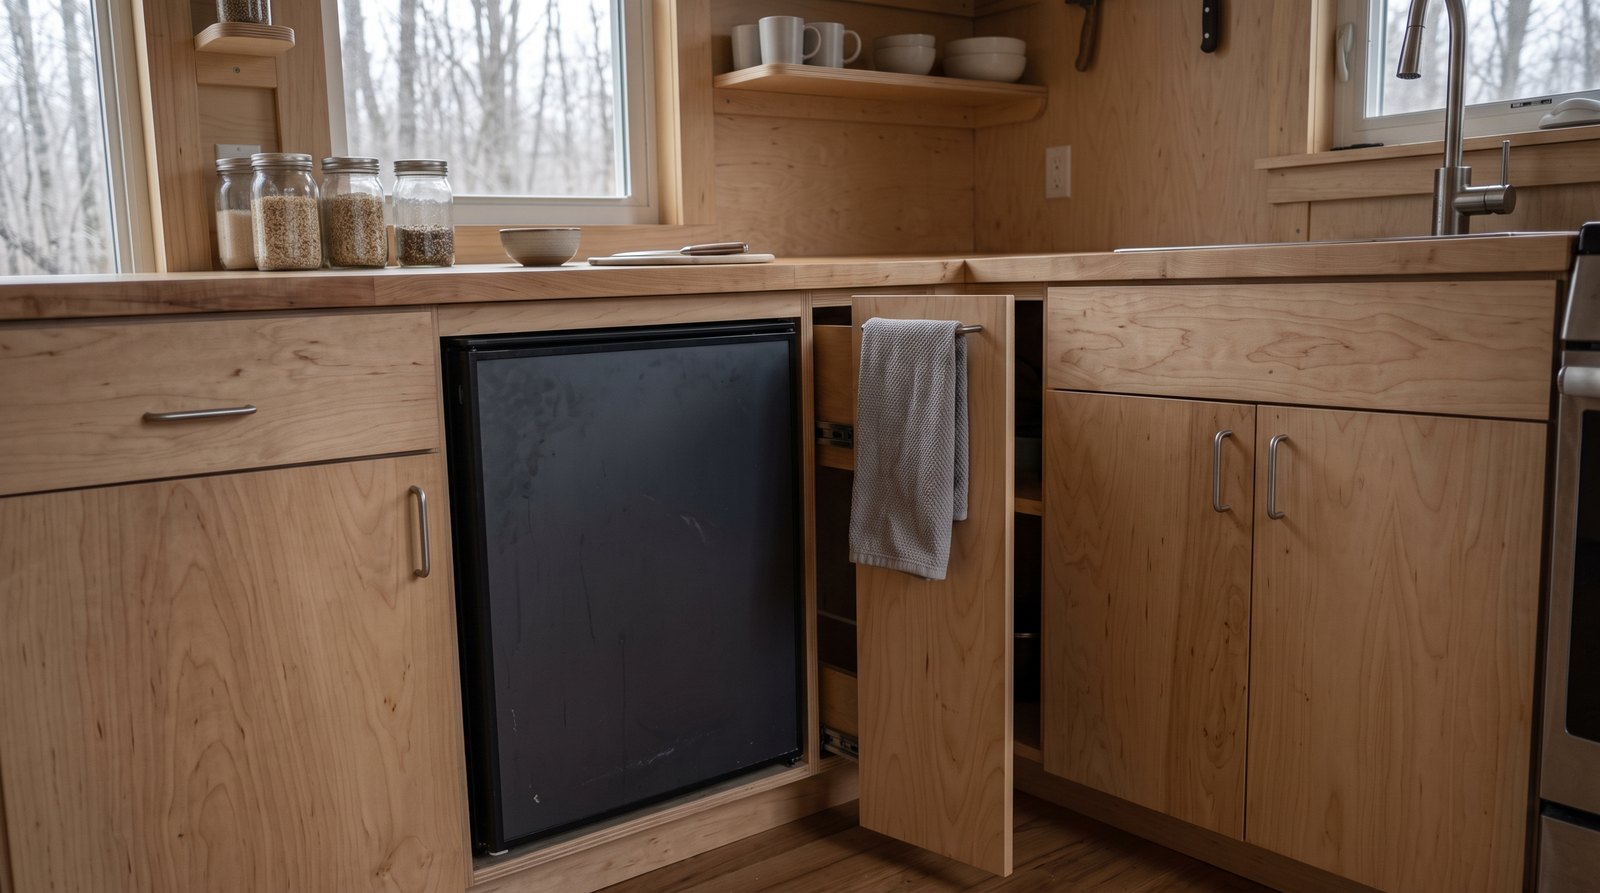
- One person cooking simple meals: a straight one-wall kitchen with a two-burner cooktop and under-counter refrigerator can work well.
- Two people cooking together: use an L-shaped plan or create two separate work zones so one person is not trapped at the sink.
- Frequent baking: protect a wide counter section and include a real oven before adding decorative shelves.
- Off-grid living: size cooking equipment around the battery, inverter, solar production, and fuel storage, not marketing claims.
- A house that moves: use positive latches, restrained shelves, and appliances approved for the installation conditions.
Choose a Layout That Protects the Main Workflow
A one-wall kitchen is usually the most space-efficient choice, while an L-shaped kitchen provides more counter and separates jobs better. Galley layouts can be excellent in a wider house, but the aisle must remain comfortable when doors and drawers open. Test the plan at full scale with tape before ordering cabinets.
The classic work triangle is less important than a simple sequence: take food from storage, wash it, prepare it, cook it, and serve it. Place the refrigerator near the kitchen entrance, not at the far end where someone retrieving a drink interrupts the cook. Keep the primary prep area between the sink and cooking surface when possible.
Door swings matter disproportionately in a tiny home. A refrigerator door that opens toward a wall may block drawers or make the lower shelves difficult to reach. A dishwasher door can close the entire aisle. Cabinet pulls, trash bins, and oven doors can collide even when the plan looks generous on a screen.
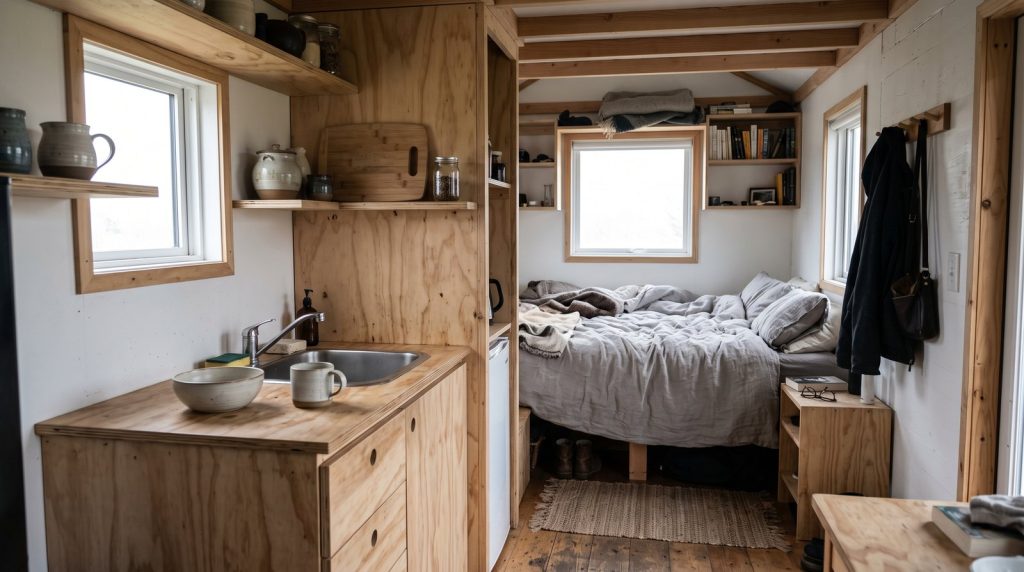
If two people will live in the house, create two zones even if only one person cooks. A beverage and breakfast station away from the main prep counter lets one resident make coffee without crossing the cook’s path. This same principle improves the best tiny house layouts for two people because it reduces daily friction.
Two Burners or Four Burners?
Two burners are enough for most tiny house kitchens, especially when you also have a microwave, toaster oven, pressure cooker, or outdoor grill. Four burners make sense for serious cooks with adequate counter width, ventilation, and power or gas capacity. Do not buy burner count at the expense of the only useful prep surface.
Track how many burners you use simultaneously for two weeks. Many households discover that the answer is usually one or two. A compact two-zone induction unit may leave an extra foot of counter compared with a conventional range. A portable unit can also be stored, but cords, ventilation, and a heat-safe surface still require planning.
A full range earns its space when you roast or bake often and want one familiar appliance. Check the manufacturer’s clearances, circuit requirements, venting instructions, and whether the appliance is suitable for a mobile installation. A tiny house on wheels experiences vibration and movement that a stationary kitchen does not.
Induction Versus Propane
Induction is clean, fast, and avoids combustion inside a very small room, but it requires compatible cookware and enough electrical capacity. Propane remains useful for limited electrical systems and offers familiar flame control, but it adds fuel storage, combustion moisture, and installation requirements. Your utility plan should decide, not a trend.
Induction transfers heat directly into magnetic cookware, so the surrounding surface stays cooler than a traditional electric element. Verify pans with a magnet before assuming they will work. Portable 120-volt units are convenient but usually have a shared power limit, so running both zones at maximum output may not be possible.
A built-in induction cooktop may require a dedicated 240-volt circuit. Exact voltage, amperage, conductor size, and overcurrent protection come from the product instructions and applicable electrical code. Coordinate those requirements with the water heater, mini split, refrigerator, and other loads. Off-grid owners should also consider inverter surge capacity and cooking duration, not only rated watts.
Propane can reduce electrical demand, but combustion must be treated seriously. Use equipment listed for the intended setting, follow required clearances, install the fuel system correctly, and provide the alarms and ventilation required by local rules and manufacturer instructions. Never use an outdoor camp stove as a permanent indoor cooktop.
If electricity is your main constraint, review the complete energy budget described in our tiny house solar sizing guide. Cooking for 20 minutes and heating water for a shower can affect the system differently from a refrigerator that cycles all day.
Pick a Sink for Pans, Not Floor Plans
A deep single-basin sink is usually the most practical tiny house choice because it accepts skillets, sheet pans, and stockpots without a divider getting in the way. Choose the basin after measuring your largest cookware. Protect enough counter beside it for food preparation and drying rather than installing the widest sink that fits.
A basin about 8 to 10 inches deep contains splashes, but a very deep sink can be uncomfortable for shorter users and consume cabinet space. Check the total depth including the drain assembly. The trap, water lines, filter, pump equipment, and disposal, if any, all compete with trash and cleaning supplies below.
A pull-down faucet helps wash large cookware, but tall fixtures can splash in a small basin or conflict with a window. Test the faucet reach so water hits near the drain. If the house travels, secure the spray head and any loose accessories. Keep plumbing accessible through a removable panel instead of burying fittings behind permanent cabinetry.
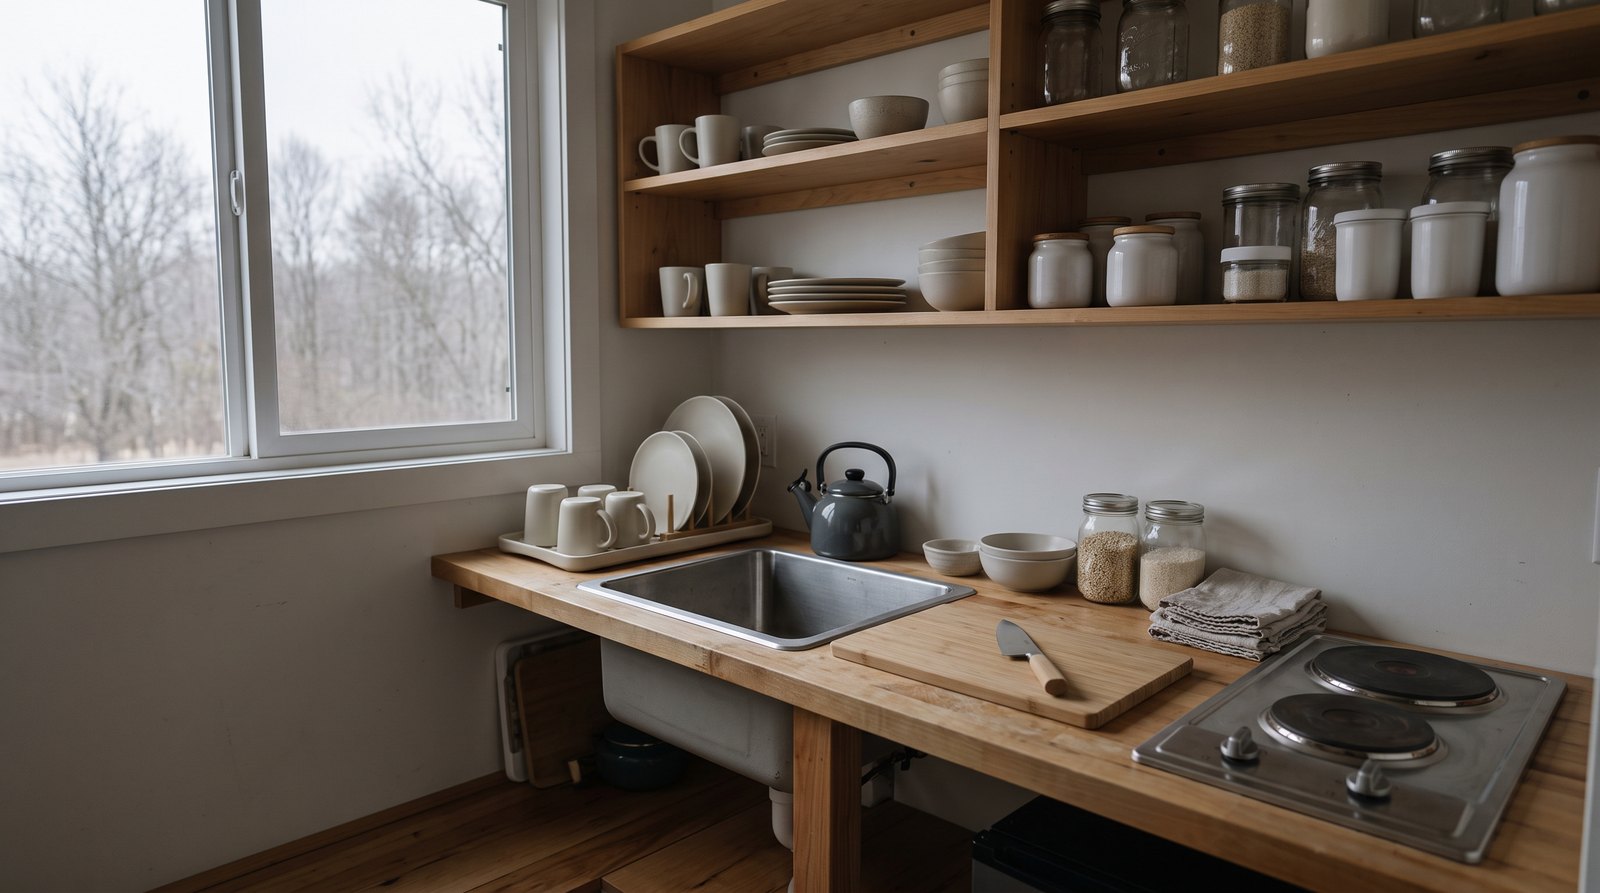
Sink covers are helpful as supplemental counter space. Use a fitted, stable board and plan where it goes when the sink is needed. An over-sink drying rack can also free counter space. Avoid systems that require moving five objects every time you wash a cup, because inconvenient features stop being used.
Use a Refrigerator That Fits Your Shopping Pattern
An under-counter refrigerator saves visual and floor space, but it works best for frequent shoppers who store modest amounts of fresh food. A taller 7 to 12 cubic foot refrigerator is usually better for couples, batch cooking, or rural locations. Choose capacity from a normal week’s groceries, then verify energy use and ventilation clearances.
Compact does not automatically mean efficient. Compare the yellow EnergyGuide label and annual energy estimate for actual models. ENERGY STAR has categories for compact refrigerators under 7.75 cubic feet, but configuration, defrost method, and freezer size still affect consumption. Leave the clearance required by the manufacturer so heat can escape.
Under-counter units preserve sightlines and create counter above, yet bending for every item can become irritating. Drawer refrigerators improve access but often cost much more. A tall, narrow refrigerator may be a better value if it does not break the only continuous counter run. Avoid placing refrigeration next to an oven or in direct sun when another location is available.
Food safety is not negotiable in a small appliance. USDA guidance says a refrigerator should hold 40°F or below. Use an inexpensive appliance thermometer, especially in an off-grid house where voltage, ambient temperature, or intentional power management may change performance. Do not pack food so tightly that cold air cannot circulate.
Install Real Ventilation to the Outdoors
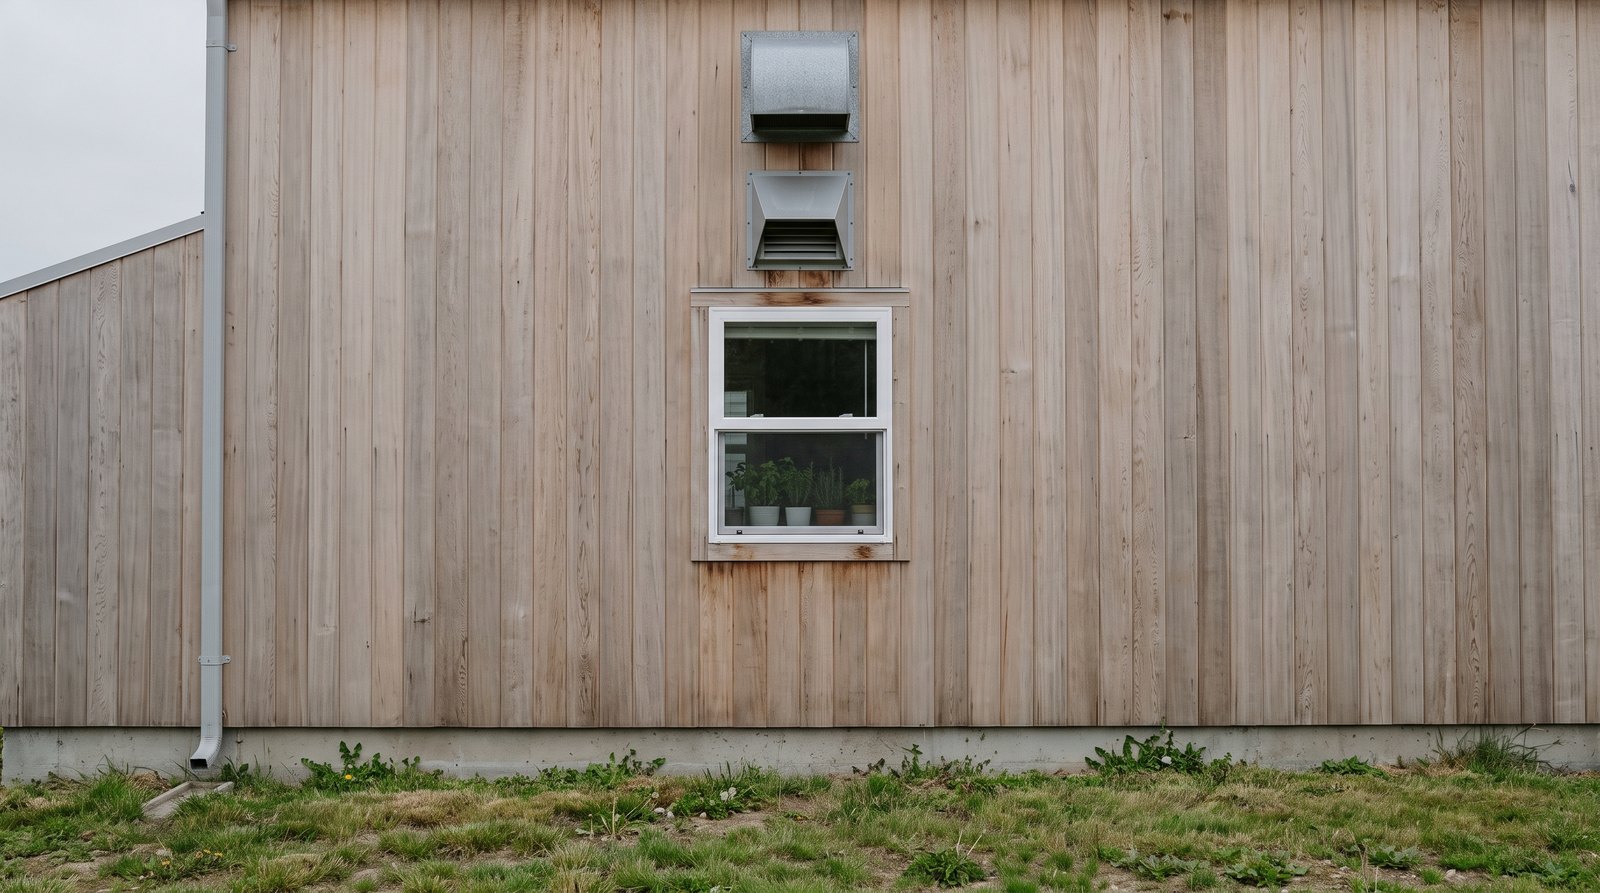
A ducted range hood is the best kitchen ventilation for a tiny house because it removes moisture, grease, odors, and cooking pollutants outdoors. A recirculating hood only filters and returns air to the room. Select the hood and duct route together, keep the duct short and smooth, and provide replacement air as required.
In a tiny interior, boiling pasta or frying food changes air quality quickly. Size the hood according to the appliance manufacturer’s guidance, the hood’s tested performance, duct length, fittings, and local code. More advertised airflow is not always better. An oversized hood can be noisy and may depressurize a tight house.
Use rigid metal duct where required, minimize elbows, and terminate outdoors with a proper cap and backdraft damper. Do not vent into a loft, wall, attic, crawlspace, or the area under the trailer. Grease and moisture deposited in concealed cavities invite odor, staining, pests, and building damage.
A quiet hood gets used. Compare sound ratings at the airflow you expect to use, not only at the lowest setting. Place controls within reach and add task lighting that does not glare. If the home has a wood stove, fuel-burning water heater, or other combustion appliance, have a qualified professional evaluate pressure and makeup-air needs.
Build Storage Around Frequency of Use
The best tiny house kitchen storage puts everyday items between knee and eye height, heavy cookware in deep drawers, and occasional supplies higher or farther away. Drawers generally expose contents better than deep lower cabinets. Use toe-kick space, narrow pullouts, and cabinet sides, but keep weight, ventilation, and travel restraint in mind.
Open shelves look spacious but collect grease and dust, and their contents can become projectiles when a house moves. Use them for a small set of everyday dishes, not the entire pantry. Add a rail or other positive restraint if the home travels. Closed cabinets with latches remain the dependable choice for food and breakable items.
A 6 to 9 inch pullout can hold oils, spices, or cans in otherwise wasted space, but place cooking oils away from heat. Full-extension drawers make the back usable. Divide drawers based on actual utensils rather than buying organizers first. The goal is to retrieve an item without unloading everything in front of it.
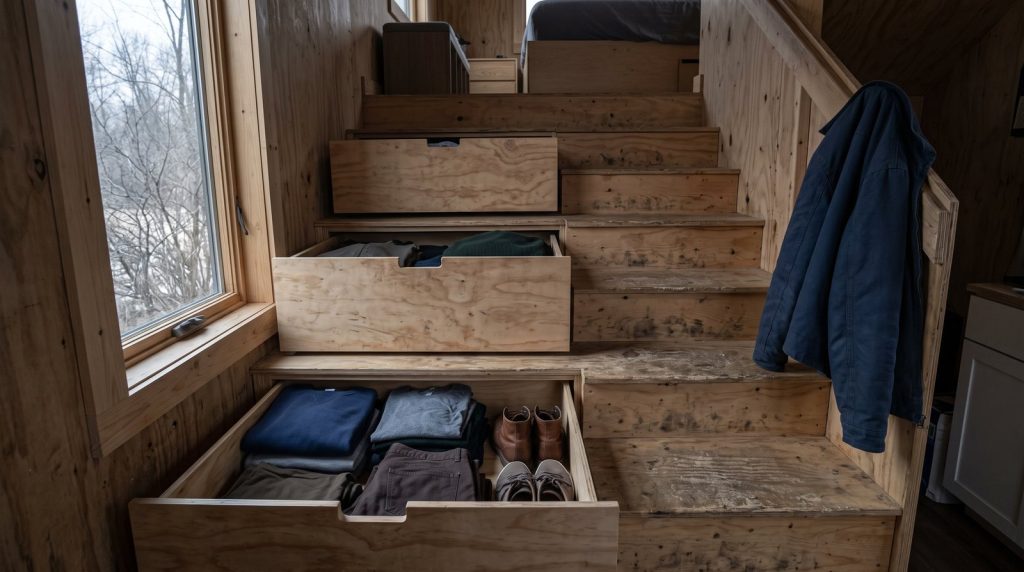
Plan storage beyond the kitchen too. Bulk food, seasonal cookware, and rarely used appliances may belong in stair drawers or another dry interior cabinet. Outdoor boxes are appropriate for weather-tolerant items, not food. For a broader system, see our guide to tiny house storage that works long term.
Frequently Asked Questions
How much counter space does a tiny house kitchen need?
Aim for one uninterrupted prep area about 36 to 48 inches wide if the layout allows, plus small landing zones near the refrigerator and cooktop. Your actual requirement depends on meals and appliances. Measure permanent countertop items first, because a nominal four-foot counter can shrink quickly after adding a coffee maker and dish rack.
Is a two-burner cooktop enough for full-time living?
Yes, two burners are enough for many full-time residents who cook ordinary meals and have a small oven, microwave, pressure cooker, or outdoor grill. Track your real burner use before deciding. Serious entertainers, batch cooks, and bakers may prefer a full range, provided the kitchen has adequate counter, power, fuel, and ventilation.
Should a tiny house use induction or propane cooking?
Induction is a strong choice when the electrical service, inverter, and battery system can support it. It avoids indoor combustion and is easy to clean. Propane can suit electricity-limited homes but requires compliant fuel storage, listed equipment, alarms, clearances, and effective ventilation. Compare the whole utility system before selecting either option.
Can a recirculating hood ventilate a tiny house kitchen?
A recirculating hood can capture some grease and odor, but it does not exhaust cooking moisture or pollutants outdoors. A properly installed ducted hood is the better solution. Keep the duct short, follow the hood and cooktop instructions, and ask the local building authority whether makeup air or specific airflow provisions apply.
What size refrigerator works in a tiny house?
Solo residents who shop often may be comfortable with an under-counter refrigerator. Couples, batch cooks, and rural households often need a taller 7 to 12 cubic foot unit. Compare a real week’s groceries, freezer needs, EnergyGuide data, door swing, and ventilation clearance. Keep the refrigerator at 40°F or below and verify it with a thermometer.