Tiny house plumbing cleanouts should give a drain cable direct, unobstructed access to the lines most likely to clog. Put them where the adopted plumbing code requires, keep each threaded plug reachable through a real service panel, preserve working clearance, and protect exposed fittings from freezing, impact, and road vibration. Good access turns a messy emergency into a controlled repair.
Table of Contents
Where Should Tiny House Plumbing Cleanouts Go?
Place cleanouts at required building-drain locations, important changes of direction, long horizontal runs, and other points where a cable can actually reach a blockage. In a tiny house, that often means a main cleanout near the drain exit plus practical access at a kitchen or bathroom branch. The local plumbing authority has the final say.
The 2024 International Plumbing Code is a useful model, but it is not automatically the law in every city or county. Its cleanout provisions address horizontal drains, the building drain and sewer junction, and changes of direction greater than 45 degrees. Local adoption, amendments, and the way officials classify a tiny house can change the required layout.
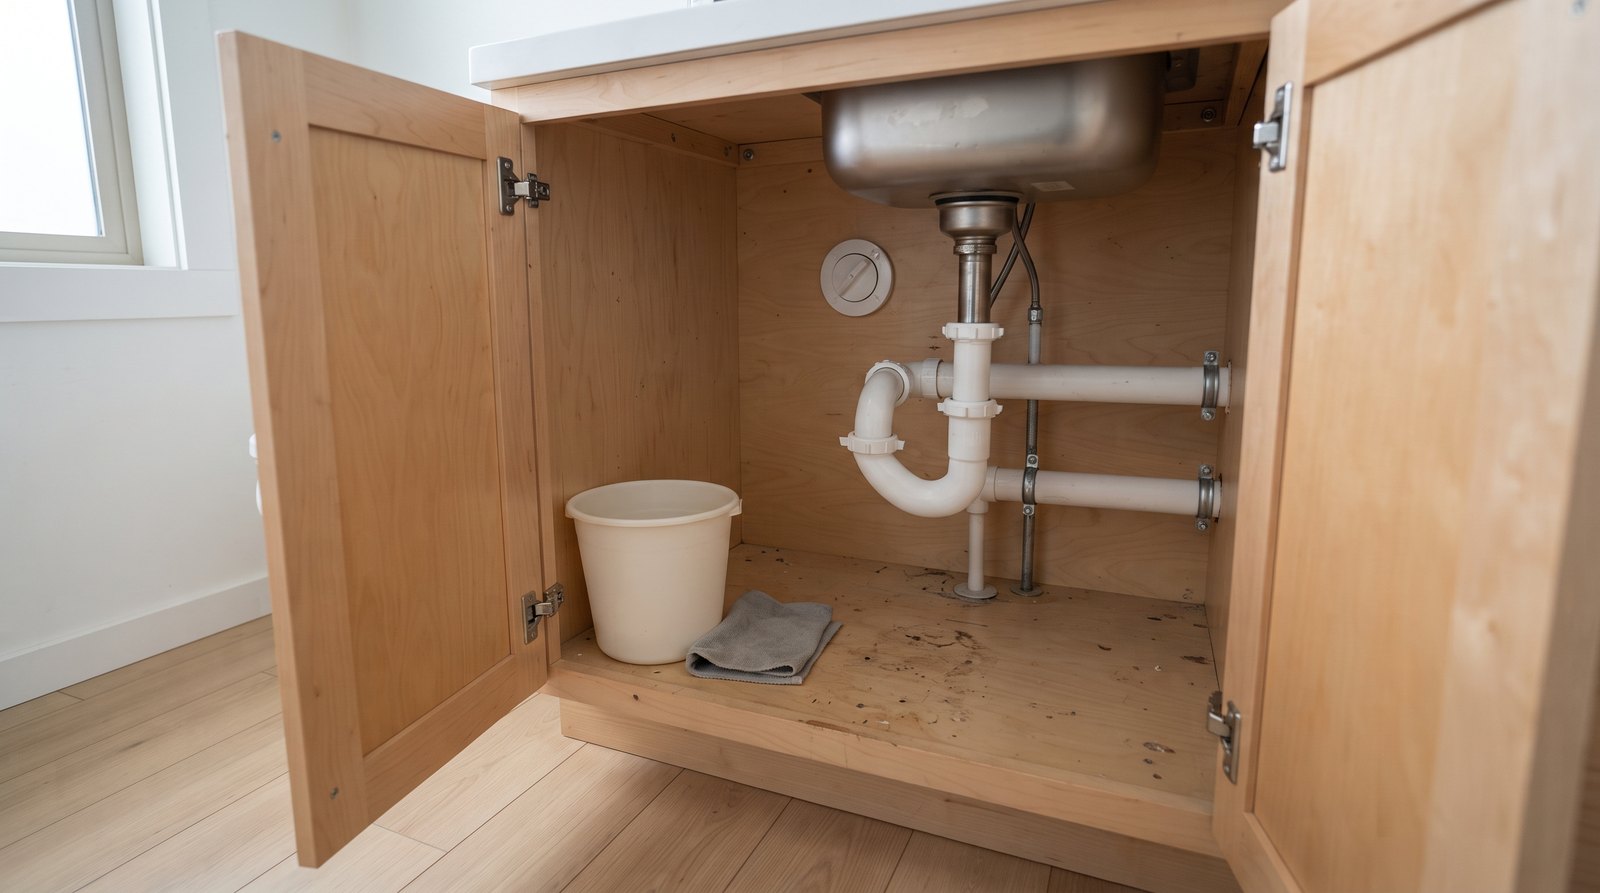
A short plumbing system still deserves a deliberate service map. Trace the kitchen sink, bathroom sink, shower, toilet, and appliance drains from each trap to the main exit. Mark every hidden turn, reduction, connection, and low point. A cleanout is valuable only when its opening faces a useful direction and the cable can enter without hitting cabinetry or framing.
Quick Answer by Situation
The best cleanout plan depends on whether the home is fixed, mobile, finished, or still under construction. New builds should design access before cabinets and insulation close the system. Existing homes need the least destructive route to each important drain. Use these starting points, then confirm the final arrangement with the local inspector.
- New foundation tiny home: Provide code-required building-drain access, then add removable panels where branch service points sit behind cabinets or walls.
- Finished home with repeated sink clogs: Improve access near the affected branch instead of repeatedly removing fragile trim or cutting a wall.
- Tiny house on wheels: Keep the main cleanout inside a protected utility bay or behind a secured underbelly panel, away from road strikes.
- Cold-climate installation: Keep the cleanout and nearby pipe within the protected thermal envelope when possible, or use a properly designed removable insulated enclosure.
- Rental or resale preparation: Label the access panel discreetly, leave the correct cleanout wrench nearby, and include a drain map with the house records.
Build Service Panels That Stay Removable
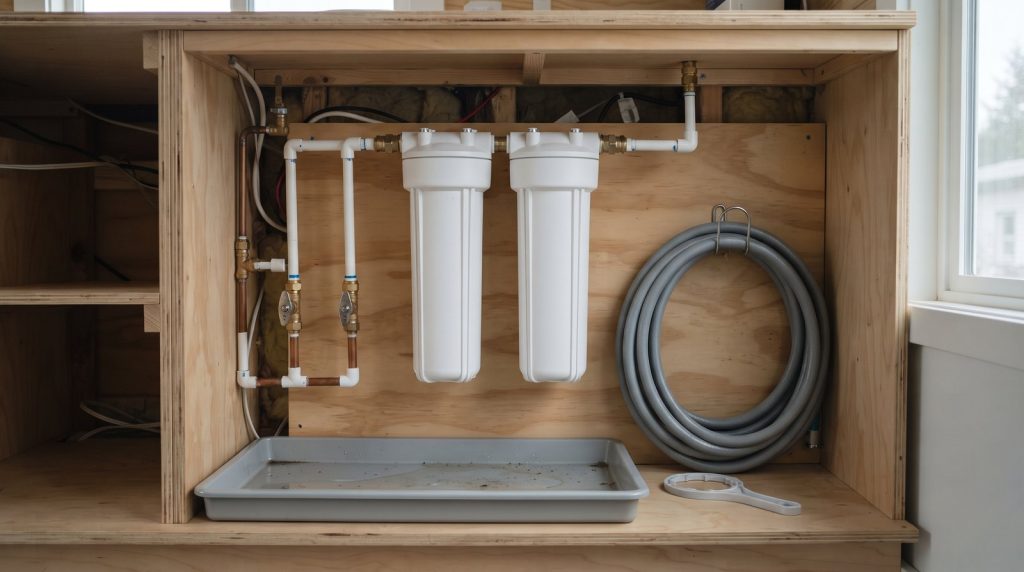
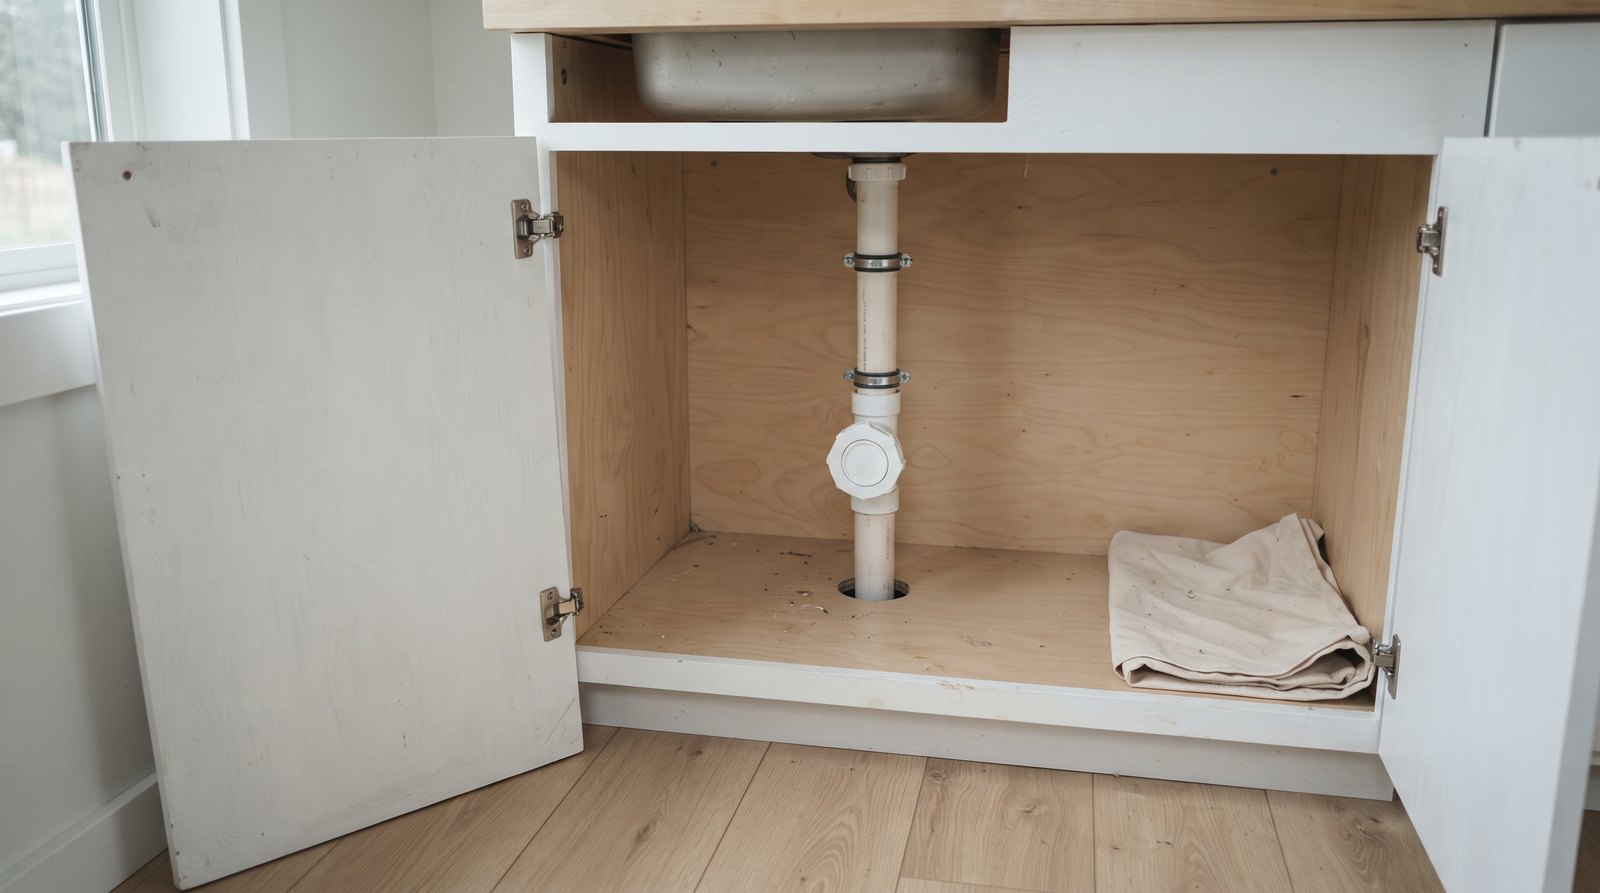
A service panel should come off without damaging the wall, cabinet, waterproofing, insulation, or air barrier. Use screws, approved clips, hinges, or a purpose-built access door. Make the opening large enough to see the plug, position a tool, catch drainage, and inspect nearby joints after the system returns to service.
Do not glue trim over the only access point or bury the plug behind spray foam, tile backer, flooring, or a fixed cabinet partition. Current model-code language requires cleanouts to remain accessible and prohibits covering plugs with permanent finish. The exact allowable cover and required clearance depend on the adopted code and cleanout size.
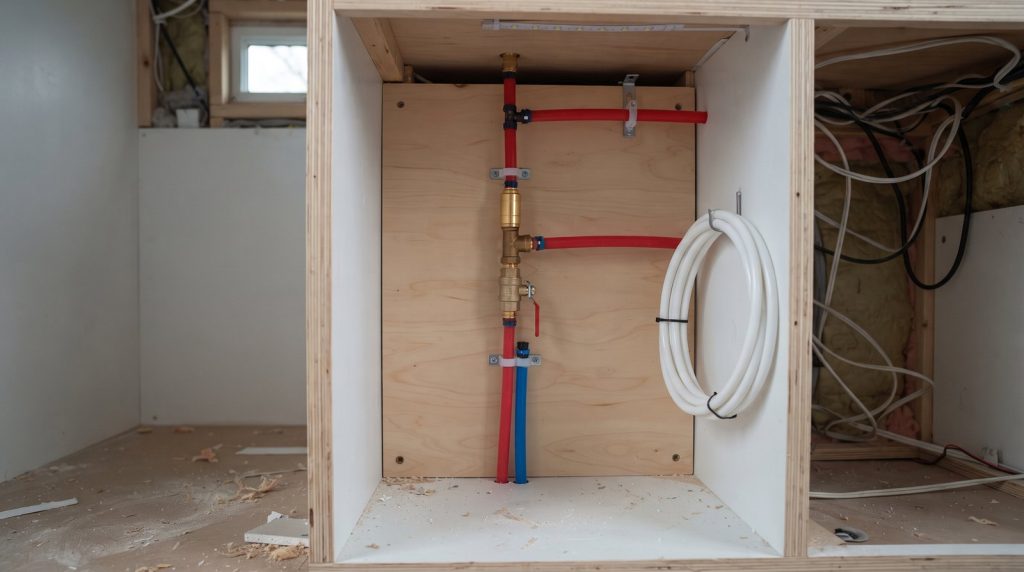
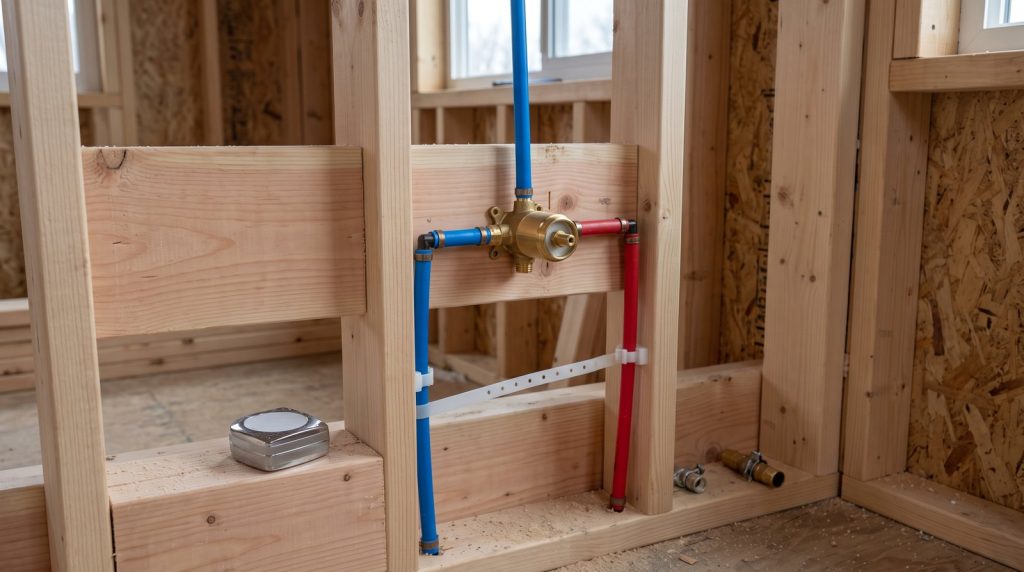
Photograph the open wall and cabinet before closing construction. Include a tape measure in the picture and save the image with the plumbing plan, fixture manuals, and inspection records. Good documentation supports future repairs and helps protect the structure, one reason access planning matters to how long a tiny house lasts.
Get Cleanout Size, Direction, Clearance, and Slope Right
Use a listed cleanout fitting and plug sized for the drain, oriented so cleaning equipment follows the drainage flow, with enough open space for tools and cable. Keep horizontal piping uniformly supported and sloped. Do not use the cleanout opening as an improvised fixture connection or reduce the drain in the direction of flow.
As a model-code reference, the 2024 IPC generally calls for a cleanout the same size as the pipe it serves up to 4 inches. It also specifies 18 inches of clearance perpendicular to the face of cleanouts serving pipe 6 inches or smaller. Those dimensions illustrate why a tiny cabinet needs planning, but your adopted code controls.
Drain slope matters because a cleanout cannot rescue a badly installed system. The same model code lists a minimum slope of 1/4 inch per foot for horizontal drain pipe 2 1/2 inches or smaller and 1/8 inch per foot for 3- through 6-inch pipe. Some situations have different requirements. Maintain uniform alignment, not a series of sags and steep corrections.
Protect Drain Access in a Tiny House on Wheels
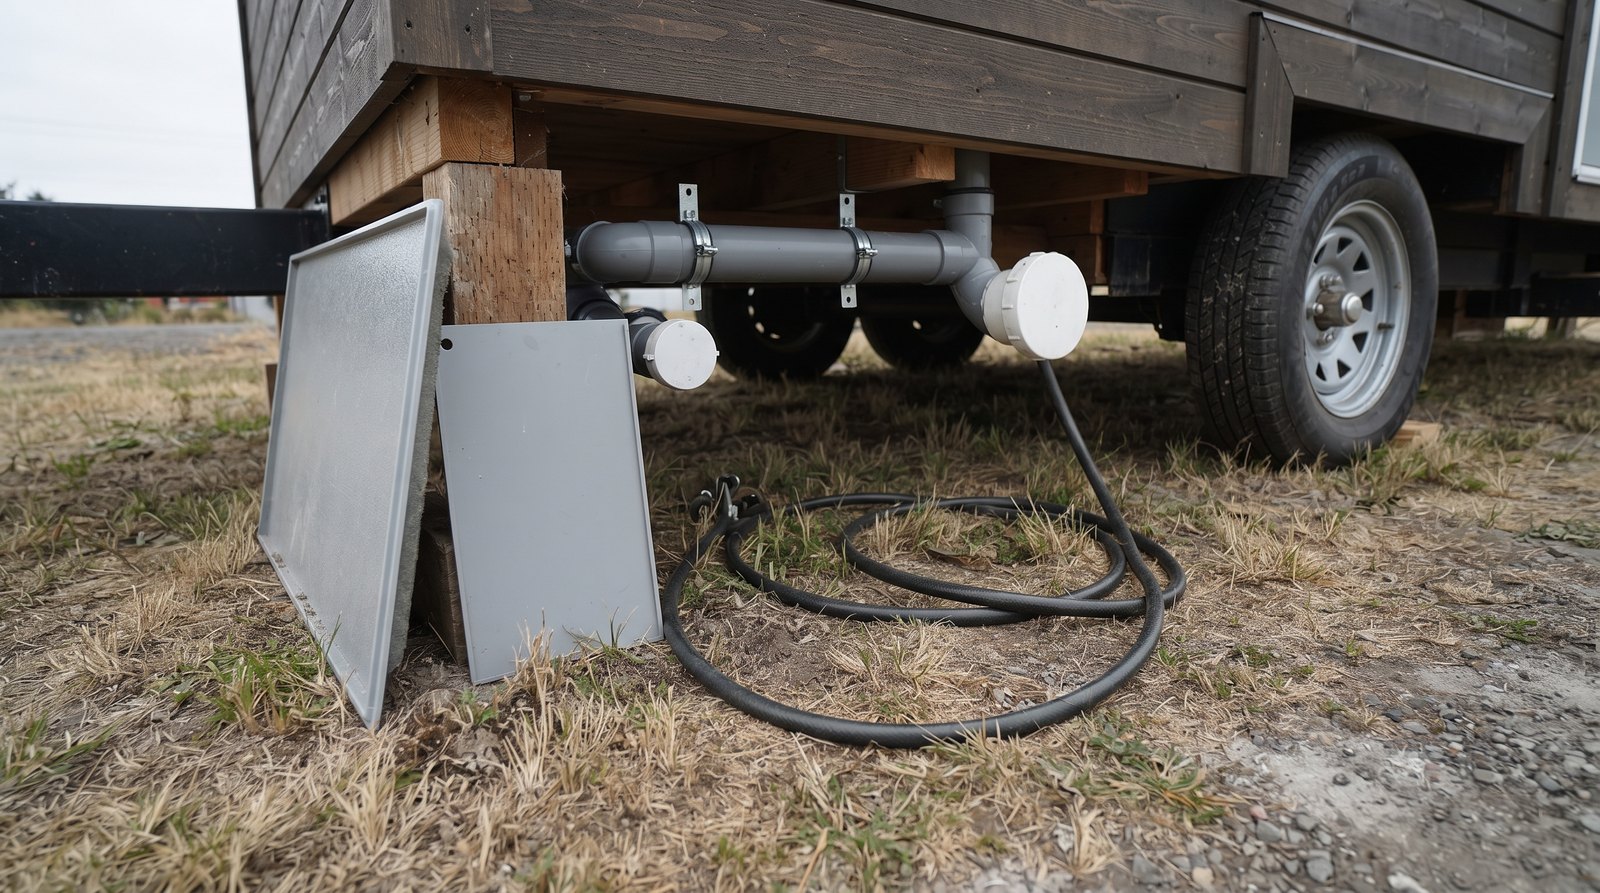
A THOW cleanout needs everything a fixed-home cleanout needs, plus restraint against vibration, protection from debris and impact, and reliable access after the house is leveled. Mount piping to the structure with approved supports, secure every service panel positively, and keep caps above likely road-strike zones and away from tires or suspension movement.
Underbelly access should not require removing an entire sheet of enclosure material. A gasketed, screwed panel can preserve weather protection while remaining serviceable. Restore insulation and air sealing after every visit. If the cleanout sits outside the heated envelope, include it in the winterization plan instead of assuming a plastic plug cannot freeze.
Before towing, check that the cleanout plug is seated, the panel is latched, pipe supports are tight, and no drain line can rub on steel framing. After a rough trip, inspect the main exit, traps, supports, and access covers before using the system. Add the plumbing bay to the same checklist used when planning the cost and preparation for moving a tiny house.
Open and Clear a Cleanout Safely
Stop using fixtures, protect the work area, and assume a backed-up line is pressurized until proven otherwise. Wear eye protection and liquid-resistant gloves, position a bucket and absorbent material, then loosen the plug slowly from the side. If sewage, chemicals, electricity, or powered drain equipment creates doubt, call a licensed plumber.
Never put your face directly in front of a plug. A clogged vertical or sloped line can hold a surprising volume of wastewater. If liquid starts escaping as the threads loosen, pause and control the flow. Keep children and pets away, ventilate the area, and disinfect contaminated hard surfaces using appropriate public-health guidance.
Use a hand auger only within its stated pipe-size and cable-length range. Powered drain machines can twist, kink, or break cables and can injure hands. Equipment makers require specific eye protection, drain-cleaning gloves, machine inspection, and operating procedures. Ordinary loose gloves or a rag around a rotating cable can create an entanglement hazard.
Do not mix drain chemicals or run a cable blindly through corrosive cleaner. Tell the plumber exactly what entered the drain. Stop if the cable repeatedly hits the same point, returns damaged, or cannot pass a fitting. A camera inspection may be more useful than greater force when the cause is a bad joint, crushed pipe, belly, root intrusion, or foreign object.
Diagnose Clogs and Odors Before Replacing Parts
Match the symptom to the part of the system affected. One slow fixture usually points to its trap or branch. Several fixtures backing up together suggest a downstream main drain problem. Odor without slow drainage may come from a dry trap, loose cleanout plug, failed seal, blocked vent, leak, or wastewater left in a hidden cavity.
Run fixtures one at a time while watching accessible piping. Look for drips, joint movement, gurgling, bubbles, and water-level changes. A loose threaded plug can leak sewer gas even when no liquid appears. Clean the threads, inspect the plug and sealing surfaces, and replace damaged parts with compatible approved components rather than over-tightening.
Inspect and Maintain Access Points
Inspect every cleanout and service panel at least twice a year, after freezing weather, and after significant travel. Confirm that panels open, plugs remain dry and undamaged, supports are tight, insulation is restored, and stored items have not consumed the working space. Exercise care because unnecessary plug removal can create a leak.
Keep the correct wrench, a shallow bucket, disposable absorbent pads, eye protection, and compatible replacement plug with the house tools. Record the cleanout size and pipe material. Do not leave aggressive chemicals next to plastic piping or store heavy items where they can strike the cap during travel.
Maintain a simple drain diagram showing fixtures, traps, vents, cleanouts, tanks, valves, and the final sewer connection. Give it to a plumber before work begins. For a sale or rental, include the diagram with winterization instructions and maintenance records. Clear documentation also helps an insurer understand the system if water damage occurs.
What Do Cleanouts and Drain Service Cost in 2026?
Budget about $5 to $30 for a common plastic cleanout adapter and plug, $14 to $100 for many interior access panels, and roughly $17 to $95 for a basic 25-foot hand auger. Professional clearing through an accessible cleanout often runs about $150 to $500, while construction and difficult access can raise the total sharply.
Adding a cleanout to an exposed plastic branch may cost roughly $300 to $900 when the pipe can be drained, cut, fitted, tested, and supported without finish repair. Work behind cabinets or finished walls can reach $800 to $2,500 once demolition, plumbing, inspection, waterproofing, and finish restoration are included. Exterior excavation, concrete, frozen ground, or sewer repair can cost much more.
Prices vary by region, emergency timing, access, pipe material, permit requirements, and whether the plumber needs a camera, larger machine, or helper. Ask for an itemized scope that separates diagnosis, clearing, cleanout installation, permits, finish repair, and warranty. A low clearing price does not necessarily include correcting the defect that caused the clog.
Design access during construction whenever possible. A modest service panel and correctly placed fitting are inexpensive compared with removing a toilet, opening tile, dropping an underbelly, or cutting cabinetry during an emergency. If work affects concealed drainage, structural members, waterproofing, or a shared sewer, use the licensed trades and inspections required locally.
The Bottom Line
A good tiny house plumbing cleanout is correctly placed, full-sized where required, oriented with the flow, supported, protected, and genuinely reachable. Plan the tool path as carefully as the pipe path. Foundation homes and THOWs need different protection details, but both benefit from labeled panels, a drain map, safe maintenance, and prompt diagnosis of repeated problems.
Start by tracing the whole drain system and asking the city or county which code and permit rules apply at the installation site. Then compare the plan with pipe, fixture, tank, and appliance instructions. Fix access before finishes close, and never trade the required working clearance for a few more inches of storage.
Frequently Asked Questions
Tiny house owners usually ask whether every drain needs a cleanout, where a cleanout can be hidden, and how to handle travel or freezing. The answers below provide practical starting points. The adopted plumbing code, local inspector, component listings, manufacturer instructions, and any licensed-plumber requirement still control the final installation and repair.
Does every tiny house drain need its own cleanout?
No. Required locations depend on the adopted code, drain layout, pipe size, changes of direction, and whether a removable trap qualifies as limited access. A tiny house commonly needs main drain access plus serviceable branches, not a cap beside every fixture. Have the complete drainage plan reviewed before construction closes walls or the underbelly.
Can a cleanout be hidden behind a cabinet panel?
It can sit behind an approved removable panel when the adopted code permits and the plug remains accessible with the required working clearance. The panel should open without damaging finish, waterproofing, or cabinetry. Do not bury the plug behind a fixed drawer box, glued trim, insulation, mortar, or another permanent material.
Can I use a P-trap instead of a cleanout?
A removable slip-joint P-trap provides useful access to its fixture branch and may qualify as a cleanout equivalent in specific model-code situations. It does not replace every required cleanout, especially main building-drain access. Confirm local rules, and never depend on removing a trap that is glued, concealed, or difficult to reinstall safely.
How do I keep a THOW cleanout from freezing?
Keep the fitting within the insulated and heated envelope when practical. Otherwise, use a designed, removable insulated enclosure and include the line in the approved winterization procedure. Insulation alone does not create heat. Drain trapped water, protect nearby tanks and valves, and follow component instructions before storage or travel through freezing weather.
When should I stop snaking a drain and call a plumber?
Stop when sewage may spill, chemicals are present, the cable repeatedly hits one location, several fixtures back up, the plug will not move safely, or powered equipment exceeds your training. Also call when clogs return quickly. A licensed plumber can select the cable, camera the line, protect the pipe, and diagnose structural defects.