A pressure-balancing valve is the best default for most tiny houses because it limits sudden temperature swings without taking much wall space. Choose a listed valve that matches the water heater, set its high-limit stop correctly, support it to solid blocking, and leave practical access for cartridge service, winterizing, and travel checks.
Table of Contents
Which Shower Valve Is Best for a Tiny House?
Most tiny houses need a simple pressure-balancing shower valve with a replaceable cartridge, a mechanical temperature limit, and trim that remains available. A thermostatic valve is worth considering when water temperature changes frequently, the shower serves a vulnerable user, or the system includes several outlets that need more precise control.
Quick answer by situation
- Foundation tiny house on municipal water: Choose a conventional pressure-balancing valve from a widely supported product family.
- THOW with a pump and onboard tank: Confirm that the valve, pump, accumulator, and showerhead work together at the actual operating pressure and flow.
- Tankless water heater: Check the heater’s minimum activation flow and temperature-rise chart before selecting the showerhead and valve.
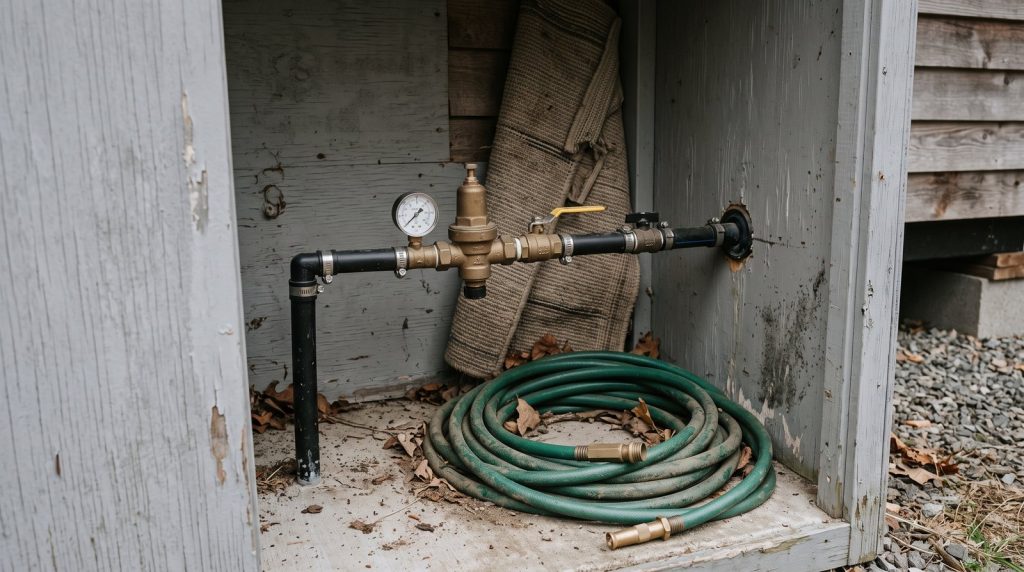
- Cold-climate installation: Keep the valve and supplies inside the insulated envelope, and provide a real winterizing plan.
- Frequent travel: Favor a compact metal valve body, solid blocking, supported piping, and an accessible inspection panel.
- Household with children, older adults, or limited mobility: Consider thermostatic control, easy-to-grip trim, and a conservative limit-stop setting.
Buy the rough valve and trim as one compatible system. A trim plate that looks right online may not fit another manufacturer’s body, or even a different valve family from the same manufacturer. Confirm the cartridge number, connection type, trim series, and availability of future service parts before closing the wall.
Pressure-Balancing Versus Thermostatic Valves
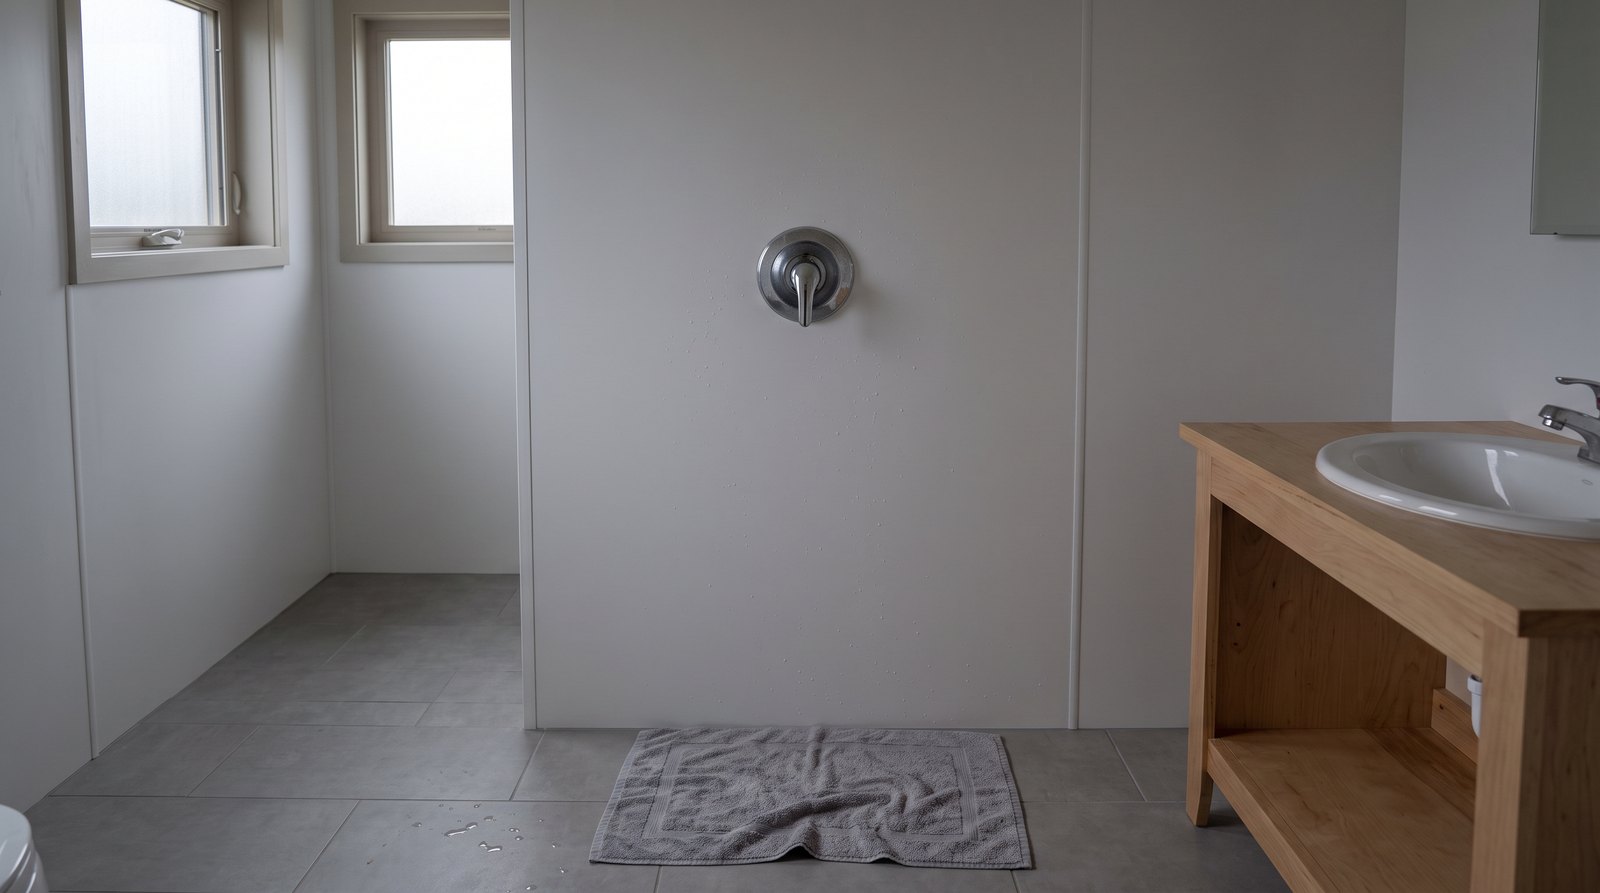
A pressure-balancing valve reacts when hot or cold supply pressure changes, while a thermostatic valve senses mixed-water temperature and adjusts the blend. Both can improve shower safety, but neither makes installation details optional. The correct choice depends on supply stability, heater behavior, user needs, available wall depth, and the listed product instructions.
A pressure-balancing cartridge is common, compact, and usually less expensive. If a toilet fills or another faucet opens, the cartridge shifts to reduce the side with higher pressure. This helps prevent a sudden cold or hot blast. It does not measure the outlet temperature, so an incorrectly adjusted limit stop or unusually hot supply can still create an unsafe result.
A thermostatic valve uses a temperature-responsive element to hold the selected outlet temperature as inlet conditions change. Many systems separate temperature and volume controls. That can be convenient, but it adds components, cost, and sometimes depth. Some models also require minimum flow to regulate accurately, so a very low-flow showerhead or weak pump can be a poor match.
Look for a valve listed for individual showers or tub and shower combinations under the standards named by the adopted plumbing rules, commonly ASSE 1016, ASME A112.1016, or CSA B125.16. A distribution-system mixing valve at the water heater serves a different purpose and is not automatically a substitute for the required point-of-use shower control.
Set the Anti-Scald Limit Correctly
The high-limit stop is a setup device, not a factory guarantee. Common residential provisions require it to be adjusted so the shower outlet does not exceed 120°F, but the adopted code, valve instructions, and inspector control the job. Test the finished installation with the actual heater running under normal household conditions.
Set the water heater first, allow the system to stabilize, then follow the valve manual to position the rotational or temperature stop. Measure at the shower outlet with a reliable thermometer. Run nearby fixtures and let a pump cycle to see how the system behaves when pressure changes. A quick hand test is not precise enough.
Plan Rough-In Depth and Wall Space
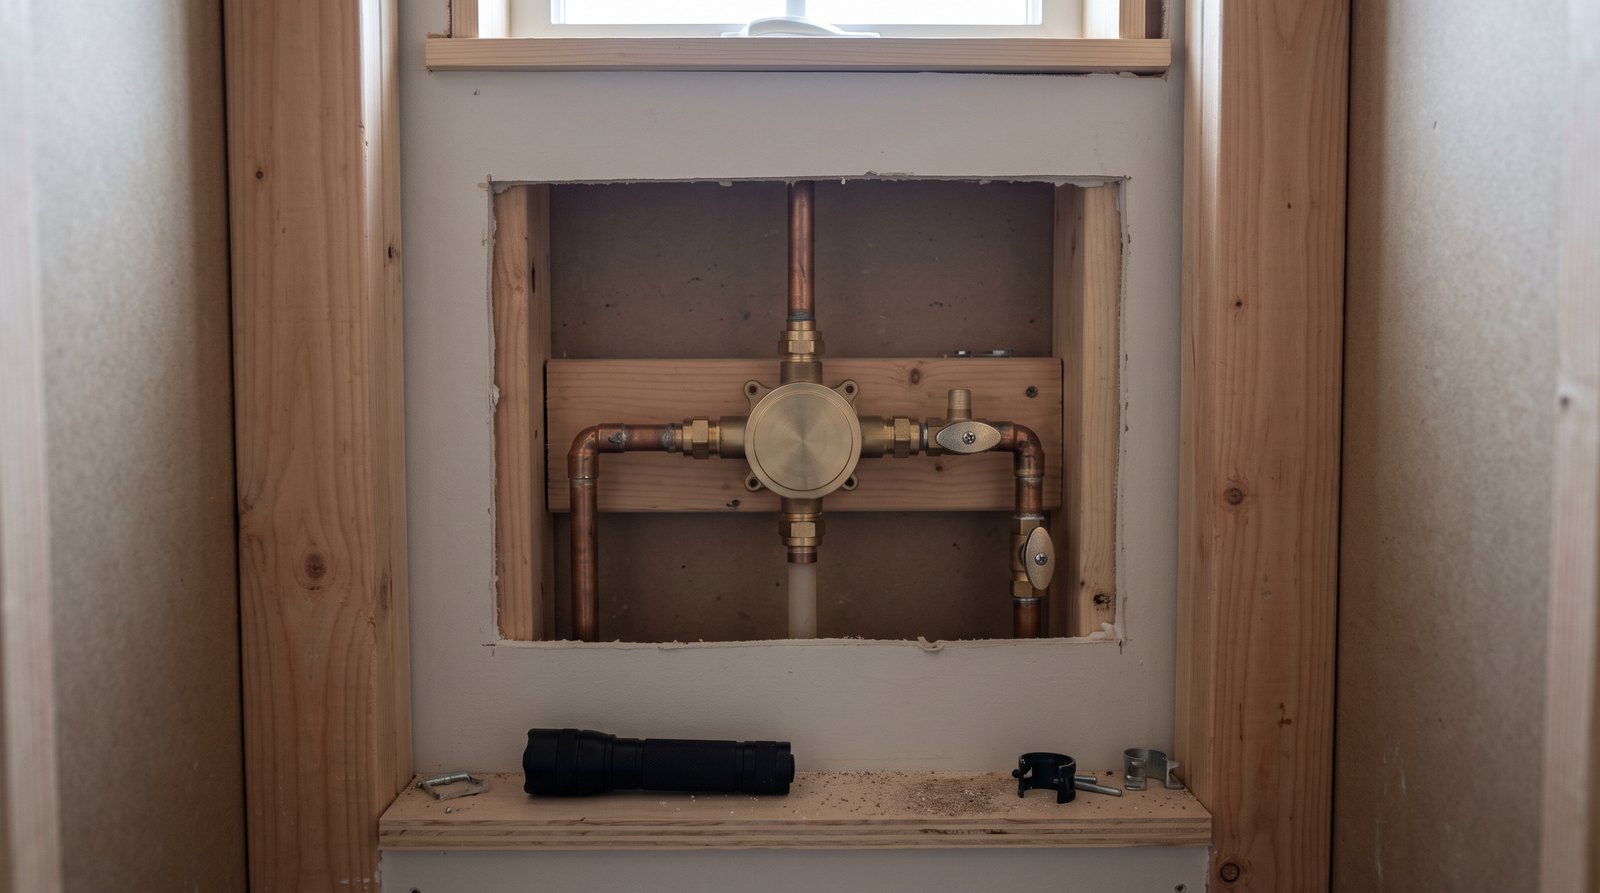
Rough-in depth must be based on the finished wall, not the face of the studs. Add every layer, including backer, waterproofing, panel or tile, adhesive, and any furring. The manufacturer’s plaster guard or depth marks define the acceptable range. A shallow tiny-house wall is not permission to install outside that range.
Mock up the complete wall before connecting pipe. Hold a sample of the finished panel at its final plane and confirm that the trim screws engage, the handle moves freely, and the cartridge can be removed. Some valve families offer a shallow-wall configuration or extension kit, but that option must be documented for the exact model.
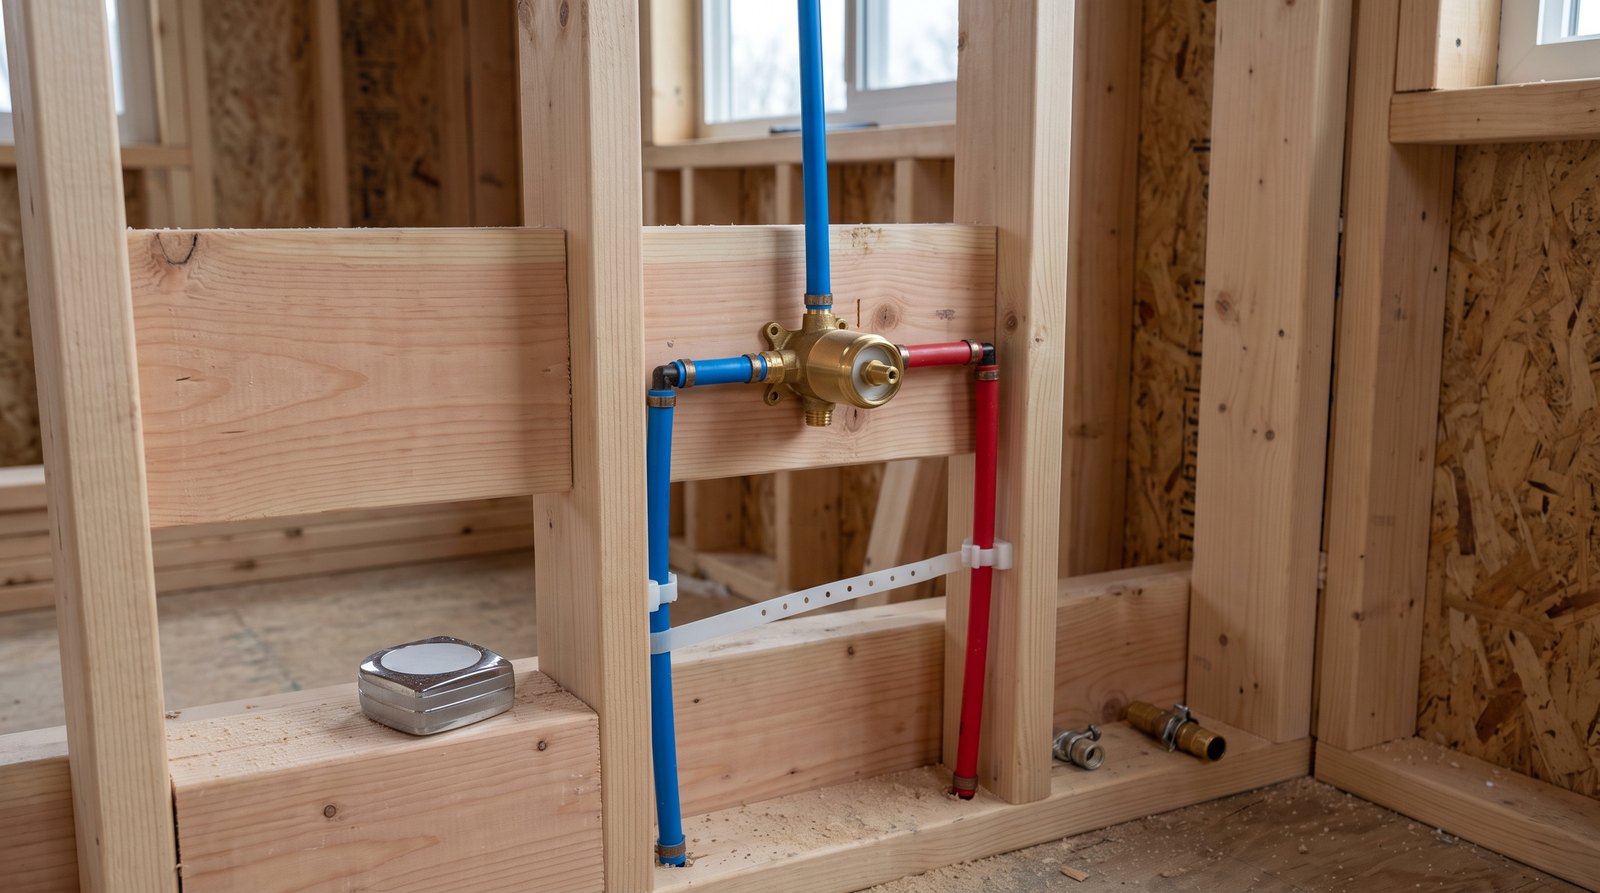
Mount the valve body square and rigid on solid blocking. If the blocking is too far forward or back, correct it before piping. Do not pull a crooked valve into position with the trim screws. That can distort the finish, stress fittings, and leave gaps where water reaches the wall cavity.
The trim opening should be large enough for the listed plaster guard and routine cartridge work, yet remain fully covered and sealed as directed. In a wet wall shared with a closet, a removable rear panel can make shutoffs and leak checks much easier. Keep that panel outside the shower’s waterproof enclosure.
Match Flow to the Water Heater and Pump
A valve cannot correct a water heater or pump that falls outside its operating range. Compare showerhead flow, available pressure, heater activation flow, temperature rise, and simultaneous fixture demand. WaterSense showerheads use no more than 2.0 gallons per minute, but the complete system still needs enough stable flow for comfortable temperature control.
With a tankless heater, a very restrictive showerhead can approach the heater’s minimum firing or modulation flow. The burner may cycle, producing alternating warm and cool water. Check the heater’s published flow requirements rather than assuming that lower flow is always better. Scale buildup, clogged strainers, and a partly closed valve can reduce flow further.
An onboard pump should deliver steady pressure at the shower. Rapid cycling often points to a small or poorly charged accumulator, a restricted inlet, an air leak on the suction side, or an unsuitable pressure-switch range. Fix the supply problem before blaming the shower cartridge. Confirm that every component is rated for the pump’s maximum pressure.
Provide Shutoffs and Cartridge Access
Service access should let an owner isolate, inspect, and repair the valve without demolishing the shower. Integral screwdriver stops are convenient when the model includes them, while accessible branch shutoffs can serve the same planning goal. Any concealed access method must preserve the wall’s required water, air, fire, and insulation assemblies.
Leave room to pull the cartridge straight out. A shelf, cabinet back, framing member, or electrical box directly behind the valve can turn a simple repair into demolition. Store the model number, cartridge number, installation manual, and trim information with the house records. Photograph the open wall before it is covered.
Accessible plumbing also supports the house’s long-term value. Water damage can complicate a claim, so review exclusions, inspection duties, and mobile-home provisions when comparing tiny house insurance costs. Good documentation does not replace coverage, but it makes maintenance easier to prove.
Support Pipes for Stationary Use and Travel
The valve body and connected piping need independent support. Anchor the body to blocking, use supports listed for the pipe material, protect tubing at framing penetrations, and avoid tight bends that load fittings. A THOW adds vibration and repeated acceleration, so every unsupported run becomes a lever working against the valve connection.
Before moving a THOW, shut off the water source, relieve pressure as the equipment maker directs, secure loose shower hardware, and inspect the access cavity. After arrival, reconnect slowly and watch every visible joint through at least one pump cycle. The broader logistics in this tiny house moving cost guide are a useful reminder that travel preparation includes utilities, not only towing hardware.
Protect the Valve From Freezing
The safest cold-climate layout keeps the valve, cartridge, stops, and supply lines inside the thermal and air-control layers. Insulation belongs between plumbing and the exterior, not between plumbing and the heated room. A valve on an exterior wall needs deliberate envelope design, especially when a rear access panel interrupts insulation.
For seasonal shutdown, follow the valve, heater, pump, and piping manufacturers’ winterizing procedures. Draining the tank does not guarantee that water has left the cartridge or a low pipe loop. Some systems require compressed air at a controlled pressure or potable plumbing antifreeze. Never assume a decorative handle position drains the body.
Installation Sequence That Avoids Rework
A reliable installation starts with compatibility and ends with a documented test. Read the valve, trim, pipe, water-heater, and showerhead instructions before framing the wet wall. Local permit, licensing, and inspection rules still control, and a licensed plumber is the sensible choice when concealed joints or code approval are involved.
- Confirm the valve listing, trim family, connection type, cartridge, and replacement-parts availability.
- Calculate the finished wall plane and build rigid blocking at the required depth.
- Place the control where it is reachable without standing directly under the spray.
- Connect supported hot, cold, and outlet piping without loading the valve body.
- Flush lines as the manufacturer directs before installing or exposing the cartridge to debris.
- Pressure-test every joint and check the valve in all operating positions.
- Complete waterproofing without covering required service openings or weep paths.
- Install trim, set the high-limit stop, and test temperature under changing demand.
- Photograph the installation and save model, cartridge, and test information.
What Tiny House Shower Valves Cost in 2026
A practical 2026 parts budget is about $70 to $200 for many pressure-balancing rough valves, before trim, fittings, and labor. Premium thermostatic rough bodies can approach $600, and digital systems cost much more. Replacement projects commonly land around $225 to $575, while difficult wall access can push the total substantially higher.
For new construction, budget for the rough valve, compatible trim, showerhead, blocking, piping adapters, supports, shutoffs, waterproofing details, and inspection. A basic complete setup often reaches $200 to $500 in parts. A premium thermostatic system with separate volume control can exceed $800 before labor.
Cartridge-only service is usually cheaper than changing the body. Current planning ranges are roughly $15 to $85 for many cartridges and about $100 to $350 with professional service, depending on access and brand. Confirm warranty coverage before buying a replacement, and use the exact approved cartridge rather than a close-looking substitute.
Opening tile or a finished exterior wall can cost more than the valve. A planned rear panel and common service parts reduce that risk over the life of the house. For a wider view of maintenance choices, see how long tiny houses last.
Frequently Asked Questions
The best tiny house shower valve is the one that stays safe and serviceable under the home’s real conditions. These short answers cover the most common decisions, but the valve listing, water-heater instructions, adopted plumbing rules, and local inspector remain the final authorities for a specific installation.
Does a tiny house shower need an anti-scald valve?
Usually, yes. Commonly adopted residential plumbing provisions require an individual shower or tub and shower combination to use a listed pressure-balancing, thermostatic, or combination control with an adjusted high-limit stop. Exact requirements depend on the locally adopted code, so confirm the rule and inspection process before installation.
Is a thermostatic valve better than a pressure-balancing valve?
A thermostatic valve offers more direct temperature control and can handle changing inlet temperatures better, but it costs more and may need more wall space or flow. A pressure-balancing valve is a strong default for a simple one-head shower when the heater and supply pressure are reasonably stable.
What temperature should the shower limit stop be set to?
Many residential rules limit the shower outlet to no more than 120°F, but a lower setting may suit vulnerable users. Follow the valve instructions and local code, measure with a thermometer, and test during other water use. Recheck after changing the cartridge, heater setting, pump pressure, or trim.
Can a shower valve work with a tankless water heater?
Yes, if the heater can activate and modulate at the shower’s actual flow and deliver the required temperature rise. Compare the heater chart, valve requirements, showerhead flow, and supply pressure. Cycling between hot and cold often signals a flow or system problem, not a defective shower valve.
Should a THOW have an access panel behind the shower valve?
A rear access panel is highly useful when the layout allows it because it simplifies leak checks, shutoff operation, and cartridge or valve service. Build it outside the wet enclosure, fasten it securely for travel, and preserve insulation and air sealing. The trim opening must still follow the valve instructions.