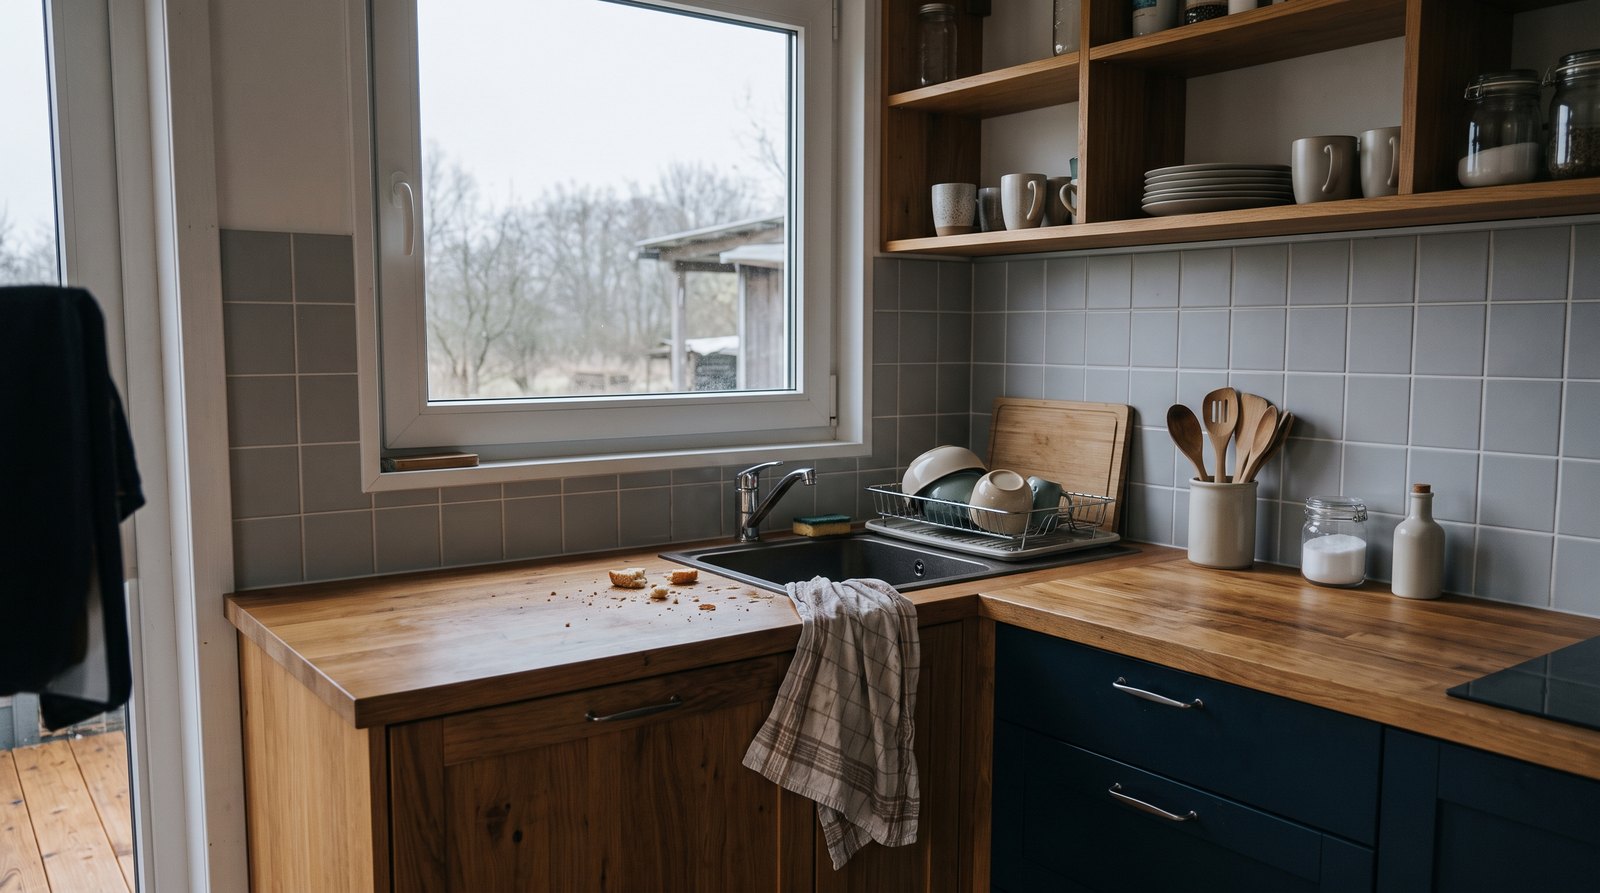
For most tiny houses, lightweight sheet panels are the best all-around backsplash, ceramic tile is best for a permanent foundation home, stainless steel works well behind a hard-working cooktop, and washable paint is the simplest budget choice. In a tiny house on wheels, weight, road movement, heat clearances, and repairability matter as much as appearance.
Table of Contents
Quick answer by situation
Choose the backsplash by the hardest condition it must handle. A stationary tiny house can support more weight and rigid finishes. A frequently moved THOW benefits from light materials, flexible joints, and easily repaired seams. In every case, the wall must be sound, flat, clean, and compatible with the chosen adhesive or coating.
- Best overall for a THOW: A thin, lightweight panel with few seams and a flexible perimeter joint.
- Best for a foundation tiny house: Glazed ceramic tile on a properly prepared, stable substrate.
- Best behind a busy cooktop: A listed or manufacturer-approved stainless steel panel installed with the required clearances.
- Lowest initial cost: Scrubbable kitchen paint over a smooth, sealed wall.
- Easiest to replace: A mechanically fastened or carefully bonded sheet panel with accessible edge trim.
- Lowest installed weight: Paint, followed by thin vinyl, laminate, or aluminum composite panels.
- Most forgiving of road movement: Large light panels with limited joints, not small rigid tiles and brittle grout.
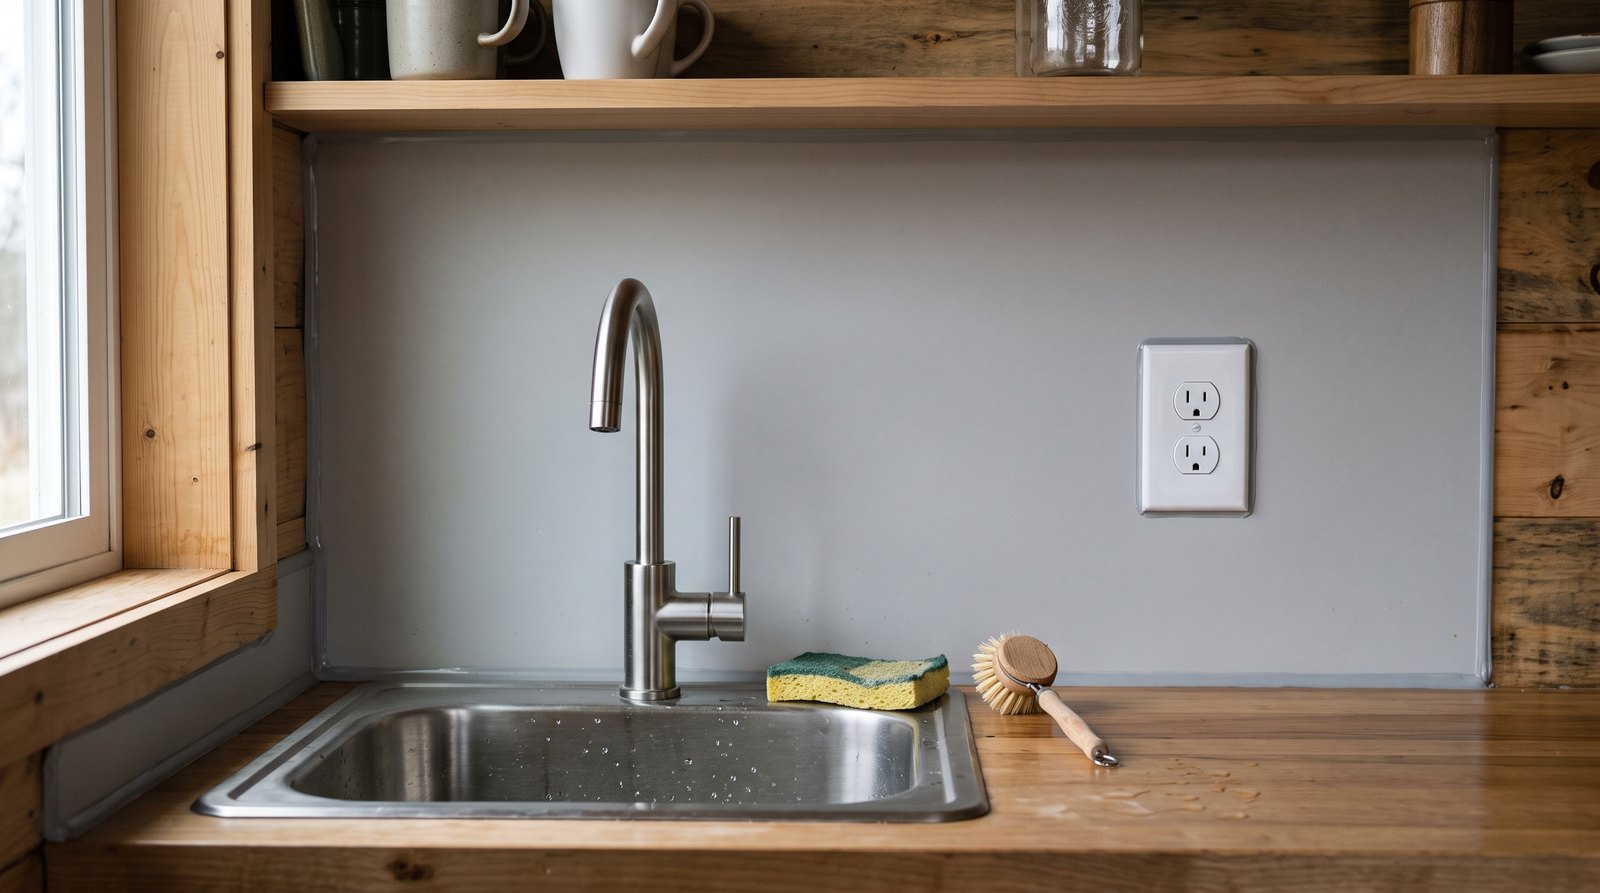
Lightweight sheet panels are usually best for a THOW
A single sheet or a few large panels reduce weight, seams, and opportunities for road vibration to cause cracking. That makes panels the practical default for many tiny houses on wheels. The catch is product selection: confirm that the panel, adhesive, trim, and sealant are approved for the exact wall, moisture level, and heat exposure.
Options include high-pressure laminate, fiberglass-reinforced panels, PVC systems, aluminum composite panels, and solid-surface offcuts. Product names can sound interchangeable even when their temperature ratings and installation requirements differ. A decorative peel-and-stick sheet that is acceptable beside a sink may be prohibited behind a range. Read the technical data, not just the marketing description.
Large panels need accurate templates around outlets, windows, and cabinet ends. Dry-fit every piece before opening adhesive. Leave the expansion gaps required by the manufacturer, because tightly trapping a sheet between a countertop and upper cabinet can make it buckle. Seal exposed edges and penetrations with compatible products, and use the specified trim when raw cores or cut edges should not remain exposed.
Adhesive choice matters. Solvent-based products can attack some plastics or foam cores, and construction adhesive applied in thick blobs can telegraph through a thin panel. A water-based adhesive may need a porous surface and adequate drying time. Follow the trowel size, bead spacing, open time, rolling pressure, and temperature range stated by both manufacturers.
Ceramic tile is durable but needs a stable wall
Tile gives a tiny kitchen a durable, washable surface, but it is the heaviest and least movement-tolerant option in this comparison. It suits a foundation home well. In a THOW, use it only after calculating the finished weight, stiffening the wall, and planning flexible joints at corners and changes of plane.
Do not count tile alone. Include mortar, grout, edge profiles, backer or membrane, and roughly 10 percent extra material for cuts and future repairs. Current ceramic wall-tile examples weigh about 2.3 to 3.3 pounds per square foot before mortar and grout, while unusually thick products can weigh more. A 25-square-foot backsplash can therefore add a meaningful load high on one side of a trailer.
Start with a flat substrate securely fastened to framing. Painted drywall can sometimes accept a small dry-area backsplash when the coating is sound and the mortar maker allows it, but glossy paint must be cleaned and prepared as directed. Damaged gypsum, loose paper, swelling wood, and flexing seams need correction before tile begins. Cement board is not automatically waterproof, and a kitchen splash area is different from a shower assembly.
Use a mortar approved for the tile and substrate. Premixed tile adhesive can be convenient for a simple kitchen wall, but check its limits for tile size, heat exposure, moisture, and cure time. Leave movement space at the countertop, inside corners, cabinet edges, and other restraining surfaces. Industry guidance treats movement accommodation as part of a tile installation, because temperature, moisture, loading, and substrate movement create stress.
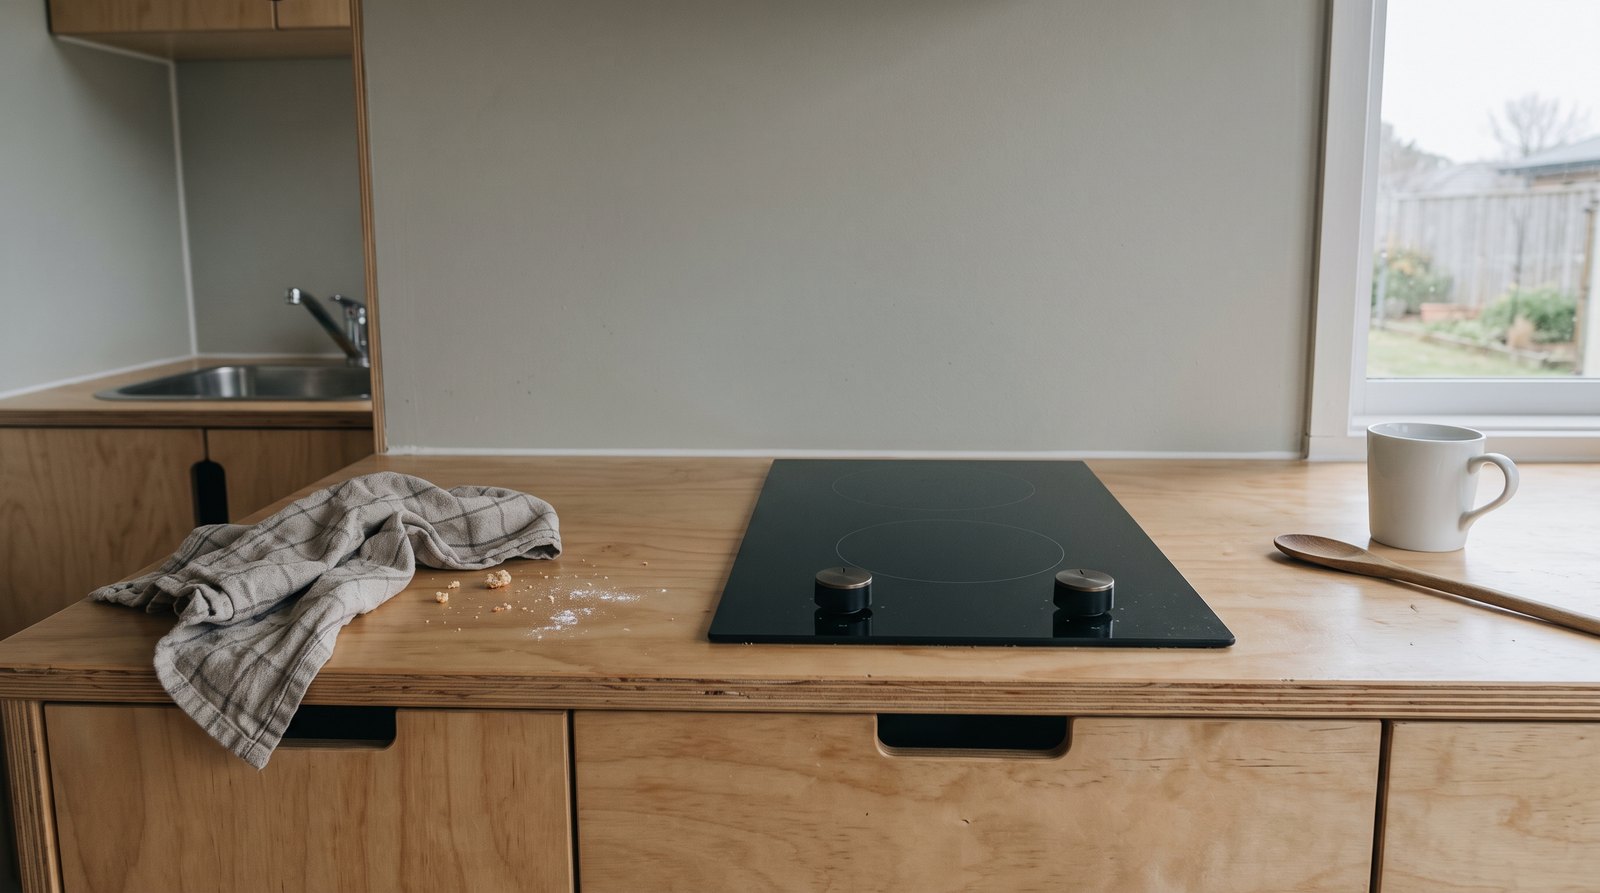
Washable paint is inexpensive and easy to repair
Paint is the lightest, cheapest, and easiest backsplash to refresh, making it sensible for a lightly used kitchen or a temporary build stage. It does not provide the impact, heat, or standing-water protection of tile or metal. Success depends on smooth wall preparation, a suitable primer, and a durable washable coating.
Painted backsplashes fail first at the countertop joint, behind faucets, and beside high-splatter cooking zones. Seal the counter-to-wall joint with a compatible kitchen sealant, keep water from pooling there, and run ventilation while cooking. Touch up chips before moisture reaches paper-faced gypsum or wood. Keep the exact product, color code, and sheen in the maintenance file.
Do not assume paint makes a combustible wall safe behind an appliance. A coating does not change the clearance in a range or cooktop manual. Where heat, grease, or repeated scrubbing is severe, install an approved protective panel or choose another finish rather than repeatedly repainting damaged material.
Stainless steel handles splashes and serious cleaning
Stainless steel is a strong choice near a cooktop because it is nonporous, easy to wipe, and available as a single custom sheet. It is not a universal heat shield, however. The appliance listing, installation manual, adopted code, and panel system still control clearances and acceptable wall construction.
A brushed finish hides fingerprints and small scratches better than a mirror finish. Thin sheet should be bonded to a smooth, stable backing or supplied as a rigid panel, because every bump and adhesive ridge can show through. Folded or hemmed edges are safer and cleaner than exposed sharp cuts. Around receptacles, use accurately cut openings and proper electrical box extensions where required.
Choose compatible fasteners and cleaners. Chloride-heavy cleaners, steel-wool particles, and some dissimilar metals can stain or corrode stainless surfaces. Wipe with the grain, rinse cleaner residue, and dry the panel. If the sheet meets a wood counter, use a neat compatible sealant joint that can be renewed without prying the metal off the wall.
Prepare the substrate before choosing adhesive
The substrate is more important than the decorative face. It must stay flat, dry, clean, and firmly attached while the house is occupied or moving. Fix leaks, wall flex, loose sheathing, glossy contamination, and protruding fasteners first. Then match the adhesive or coating to both the substrate and the finish product.
Plan the entire wall before closing it. Add blocking where a heavy panel, shelf, rail, or upper cabinet needs support. Photograph wiring and plumbing, and record measurements from fixed corners. In a THOW, verify that framing and sheathing attachment match the builder’s structural plan. A backsplash cannot compensate for a wall that racks during travel.
Penetrations need special care. Turn power off and have electrical work completed correctly. The finished device box must remain accessible and properly aligned with the new wall thickness. Do not bury junctions behind a sheet, fill electrical boxes with adhesive, or use the cover plate as a clamp for a loose panel.
Heat, moisture, and travel movement set the details
A safe backsplash does three jobs: it cleans easily, keeps routine splashes out of vulnerable wall layers, and respects the equipment around it. It should not trap water, block ventilation, cover required labels or service access, or be treated as permission to reduce an appliance clearance.
Read the installation instructions for the exact range, cooktop, microwave, and hood. The 2024 International Residential Code also ties appliance installation to listings and manufacturer instructions, while local adoption and classification can vary. A material described as heat resistant is not automatically accepted at any distance from a burner. Confirm the assembly with the local authority when a permit or inspection applies.
Kitchen moisture usually comes from splashes, steam, leaks, and condensation rather than constant water exposure. Seal the countertop joint, pipe penetrations, and panel edges that the system requires, but do not seal a wall cavity into a moisture trap. Repair a dripping faucet promptly and use an effective range hood or other compliant ventilation to reduce grease and humidity.
Before towing, secure loose accessories and inspect tile, grout, sealant, panel corners, and outlet plates. After the first trip, look for hairline cracking, buckling, rubbed edges, and separated caulk. If movement repeats, correct the support or joint design instead of covering the symptom with a harder adhesive.
Installation order that prevents rework
Measure and sequence the job before buying finish material. The backsplash should coordinate with countertops, cabinets, electrical devices, plumbing trim, appliances, and ventilation. A few hours spent templating and checking product instructions can prevent ruined panels, off-center tile, inaccessible outlets, and unsafe assumptions near cooking equipment.
- Confirm the final layout: Set countertop height, cabinet locations, appliance clearances, and outlet positions.
- Calculate weight and material: Measure actual wall area, add the maker’s cutting allowance, and include adhesive, grout, trim, and backing in a THOW weight budget.
- Repair the wall: Correct moisture, flex, damage, high spots, and contamination before covering anything.
- Dry-fit: Lay out tile or template panels, including every edge, corner, outlet, and window return.
- Install by the system instructions: Observe surface preparation, adhesive coverage, gaps, cure time, and temperature limits.
- Finish transitions: Use approved trims, sealants, and movement joints instead of packing rigid grout into every change of plane.
- Inspect before use or travel: Verify secure edges, accessible devices, cured materials, appliance clearance, and easy cleaning.
Coordinate the backsplash with other long-life decisions. A durable finish is wasted if cabinet attachment or wall moisture fails first. Our guides to how long tiny houses last and tiny houses versus RVs for full-time living explain why mobility and maintenance expectations should shape material choices.
Realistic tiny house backsplash costs in 2026
For a typical 15-to-30-square-foot tiny kitchen, paint can cost under $100 in materials, simple panels often total $100 to $500, tile commonly lands around $200 to $900 in materials, and stainless can range from roughly $100 for one stock panel to $1,000 or more for custom work. Labor can equal or exceed materials.
Those are planning ranges, not bids. Tile price alone can range from about $3 per square foot for basic ceramic to well above $15 for specialty products. Add mortar, grout, trim, backer or membrane, sealant, tools, waste, and delivery. Complex mosaics and many outlet cuts increase labor even when the wall is small.
Get a written scope from an installer. It should name the substrate preparation, product system, edge treatment, outlet work, sealing, debris removal, and cure time. For a THOW, ask how the installer will accommodate movement and how much the completed assembly adds. A slightly higher price for a documented, repairable system is usually worth it.
Frequently asked questions
These answers cover the questions tiny house owners ask most often. The safest choice depends on whether the home moves, the wall and appliance details, and the finish maker’s instructions. Treat advertised heat resistance or waterproofing as a starting point, then verify the complete installed assembly.
What is the best backsplash for a tiny house on wheels?
A lightweight sheet panel is usually the best fit because it minimizes weight, grout lines, and cracking risk. Choose a product approved for kitchens and the expected heat exposure, install it over a stable wall, leave specified expansion gaps, seal required edges, and inspect it after early trips.
Can I put ceramic tile in a tiny house on wheels?
Yes, but tile needs a stiff, well-fastened substrate, a complete weight calculation, suitable mortar, and flexible joints at changes of plane. Keep the tiled area modest and use wall-rated tile. Frequent travel increases cracking risk, so carry spare pieces and check the installation after towing.
Is peel-and-stick backsplash safe behind a stove?
Only if the exact product permits that location and the appliance instructions allow the wall assembly at the available clearance. Heat-resistant marketing is not enough. Check the panel’s technical data, range or cooktop manual, local requirements, and hood details. When uncertain, use an approved metal or tile system.
Do I need backer board for a kitchen backsplash?
Not always. A sound, flat wall may accept certain tile or panels when the product manufacturer allows it. Backer board is useful when the existing surface is damaged, unsuitable, or needs added stability, but it does not automatically waterproof the wall. Follow the complete installation system, not one component label.
Should I caulk or grout the backsplash countertop joint?
Use a flexible sealant compatible with the countertop and backsplash system, not rigid grout, at the change of plane. The joint experiences movement and regular splashing. Leave the required gap, clean and dry the surfaces, tool the sealant neatly, and replace it when it cracks, separates, or grows persistent mold.