Tiny house bathroom walls work best when the wet zone has a complete waterproof system and the dry zone uses a washable, moisture-resistant finish. Tile offers the most design freedom, shower-rated panels reduce seams and weight, and quality bathroom paint is suitable only where direct spray cannot reach it.
Table of Contents
Quick answer by situation
Choose the wall system around how the bathroom will be used, whether the house will travel, and who will maintain it. Panels are usually the simplest all-around choice for a tiny shower. Tile can be excellent on a foundation. Paint saves money in genuinely dry areas, but it is not a shower waterproofing product.
- For a frequently moved THOW: Use a lightweight shower-rated panel system with the manufacturer’s matching trims, adhesive, and sealant.
- For a foundation tiny home: Tile over a complete bonded waterproofing system is durable and gives you the widest range of finishes.
- For the lowest project cost: Use an acrylic or fiberglass surround in the shower and bathroom-rated paint outside it.
- For easy cleaning: Choose large solid-surface, laminate, or composite panels with as few joints as possible.
- For an existing sound shower: Repair failed caulk and penetrations before considering a cosmetic covering. Do not trap an active leak behind new panels.
What actually makes a shower wall waterproof?
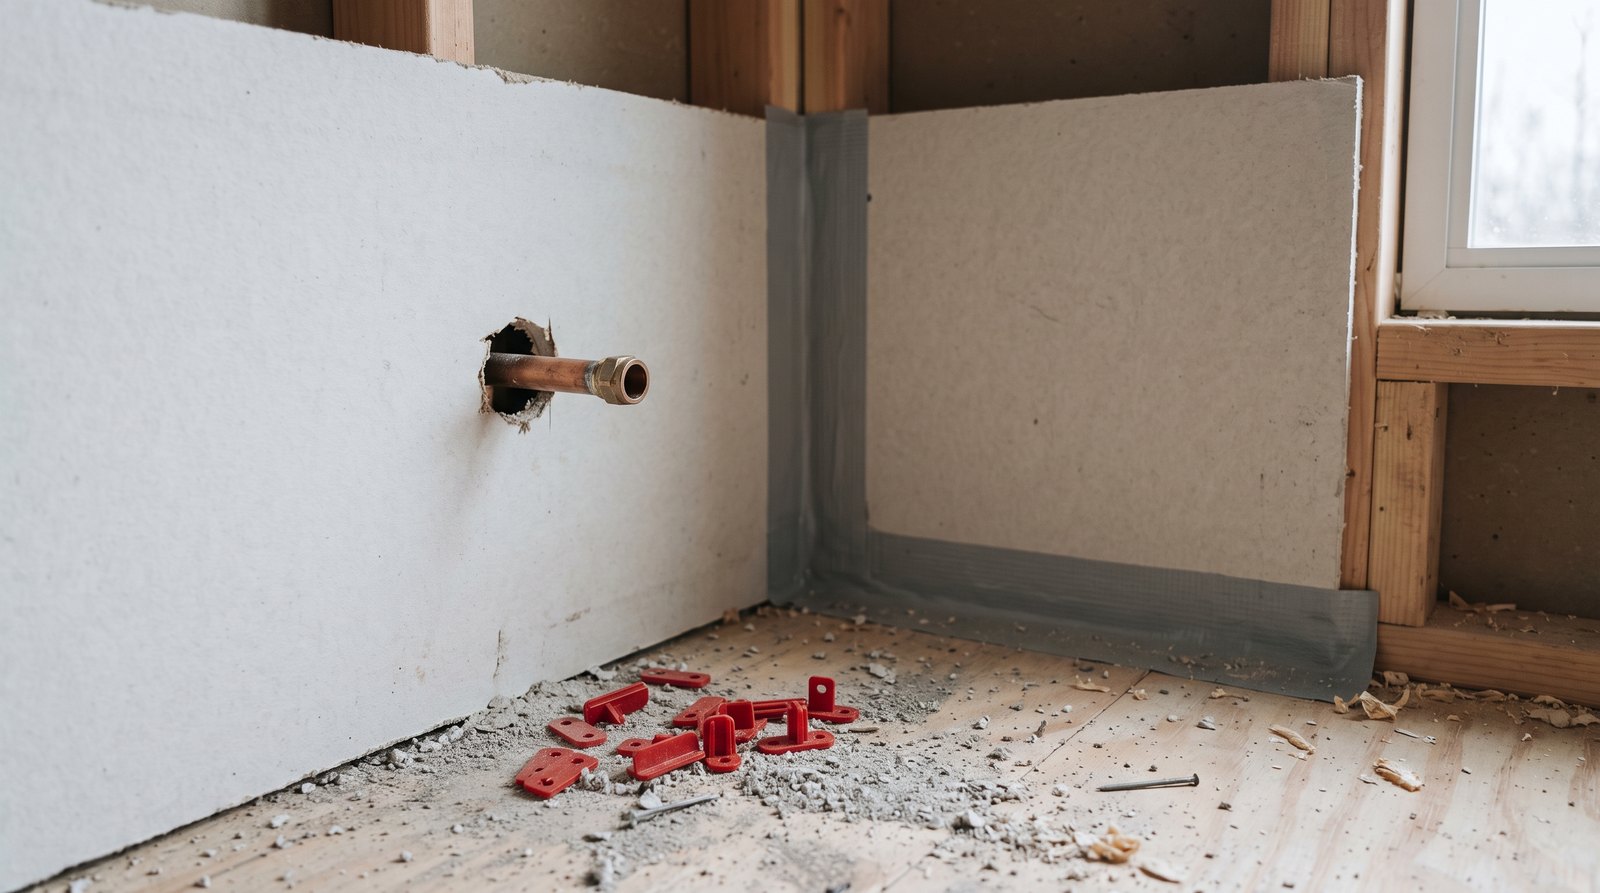
A shower is waterproof because its substrate, membrane, seams, corners, base connection, and plumbing penetrations form one continuous system. Tile, grout, decorative PVC, and moisture-resistant paint are finishes, not automatic waterproofing. Use products approved together, follow their overlap and cure requirements, and test the assembly when the manufacturer calls for it.
Water can pass through grout joints and reach the material behind tile. Cement backer board handles moisture better than ordinary drywall, but a water-durable board is not necessarily a complete water barrier. Depending on the listed assembly, the board may need a sheet membrane or liquid-applied membrane on its face.
The vulnerable spots are predictable: inside corners, the transition to the shower base, niches, benches, fasteners, mixing valves, shower arms, and any place two panels meet. Use compatible prefabricated seals or carefully detailed membrane and sealant. A bead of household caulk over a poorly prepared joint is not a substitute for the specified detail behind it.
Panel systems differ. Some direct-to-stud surrounds manage water through shaped interlocking joints. Some glue-up wet-wall panels require sealed trims and a suitable backing surface. Decorative wall sheets may be merely water resistant and may not be approved inside a shower. Confirm the exact product’s wet-area listing and installation guide before buying.
Tile, panels, or waterproof paint?
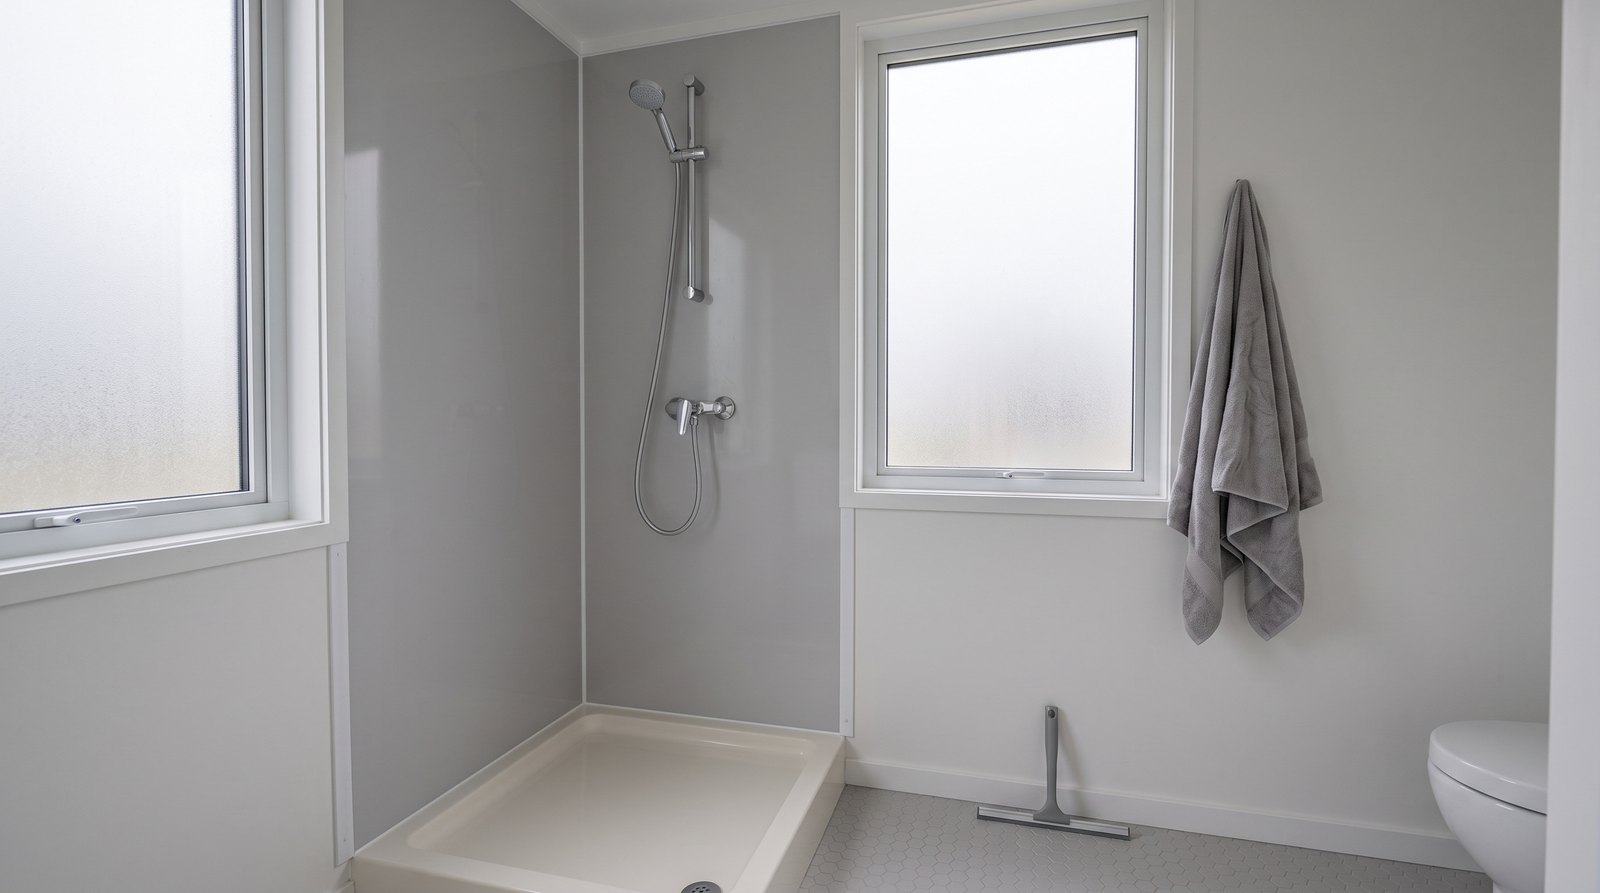
For most tiny houses, shower-rated panels offer the best balance of low weight, few grout lines, quick installation, and manageable repairs. Tile is the premium choice when weight and movement are controlled. Paint belongs on bathroom walls outside the shower, above a surround, or behind a vanity where splashes are occasional and quickly wiped.
Ceramic or porcelain tile
Tile tolerates routine cleaning, resists abrasion, and makes awkward dimensions easier to finish than a fixed-size surround. Small tile can follow a shower floor slope, while larger wall tile reduces grout. The tradeoffs are weight, many installation steps, curing time, and a higher chance of cracking when a trailer frame flexes.
Use a recognized shower assembly rather than collecting unrelated products. The backing, membrane, drain or base, thinset mortar, tile, grout, movement joints, and sealants should be compatible. Do not apply tile directly over ordinary painted drywall in a shower, and do not assume sealed grout makes the wall waterproof.
Fiberglass, acrylic, PVC, laminate, and solid-surface panels
Large panels cover a wall quickly and eliminate most grout. Fiberglass and acrylic surrounds are economical but often come in fixed dimensions. PVC and laminate wet-wall systems offer more patterns and can be cut on site. Solid-surface panels feel substantial, hide scratches better in some finishes, and usually cost more.
Fewer seams do not mean no detailing. Panels need the right substrate, adhesive coverage, expansion gaps, corner treatment, and seals at fixtures. Follow the manufacturer’s instructions for edge profiles and sealant. Avoid generic decorative sheets in the wet zone unless their documentation specifically approves shower use.
Moisture-resistant bathroom paint
High-quality bathroom paint is practical on the ceiling and dry-zone walls when the surface is sound, clean, primed as required, and ventilated. Satin or semi-gloss finishes are generally easier to wipe than flat paint, although modern bathroom coatings vary. Paint cannot bridge a leaking joint or replace a membrane inside a shower.
How much do bathroom walls weigh in a THOW?
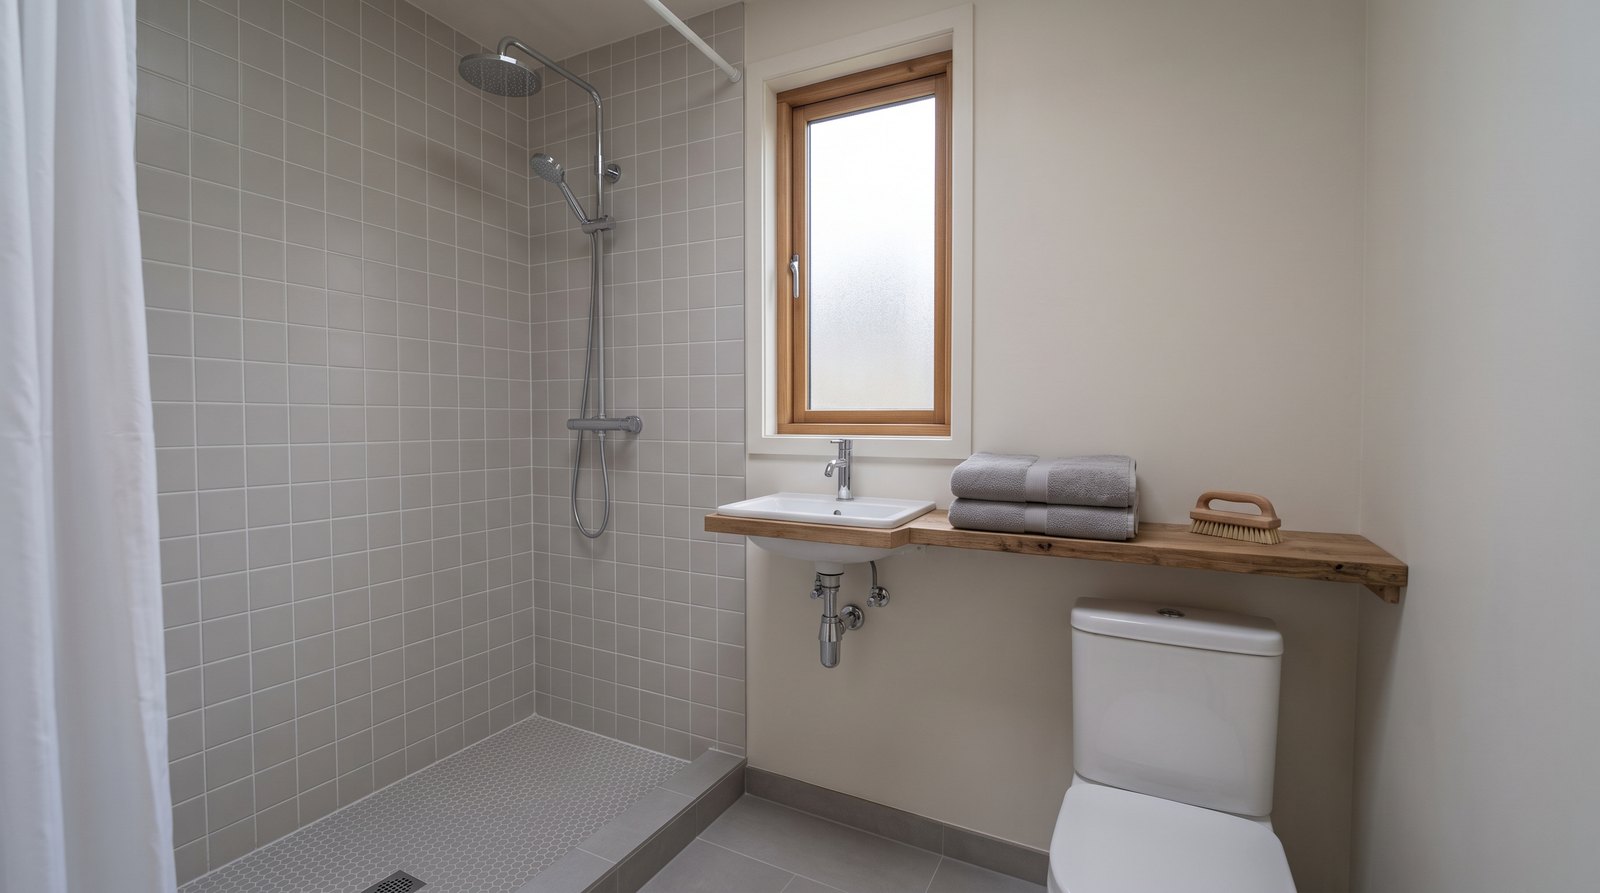
Weight matters more in a tiny house on wheels because every wall finish reduces cargo capacity and affects axle loading. Half-inch cement board alone is about 2.4 pounds per square foot. Across 80 square feet of shower wall, that is roughly 192 pounds before membrane, mortar, tile, grout, fixtures, or stored supplies.
A complete tile assembly can add several hundred pounds to one end or side of a trailer. Ask the designer or builder to include the real wall-system weight in the trailer’s loaded calculation, not just the dry shell estimate. Locate heavy finishes with axle balance in mind and verify the finished house on certified scales.
Movement also matters. A foundation home experiences normal seasonal movement, while a THOW can see frame twist, road vibration, potholes, and abrupt temperature changes. Strong framing, correct fastener spacing, supported board edges, movement joints, and flexible sealant at changes of plane help, but no finish can compensate for an underbuilt wall.
Realistic tiny house bathroom wall costs in 2026
A small bathroom does not always produce a small invoice because corners, valves, trim, waterproofing, and mobilization still take time. For planning, expect about $300 to $7,000, depending on whether you are painting dry walls, installing a basic surround yourself, or hiring a tile contractor for a custom waterproof shower.
- Painted dry zones: About $60 to $150 in primer, bathroom paint, caulk, and supplies for a small room. Professional preparation and painting may run $300 to $900 when wall repair is limited.
- Basic fiberglass or acrylic surround: Roughly $400 to $1,200 for the wall kit, adhesive or fasteners, trims, and sealant. A straightforward installed project may total $1,000 to $3,000 before plumbing changes.
- PVC or laminate wet-wall panels: Commonly $300 to $1,000 in wall materials for a compact shower, with broad variation by thickness and pattern. An installed total of $800 to $2,500 is a reasonable planning range.
- Solid-surface panels: Often $700 to $2,200 for a compact wall kit. Expect roughly $1,800 to $4,500 installed when templating, shipping, trims, and skilled fitting are included.
- Custom tile shower walls: Plan on about $600 to $2,000 for board, membrane, mortar, tile, grout, trims, and sealants. Professional totals commonly reach $2,500 to $7,000 because waterproofing and layout take time.
These are national planning ranges based on current retail pricing, not quotes. Demolition, hidden rot, niche construction, plumbing relocation, unusual access, premium tile, and remote travel can raise the total. Request a written scope that identifies the waterproofing system, substrate repair, trim, disposal, and warranty instead of comparing only the finish price.
Installation details that prevent expensive failures
The best material still fails when the wall is out of plane, the base flange is detailed incorrectly, or penetrations are left unsealed. Start with straight framing and the exact substrate required by the chosen system. Dry-fit panels and fixtures, install blocking, and photograph concealed waterproofing before the finish covers it.
- Plan the base connection first. The wall layer must overlap or connect to the shower base exactly as the system requires so water returns to the receptor.
- Support every edge. Add framing where boards, panel edges, doors, accessories, and grab bars need fastening.
- Treat penetrations as part of the system. Use approved collars, gaskets, sealant, or membrane patches at valves and pipes.
- Respect movement gaps. Corners and dissimilar materials need the specified flexible joint, not rigid grout packed into every change of plane.
- Follow cure times. Adhesive, liquid membrane, mortar, grout, and sealant may need different waiting periods before the shower can be used.
Ventilation protects every wall finish
Waterproof shower walls do not solve airborne moisture. A tiny bathroom has little air volume, so mirrors, windows, ceilings, and painted dry walls can become wet quickly. Install a quiet exhaust fan that discharges outdoors, keep the duct short and smooth, and use a timer or humidity control long enough to clear moisture.
A common benchmark for an intermittently operated bathroom fan is at least 50 cubic feet per minute, but the required flow and controls depend on the adopted code and the whole-house ventilation design. Tight tiny homes may also need planned makeup air. Confirm the design with the local authority and the home’s HVAC professional.
Ventilation is also part of long-term durability. The same moisture planning that protects bathroom finishes supports the service life discussed in how long tiny houses last. In a full-time home, treat the fan as essential equipment, not an optional accessory.
Cleaning, inspection, and repair
Simple weekly cleaning and a deliberate inspection every few months prevent small defects from becoming hidden wall damage. Use cleaners approved for the surface, keep corners dry between showers, and look closely at sealant, grout, trims, plumbing penetrations, and the base connection. Repair the cause of movement or moisture before refinishing.
For tile, cracked grout may be cosmetic, but a recurring crack can signal movement. Missing grout and surface sealer are not proof that the waterproof layer has failed, yet damp backing, staining, odor, loose tile, or swelling trim deserves investigation. A moisture meter and selective opening may be cheaper than covering the symptom.
Keep leftover tile, a panel offcut, trim profiles, color codes, and product instructions. Photograph plumbing before closing the wall. Those records make future access and matching much easier. They can also help an insurer understand the build, alongside the documentation discussed in our tiny house insurance cost guide.
Best overall choice for a tiny house bathroom
For a frequently moved THOW, a lightweight shower-rated panel system plus painted dry-zone walls is usually the most forgiving choice. For a foundation tiny home, either a panel system or correctly waterproofed tile can work well. Base the decision on verified weight, installer skill, repair access, and product approval, not appearance alone.
Choose tile when you value design flexibility, have a stiff structure, and can hire or perform careful waterproofing work. Choose panels when you want fewer seams, faster installation, predictable cleaning, or lower road weight. Choose paint for ceilings and splash-limited dry walls where it can be renewed without dismantling the shower.
If you are comparing a road-going tiny house with a recreational vehicle, bathroom construction is one of the practical differences to examine. Our guide to tiny houses versus RVs for full-time living explains the broader tradeoffs in mobility, systems, and daily use.
Frequently asked questions
Tiny bathroom walls invite the same core questions about waterproofing, weight, maintenance, and cost. The short answers below apply to most U.S. projects, but listed assemblies and local requirements vary. Confirm the selected products with their current instructions, and ask your city, county, builder, or design professional about the rules for your site.
Can I use regular drywall behind a tiny house shower?
Do not use ordinary painted drywall as the exposed shower substrate. Some listed bonded waterproofing systems permit specific gypsum panels behind their membrane, while others require cement board or a proprietary waterproof board. Follow one complete manufacturer’s assembly and the locally adopted code instead of combining parts based on appearance.
Is waterproof paint enough inside a shower?
No. Bathroom or so-called waterproof paint is useful on dry-zone walls and ceilings, but it is not a substitute for a listed shower membrane or wet-wall system. Direct spray, corners, fasteners, and pipe penetrations need a continuous assembly designed to manage water and connect correctly to the shower base.
Will tile crack when a tiny house moves?
Tile can survive travel, but risk rises with trailer flex, poor framing, unsupported board edges, rigid corner joints, and heavy finishes. Use a structure designed for tile, an appropriate membrane, movement joints, compatible sealants, and careful axle planning. Inspect grout and sealant after the first trips and after severe road impacts.
What is the easiest tiny house shower wall to clean?
Large solid-surface, acrylic, fiberglass, or shower-rated composite panels are generally easiest because they have few joints and no broad field of grout. The exact winner depends on surface texture and cleaner restrictions. Smooth light-colored panels reveal buildup early, while removable trim or accessible plumbing can simplify future repairs.
How often should shower sealant be replaced?
There is no reliable calendar interval for every product and bathroom. Inspect it every few months and replace it when it separates, cracks, hardens, traps mold, or loses adhesion. Persistent failure points to movement, contamination, or the wrong sealant. Correct that cause and follow the system manufacturer’s removal, preparation, and cure instructions.