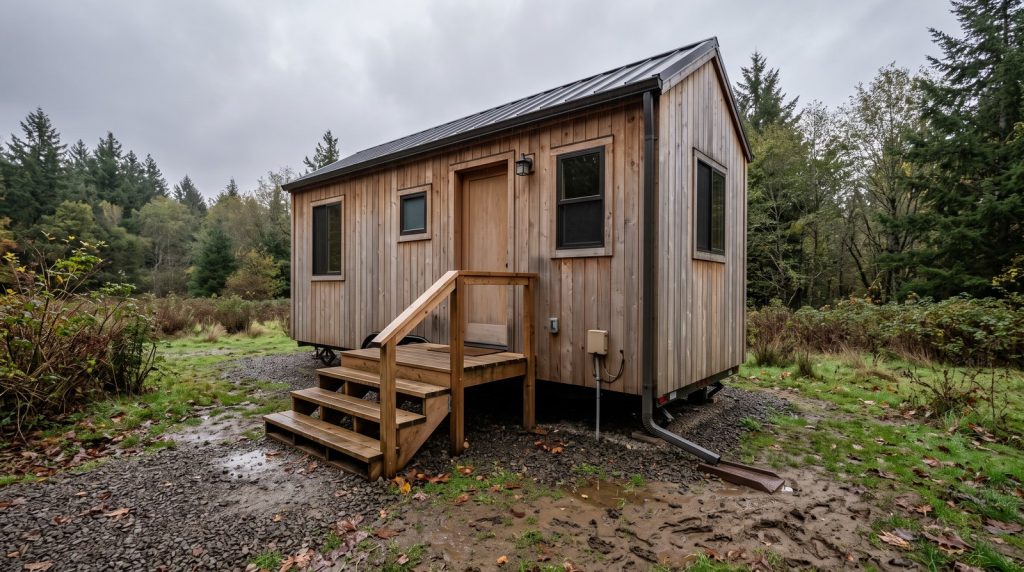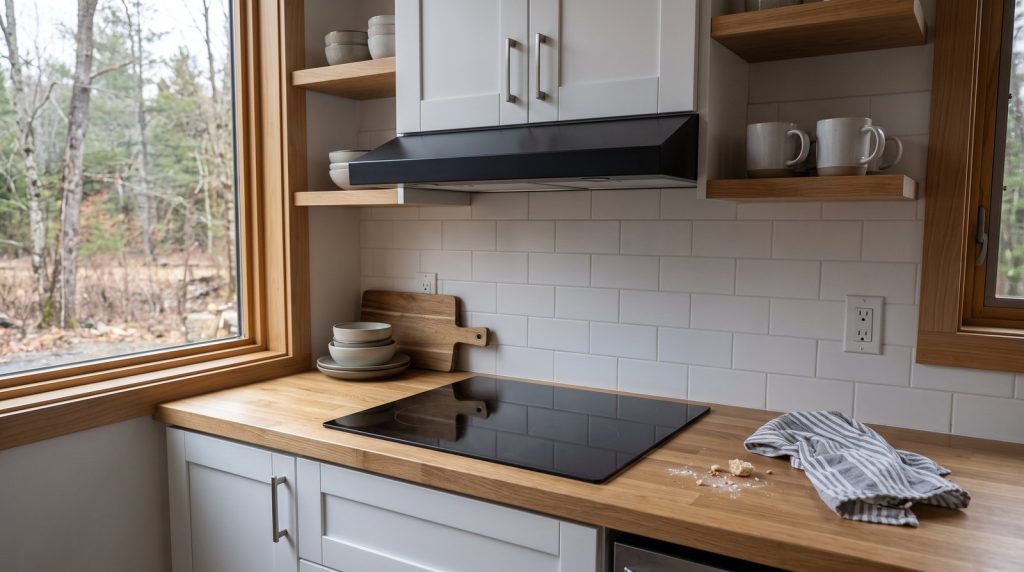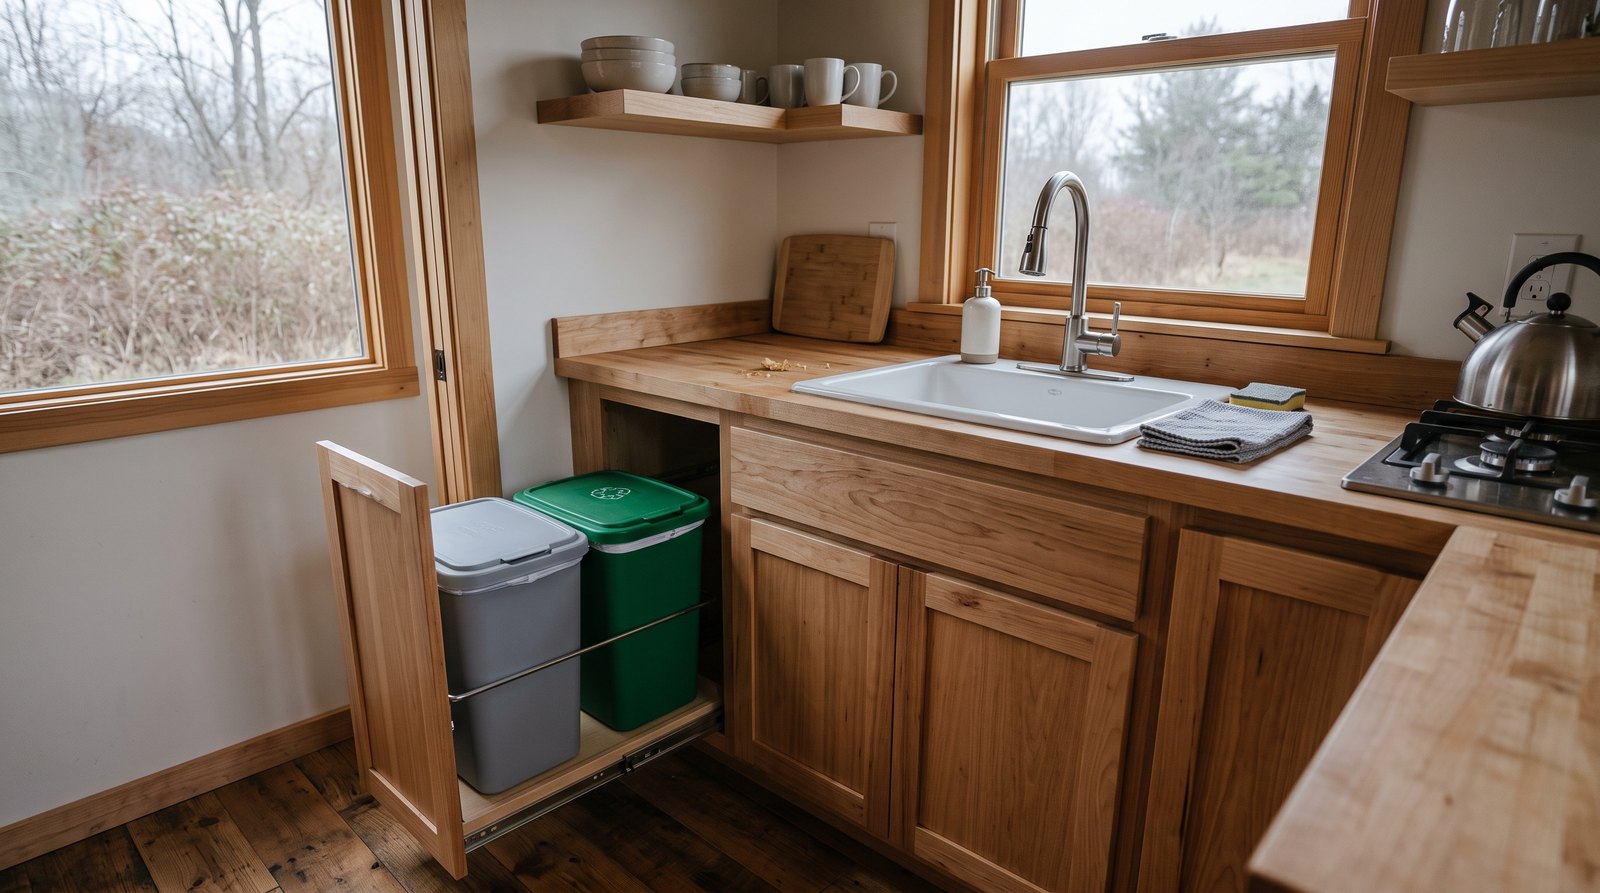
Tiny house trash and recycling storage works best when each waste stream has a small fitted bin, food scraps stay in a sealed caddy, and overflow moves to a secure exterior enclosure. Measure the cabinet first, match containers to local collection rules, and add leak control, ventilation, pest resistance, and travel latches where needed.
Table of Contents
Plan the waste streams before buying bins
Start with the materials your household actually discards and the collection service available at the site. Most tiny homes need separate places for landfill trash, accepted recyclables, and food scraps. A fourth container may be useful for returnable bottles, batteries, or other items that must go to a special drop-off location.
Ask the city, county, campground, park, or private hauler for its current sorting list. Accepted plastics, glass rules, bag requirements, cart sizes, and compost policies vary widely. A recycling symbol on a package does not prove that the local program accepts it. Food residue can also contaminate otherwise useful material, so scrape or rinse containers as the local program directs.
Track one normal week of waste before choosing capacity. In many tiny kitchens, a pair of 5 to 8 gallon bins plus a 1 to 2 gallon food-scrap caddy is easier to manage than one large can. Smaller bins encourage more frequent emptying, reduce the time odors develop, and fit into narrow cabinets. They also require enough collection access that frequent trips are realistic.
Quick answer by situation:
- Full-time foundation home: Use fitted indoor trash and recycling bins, a washable food-scrap caddy, and approved outdoor carts or an animal-resistant enclosure.
- Tiny house on wheels at a long-term site: Add positive travel latches and keep heavy or wet waste low and close to the trailer axles until it can be removed.
- Frequent travel or campground living: Favor small removable bins and empty them before moving. Confirm each campground’s sorting and dumpster rules.
- No curbside service: Choose sealed containers that fit the vehicle used for transfer-station trips, and plan a separate method for batteries, chemicals, and bulky items.
- Home composting: Keep the kitchen caddy small and transfer scraps often to a properly managed outdoor system that local rules allow.
Handle food scraps without creating odors
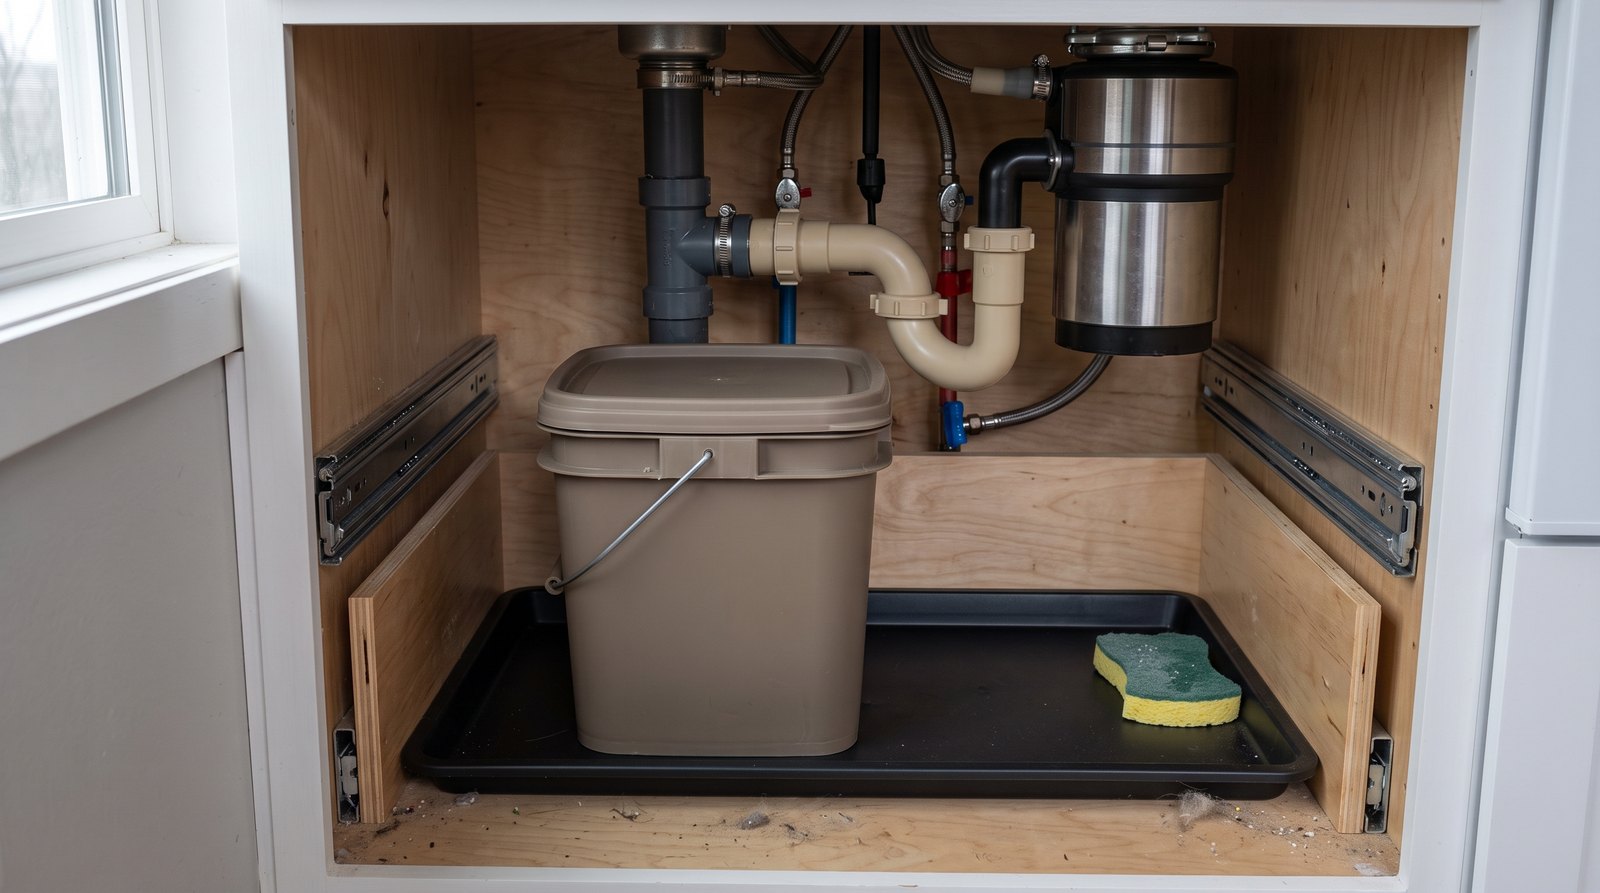
A compact food-scrap caddy should have a fitted lid, a removable washable bucket, and a route to compost collection that is short and easy. Store it where you can reach it during food preparation, but keep it away from heat. Empty it every few days, or sooner when it contains wet or strongly scented material.
A tight lid usually matters more than a charcoal filter. Filters can help, but they do not replace frequent emptying and cleaning. Put the caddy on a shallow leak tray inside the cabinet. If you use liners, confirm that the collection program accepts that exact type. Many municipal compost operations do not accept every product marketed as compostable.
For backyard compost, follow the system’s ingredient limits rather than treating the caddy as a second trash can. EPA guidance recommends closed indoor collection and notes that meat, dairy, bones, fats, and greasy food can attract animals in ordinary home piles. Commercial organics programs may accept more, so local instructions control. Freezing scraps in a reusable container can be a practical option between drop-off trips.
Choose indoor trash and recycling bins that fit
Use the smallest bin set that handles the interval between collection trips without constant overflow. A single pull-out can fits a narrow base cabinet, while a double pull-out separates trash and recycling. Loose removable bins cost less, weigh less, and are easier to clean, but they need a nonslip base and secure restraint in a moving tiny house.
Measure the clear cabinet opening, interior width, usable depth, and height below plumbing or drawers. Then measure the bins at their widest points, including lid hinges and handles. Pull-out hardware also needs room for slides, door brackets, and fasteners. A nominal 15-inch cabinet does not provide 15 inches of clear space.
Bottom-mounted slides are usually easier to align and clean around than improvised side rails. Choose hardware with a published working-load rating that covers the carrier, both bins, and a realistic load of wet trash or glass. Fasten the frame into solid cabinet material, not only a thin panel. A door-mounted kit saves a step, but the cabinet door and hinges must remain square.
Place recycling beside trash so the correct choice is effortless. Keep recyclables clean and dry, flatten cardboard, and follow local instructions for caps, bags, glass, and food-soiled paper. Do not put loose batteries, propane cylinders, paint, chemicals, or hot ashes into either everyday bin. Those items need the disposal route specified by the local solid-waste or fire authority.
Build exterior storage that resists weather and pests
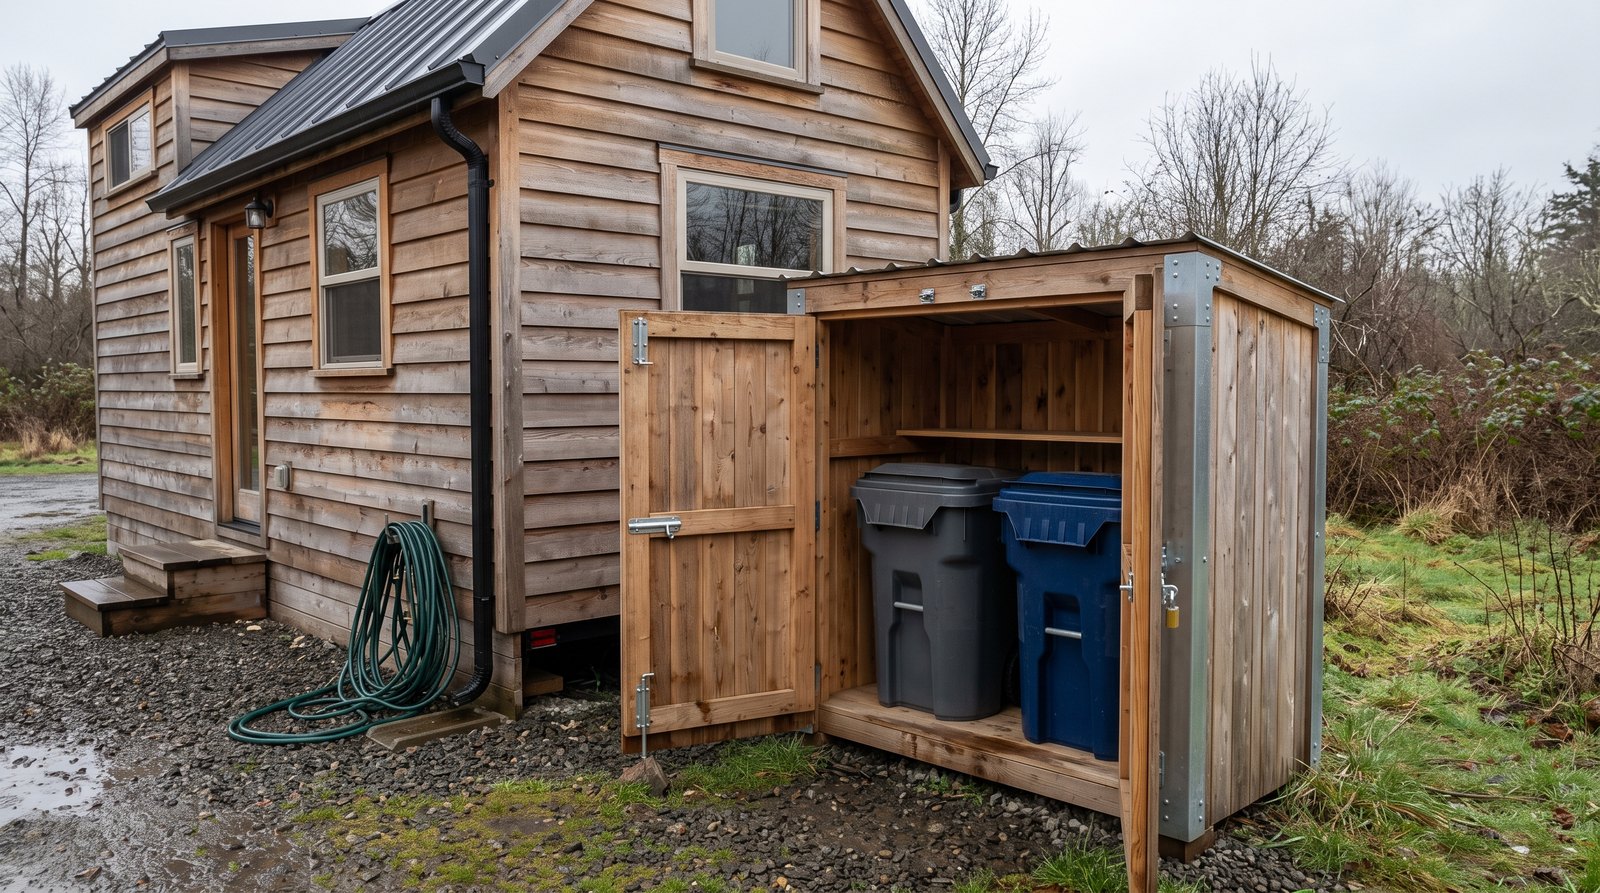
Exterior waste storage should keep approved carts upright, dry enough to clean, inaccessible to common pests, and easy for the hauler or resident to reach. Use a level base, durable walls, a roof or sloped top, and latches suited to local animals. Never block an exit, utility access, ventilation opening, or required fire separation.
Thick plastic or metal containers with tight lids are the basic defense against rodents. The enclosure adds protection from wind, raccoons, and casual tipping, but it should not substitute for intact containers. Avoid gaps that let animals reach bags, and do not store loose food waste on the floor. In bear country, use the container and latch system required by the local wildlife or sanitation authority.
Keep the structure clear of the tiny house hitch, propane equipment, electrical disconnects, windows used for emergency escape, and the route to the front door. Do not screw an enclosure into trailer siding without understanding the wall framing and weather barrier. A freestanding box is often safer for a THOW and easier to leave behind on travel day.
Collection rules can dictate more than sorting. Some places require a specific cart, secure lid, label, setout time, or curb position. Others prohibit carts from remaining visible between pickup days. Campgrounds may require all household waste to go directly to shared dumpsters. Confirm the rule before building an enclosure around a cart that the service will not empty.
Control leaks, odor, flies, and rodents
Odor control comes from removing wet organic material, containing leaks, and cleaning surfaces, not from adding perfume. Tie or close trash bags, keep food scraps in their designated caddy, wipe spills immediately, and wash bins on a schedule. Tight lids and intact containers reduce the food and water sources that attract insects and rodents.
Use smooth, nonabsorbent containers that can be carried to a sink or outdoor wash area. A removable tray under a pull-out protects the cabinet bottom and reveals leaks early. Wash with detergent, rinse, and let every part dry before reinstalling it. Follow the bin manufacturer’s cleaning directions and never mix cleaning chemicals.
Fruit flies often point to residue under the rim, around a liner, or beneath the carrier. Clean those areas and shorten the emptying interval. Persistent gnawing, droppings, or damaged bags mean the storage system is not secure. Move food into tight containers, close gaps appropriately, and contact local health officials or a pest professional when an infestation is present.
Secure every bin before towing a tiny house
Empty trash, recycling, and compost before travel whenever possible, then latch every cabinet and restrain every removable container. Waste is unpredictable cargo because liquid can shift and glass can add surprising weight. Loose bins can damage doors, plumbing, finishes, or occupants if the house is entered during a stop.
Use positive mechanical latches rather than magnets alone. A pull-out frame may need both a cabinet-door latch and a stop that prevents the carrier from sliding. Test the setup with the bins partly loaded, because empty containers do not reveal the force created by a quick stop or rough road. Keep the heaviest items low and avoid loading one side of the trailer.
Count stored waste as cargo when checking the trailer’s weight limits. Do not exceed the trailer or axle ratings, and keep the complete loaded setup within the towing plan established for the home. The same preparation that protects the bins also supports the broader checklist in our guide to moving a tiny house in 2026.
If you use a freestanding outdoor box at a leased pad, decide whether it travels, remains with the site, or must be disassembled. Large enclosures rarely belong on the trailer unless they were designed into the structure. Secure hoses, cleaning tools, and empty carts separately so they cannot become road debris.
Budget for hardware and installation
A basic loose-bin setup can cost about $30 to $100, while a fitted double pull-out commonly lands around $100 to $450 before carpentry. A small food-scrap caddy and leak tray may add $25 to $80. Exterior storage ranges from a simple anchored resin box to a custom wood or metal enclosure costing several hundred dollars.
Current retail listings show why the range is wide: basic single pull-outs can sit below $100, while double soft-close systems and wood-framed kits can exceed $300 or $400. The bin count, slide rating, door-mount hardware, and cabinet size affect price. Sales change quickly, so treat these as planning ranges rather than quotes.
Spend first on fit, cleanability, and reliable latches. Soft-close slides are pleasant but less important than a tray that catches leaks. For a THOW, robust restraint is worth more than decorative matching. If you are budgeting the whole home, remember that belongings and specialty equipment may also affect tiny house insurance costs and coverage.
Use a simple maintenance routine
A five-minute weekly check prevents most tiny-house waste problems. Empty food scraps, wipe lids and rims, inspect liners and trays, confirm that the pull-out moves freely, and look for moisture or pest evidence. Monthly, remove the bins, clean the cabinet floor, tighten accessible hardware, and inspect exterior latches and the storage base.
Keep spare liners, a small brush, and cleaning cloths near the system without crowding plumbing. Labeling can help guests sort correctly, but use clear words that match the local program and update them when rules change. In a travel-oriented home, add bin emptying and latch checks to the departure list.
Seasonal changes matter. Hot weather shortens the practical storage interval for food waste. Freezing conditions can make lids and exterior latches brittle or immobilize wet material. Heavy rain can reveal drainage problems around the enclosure. Adjust the routine before the season creates an odor, pest, or access problem.
The best system is not the one that hides the most waste. It is the one that makes correct sorting obvious, keeps dirty material contained, and can be cleaned without dismantling the kitchen. That distinction is part of choosing whether a tiny house or RV is better for full-time living, especially when services change from site to site.
Frequently asked questions
These five answers cover the sizing, separation, odor, compost, and travel questions that matter most in a compact home. Treat them as practical starting points, then check the container instructions and the current rules of your local hauler, campground, municipality, or transfer station.
What size trash can is best for a tiny house?
A 5 to 8 gallon kitchen trash can works for many one-person or two-person tiny homes, especially with frequent collection. Measure the actual cabinet opening and record a week of waste first. Larger households or remote sites may need more capacity, but two smaller removable bins are often easier to fit, carry, and clean.
Should a tiny house have separate trash and recycling bins?
Yes, when the local program collects recycling. Side-by-side bins make sorting easier and reduce contamination, but their labels and accepted materials must match the local service. If recycling requires a transfer-station trip, use a lidded container that is safe to carry in a vehicle and keep food residue out.
How do you stop a tiny house trash cabinet from smelling?
Remove wet food waste quickly, use a fitted lid, contain leaks with a removable tray, and wash the bin, rim, and cabinet surfaces. Let everything dry before closing the cabinet. A filter can supplement this routine, but persistent odor usually signals hidden residue, a leak, excess humidity, or an emptying schedule that is too long.
Can a compost caddy stay under the sink?
Yes, if it has a secure lid, sits on a washable leak tray, remains accessible around the plumbing, and is emptied frequently. Do not crowd shutoff valves or hide a leak. Confirm which liners and scraps the local organics program accepts. For longer storage between drop-offs, a sealed freezer container may control odor better.
How should trash bins be secured in a tiny house on wheels?
Empty them before towing, close the lids, and use positive latches on both the pull-out mechanism and cabinet door. Nonslip pads help but do not replace mechanical restraint. Keep any remaining load low, include its weight in the trailer cargo calculation, and verify that bins cannot strike plumbing, appliances, or an exit.