Good tiny house laundry storage separates damp items from dry clothes, keeps the main walkway clear, and gives every rack or hamper a secure home. Start with one ventilated hamper, add drying capacity sized to a normal wash load, mount hardware to framing, and use positive travel restraints in a tiny house on wheels.
Table of Contents
Plan the laundry zone before buying storage
The best laundry zone is close to the washer or bathroom, easy to ventilate, and outside the path between the bed, kitchen, and exit. Measure the space with doors, drawers, and appliances open. A storage product that fits the empty room can still block daily movement once it is in use.
Leave service access around the washer, water shutoffs, drain, electrical connection, and any dryer vent. Follow the appliance manual for required clearances. Do not pack a hamper against supply hoses or use a rack that prevents quick access to a shutoff. If a leak starts, the storage system should lift out without tools.
In a lofted home, keep laundry off ladders and narrow stairs when possible. Carrying a loaded basket down a steep stair is harder than using a small hamper near the bathroom and transferring smaller loads. For broader layout tradeoffs between mobile and fixed homes, see our tiny house versus RV guide.
Choose a hamper that handles real laundry
A narrow pull-out hamper works well when cabinet space is available, while a soft bag or handled basket is better when laundry must travel to another building. Whatever the style, choose ventilation, a removable washable liner, comfortable handles, and enough capacity for your actual wash schedule rather than the largest bin that fits.
Narrow freestanding hampers are the easiest option for renters and finished homes. A 9 to 16 gallon container can fit beside a washer or under a counter, but confirm that its base is stable and that the lid can open fully. Perforated plastic or an open fabric bag releases moisture better than a sealed decorative box.
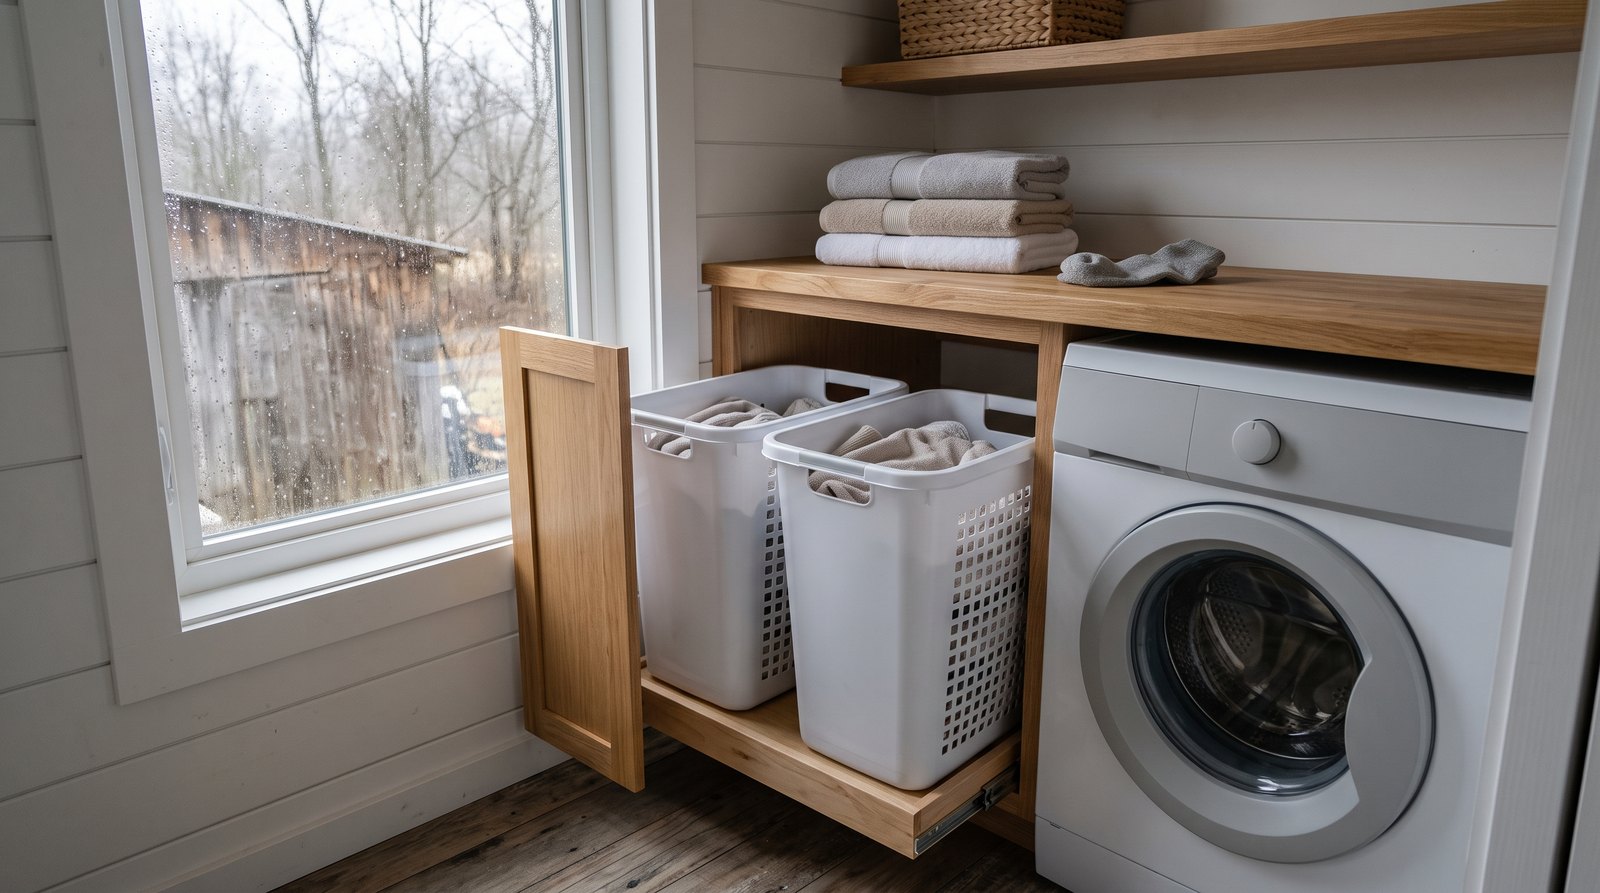
Pull-out hampers keep the floor visually clear and can split lights from darks. Measure the cabinet opening, face-frame clearance, slide depth, and door thickness before ordering. The basket should be removable for cleaning. Side gaps matter because a soft bag can bulge into the slides and a rigid bin can scrape plumbing or cabinet hardware.
Do not put soaked towels, rain gear, or cleaning cloths into the everyday hamper. Hang them first or place them in an open, washable tub until they can be laundered. This reduces odor and prevents one wet item from raising the moisture level throughout a full load.
Select the right drying rack for the space
A good drying rack holds one realistic load without blocking an exit, touching a heater, or dripping onto vulnerable finishes. Fold-down wall racks save floor area, portable racks offer flexibility, shower rods manage occasional pieces, and outdoor lines keep moisture outside when weather, site rules, and secure attachment allow their use.
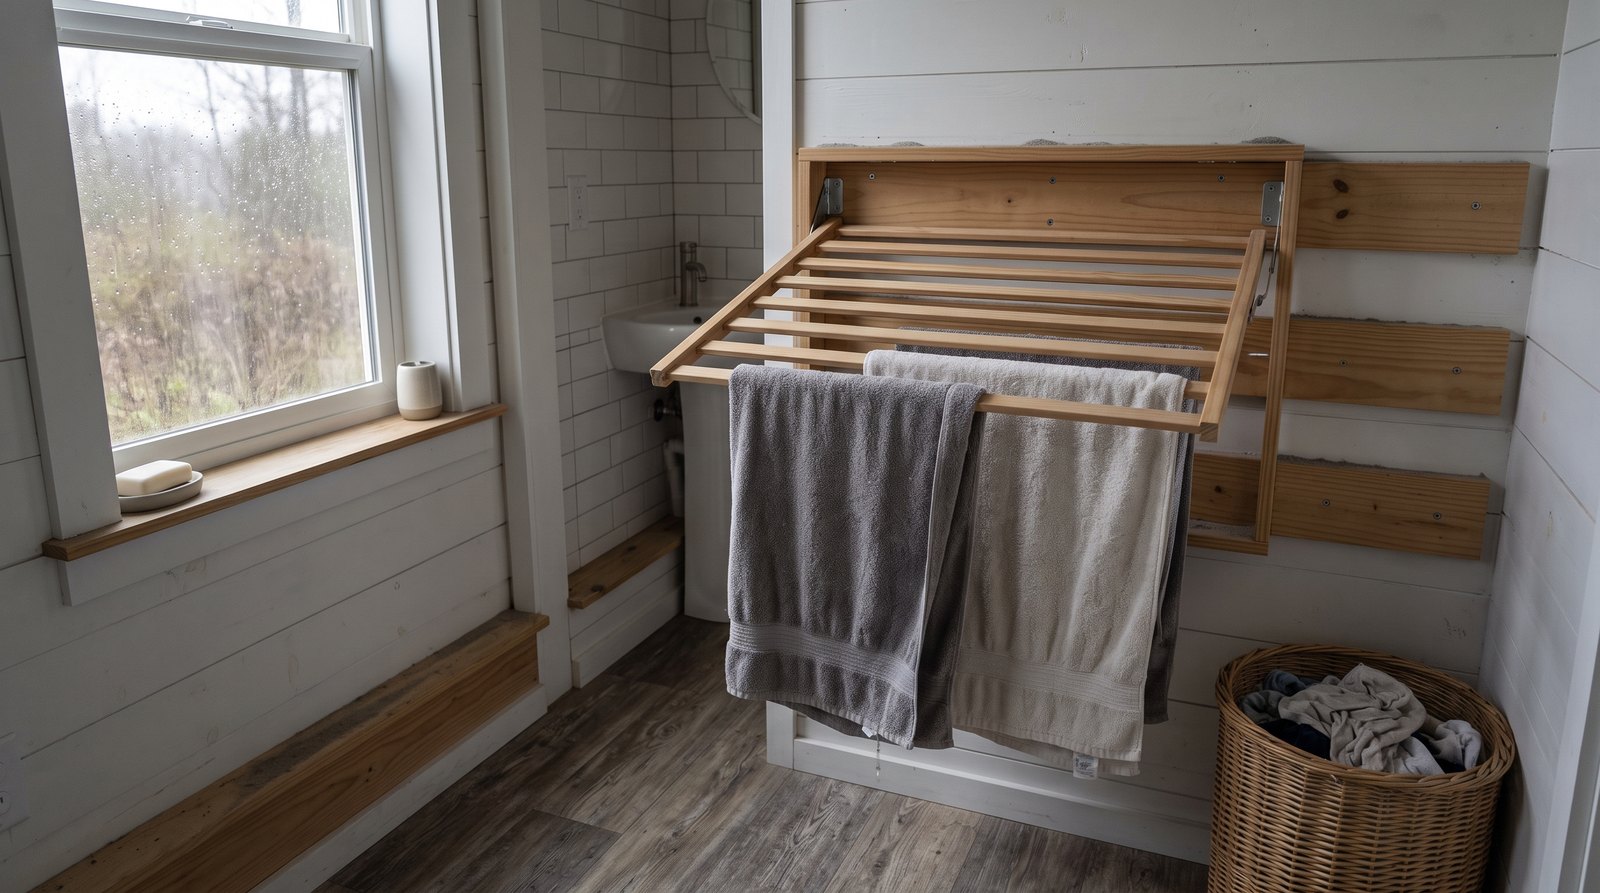
Wall-mounted fold-down racks are the strongest everyday choice when solid framing is available. Check the open projection as carefully as the folded depth. A 16-inch-deep rack can consume most of a 24-inch aisle. Mount it where wet hems cannot brush bedding, electrical equipment, or the cooktop.
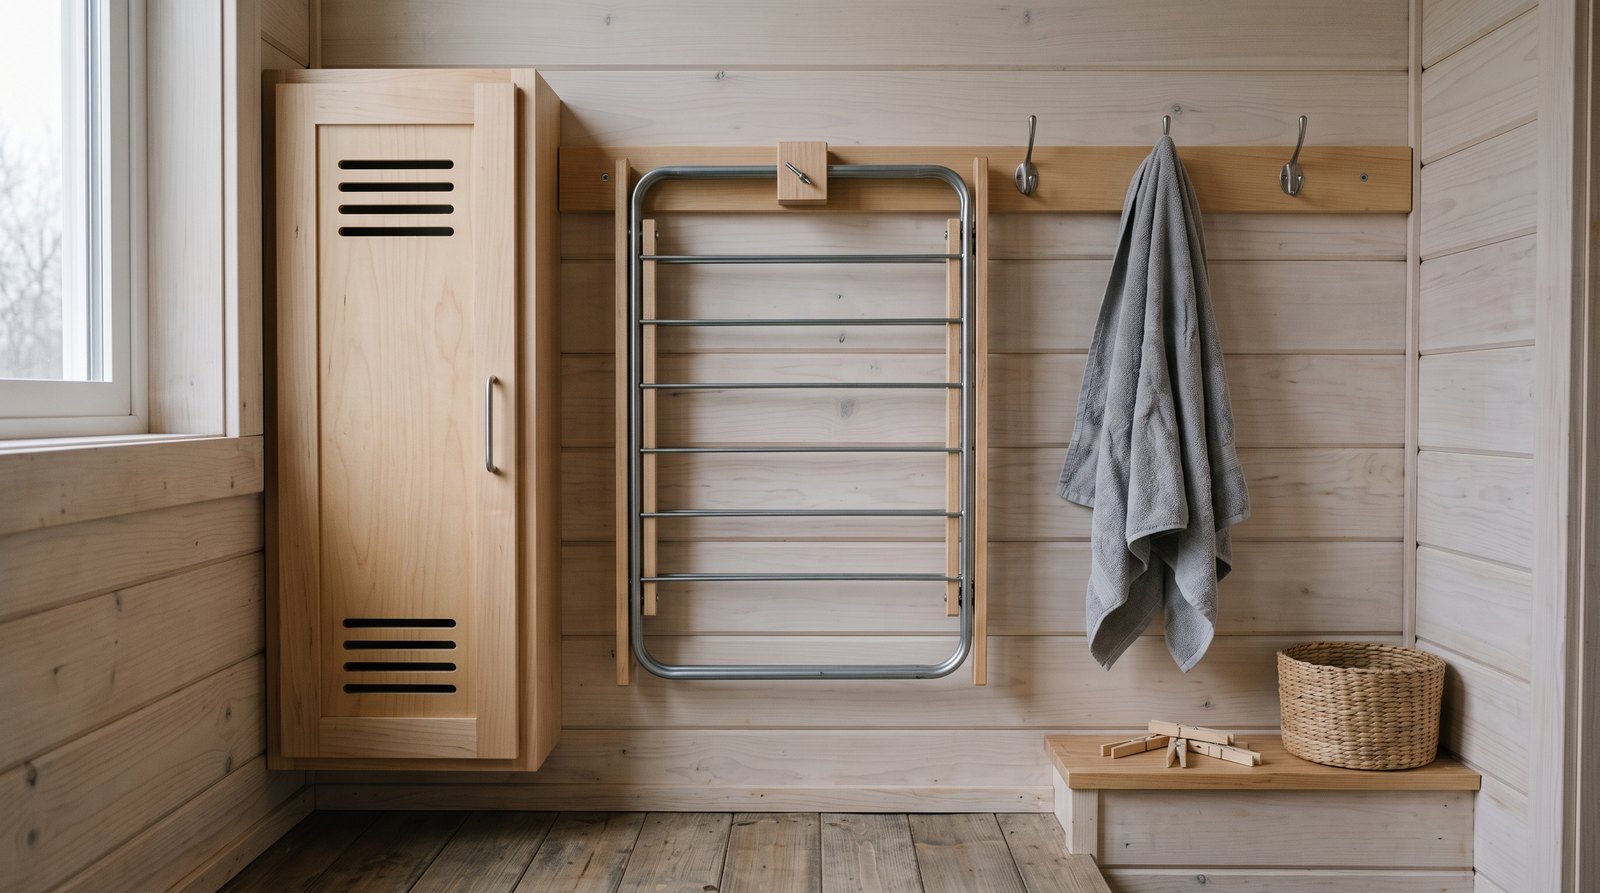
Portable folding racks are inexpensive and can move outside, into a shower, or beside an open window. Their weakness is storage. Reserve a shallow slot, wall clip, or strapped compartment for the folded rack. Leaning it loose behind a door creates rattling, paint damage, and a travel projectile in a THOW.
Shower and tub drying contains drips on waterproof surfaces, but it can interfere with bathing and exhaust. Use a removable tension rod only within its stated span and load rating. Do not rely on a tension rod above a walkway or toilet. A fixed rod must be installed into suitable framing or an approved support system.
Exterior drying reduces indoor humidity and gives sheets more room. Confirm campground, community, lease, or homeowners association rules first. Use corrosion-resistant hardware, locate the line away from traffic, and take it down before towing. Bring clothes inside before rain, overnight condensation, wildfire smoke, or high winds.
Control moisture, odors, and slow drying
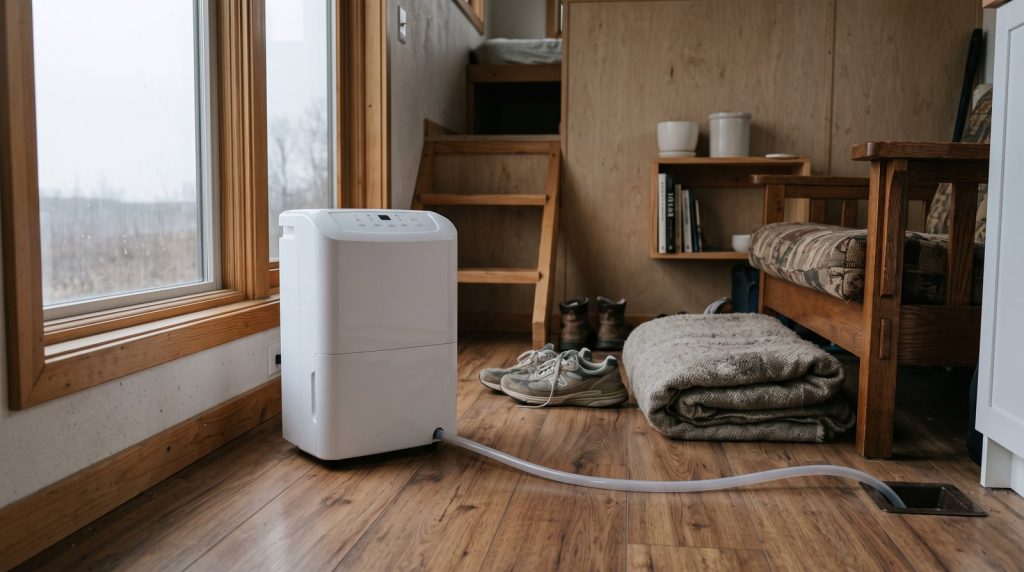
Air drying adds moisture to a very small volume of indoor air, so storage and ventilation must work together. Run the bathroom or laundry exhaust fan, leave space around hanging items, and track relative humidity. If windows sweat or fabrics remain damp, reduce the load, add dehumidification, or dry outside.
The U.S. Environmental Protection Agency recommends keeping indoor relative humidity below 60 percent, ideally between 30 and 50 percent. A basic hygrometer makes the result visible. If indoor humidity climbs after every wash, the solution is not a scented hamper. It is more exhaust, better source control, or less indoor drying at one time.
Watch for condensation at windows, exterior corners, under mattresses, and behind cabinets. Those cold surfaces often show a problem before the center of the room does. Wipe condensation promptly, investigate the moisture source, and dry wet materials quickly. Persistent dampness can shorten the life of finishes, cabinets, and framing, as discussed in our guide to how long tiny houses last.
Mount racks and cabinets safely
Mounting strength depends on the rack, fasteners, wall finish, framing, and the weight of wet laundry. Follow the product instructions and rated capacity. Fasten high-load racks to studs or planned blocking whenever possible, and use anchors only where the manufacturer permits them for the actual wall assembly and load.
Wet fabric can be much heavier than it looks, and people may pull on a rack while loading it. Treat the listed rating as a ceiling, not a target. Count towels, jeans, and bedding as heavy pieces. If the rack flexes, fasteners move, or the wall surface crushes, unload it and correct the mounting before reuse.
For new construction, photograph blocking before the wall finish goes up and record its dimensions. A horizontal board behind the finish gives you flexibility to position a rack later. In an existing home, use a reliable stud-finding method and confirm that the proposed fastener path is clear of wiring and plumbing.
Keep open racks clear of door swings, emergency egress, heaters, cooktops, and electrical panels. Follow every appliance and heater clearance in the manual. Building, fire, plumbing, and electrical requirements vary by jurisdiction, so confirm the adopted rules with the city or county when the project changes permanent construction or utility access.
Secure everything for travel in a THOW
A tiny house on wheels needs two storage modes: convenient when parked and positively restrained before towing. Empty standing hampers, latch pull-outs and tip-outs, strap a folded portable rack, and remove hanging rods or hooks that can bounce free. Do a deliberate laundry check before every move, even for a short relocation.
Use a mechanical latch that stays engaged under vibration, not only a light magnet. Mount the latch into sound material and test the full door or drawer with its normal contents. A pull-out basket that remains closed when empty may open when its contents shift during braking or a sharp turn.
Store dense detergent containers low and close to the trailer’s balanced load zone. Laundry itself is usually light when dry, but water, appliances, cabinetry, and hardware all affect total and tongue weight. Weigh the completed house in travel condition and stay within the trailer, axle, tire, hitch, and tow-vehicle ratings.
Remove clothing from an open rack before travel. Secure the folded rack in a dedicated clip, latch, strap, or cabinet. Nothing should rely on friction alone. If a move requires a professional, budget for setup and re-leveling as well as transport by reviewing our guide to tiny house moving costs in 2026.
Clean and maintain the system
Laundry storage stays usable when every removable part can be cleaned and every fastener can be inspected. Wash liners, wipe bins and slides, vacuum lint from ventilation openings, dry damp surfaces, and tighten hardware before movement develops. A five-minute monthly check is easier than repairing a swollen cabinet or loose wall rack.
Choose liners that can go into the washer or be wiped clean. Let them dry completely before returning them to a cabinet. Avoid unfinished absorbent material at the bottom of a wet-laundry zone. A removable tray can protect the cabinet floor from drips and makes small leaks easier to see.
Clean rack bars according to the manufacturer, especially before laying light-colored clothing over them. Inspect powder coating for chips and steel hardware for rust. In coastal or humid locations, corrosion-resistant fasteners and aluminum or stainless components can justify a higher initial price.
What tiny house laundry storage costs in 2026
A practical setup can cost less than $50, while a finished pull-out system with cabinet work can reach several hundred dollars. Current retail examples put simple hampers around $6 to $80, portable racks around $12 to $40, wall racks around $35 to $140, and pull-out hamper hardware around $130 to $290.
Those figures are product prices checked in September 2026 and can change by size, finish, shipping, and availability. They do not include tax, custom cabinetry, blocking, wall repair, or professional labor. A licensed contractor may also identify electrical, plumbing, or structural work that expands the scope.
- Basic renter setup, about $25 to $75: one handled hamper, a compact folding rack, and a hygrometer.
- Improved fixed setup, about $100 to $300: a quality wall rack, mounting hardware, ventilated hamper, liner, and travel straps or latches.
- Built-in setup, about $350 to $900 or more: pull-out hardware, bins, cabinet materials, finish work, and labor where needed.
Spend first on sound mounting, ventilation, and easy cleaning. Decorative doors and matching finishes can wait. A simple rack fixed to proper blocking is safer and more useful than an expensive unit attached to weak paneling.
Quick answer by situation
The right answer depends on whether the home moves, where laundry is washed, and how much indoor drying the climate permits. Use the smallest system that handles one normal load without blocking access. The following starting points cover the most common tiny house situations, but product instructions and local requirements still control.
- Stationary tiny house with a washer: Use a ventilated pull-out hamper plus a wall-mounted fold-down rack near exhaust.
- THOW that moves regularly: Choose removable baskets, a folded portable rack, and positive latches on every cabinet.
- No indoor washer: Use a handled bag or basket sized for the trip to a laundromat or shared laundry room.
- Humid climate: Favor outdoor drying when allowed, strong exhaust, a hygrometer, and a dehumidifier when needed.
- Rental or finished walls: Use a compact portable rack unless the owner approves mounting and the wall structure is known.
- Very narrow aisle: Put the rack in a shower or mount it where its open position does not enter the main path.
Frequently asked questions
What is the best hamper for a tiny house?
The best all-around choice is a narrow, ventilated hamper with a removable washable liner and comfortable handles. Use a pull-out model when cabinet depth and slide clearance are available. Use a soft bag or portable basket when laundry must leave the house. Keep wet items out until they have air-dried.
Where should a drying rack go in a tiny house?
Place it near reliable ventilation and on a surface that can tolerate occasional drips, while keeping the entry, stairs, emergency egress, heaters, and electrical equipment clear. A bathroom often works well. Confirm the rack’s open depth and the appliance clearances before mounting anything permanently.
Can I mount a drying rack to thin wall paneling?
Thin paneling alone is rarely the right support for a loaded rack. Follow the rack instructions and fasten into studs, planned blocking, or another approved structural support. Use wall anchors only when the manufacturer permits them for that wall assembly and load. Stop using any rack that moves or crushes the finish.
How do I keep indoor laundry from causing mold?
Run exhaust, space garments apart, monitor relative humidity, and reduce the load if drying is slow. The EPA recommends indoor humidity below 60 percent, ideally 30 to 50 percent. Wipe condensation and address its source promptly. A dehumidifier can help, but it does not replace source control or required ventilation.
How should laundry storage be secured for towing?
Empty standing hampers, close and positively latch pull-outs, remove clothes from open racks, and strap or latch the folded rack in a dedicated storage position. Secure detergent low in the house and verify total travel weight. Test every restraint with the cabinet loaded, since vibration can defeat light magnetic catches.