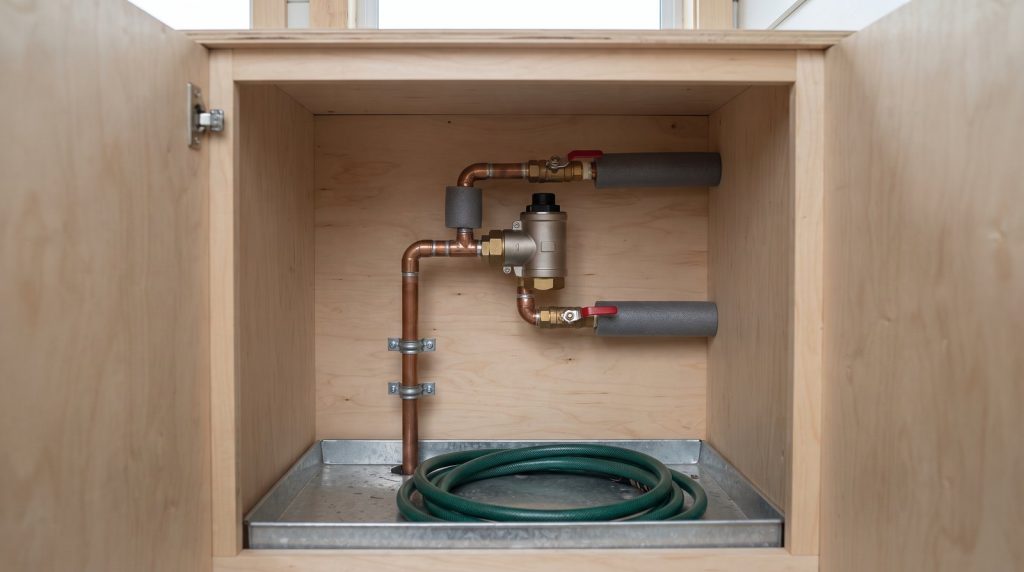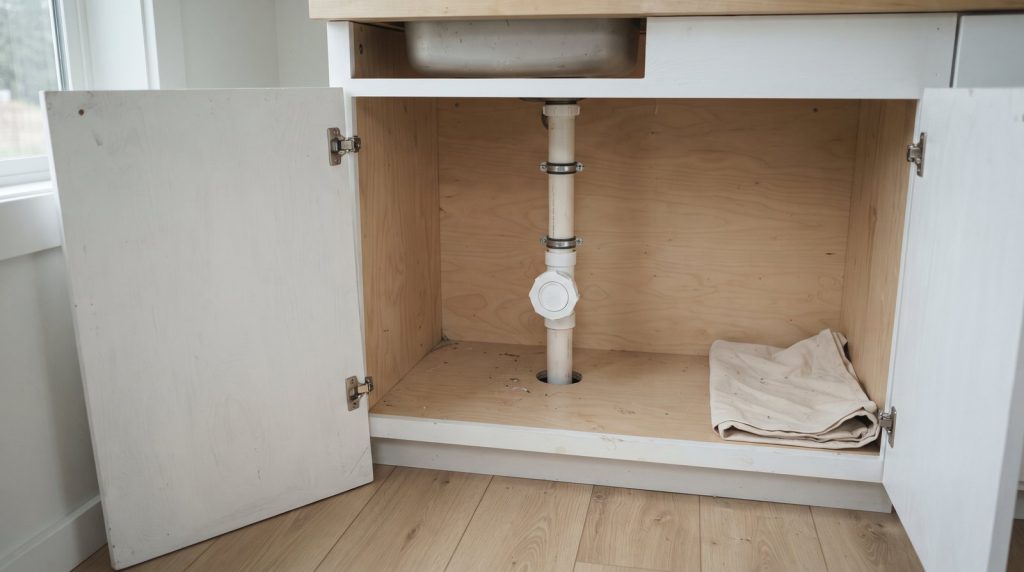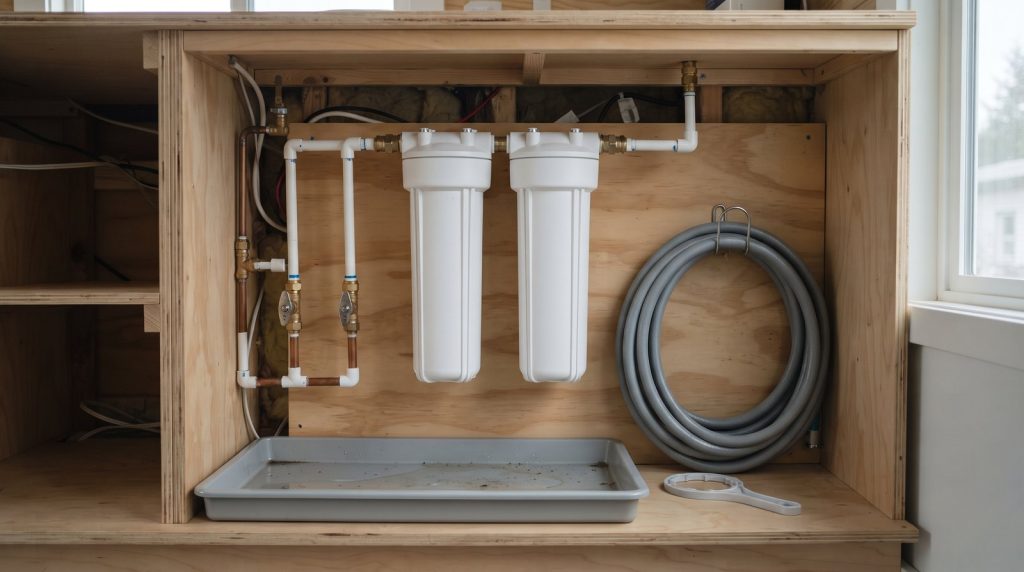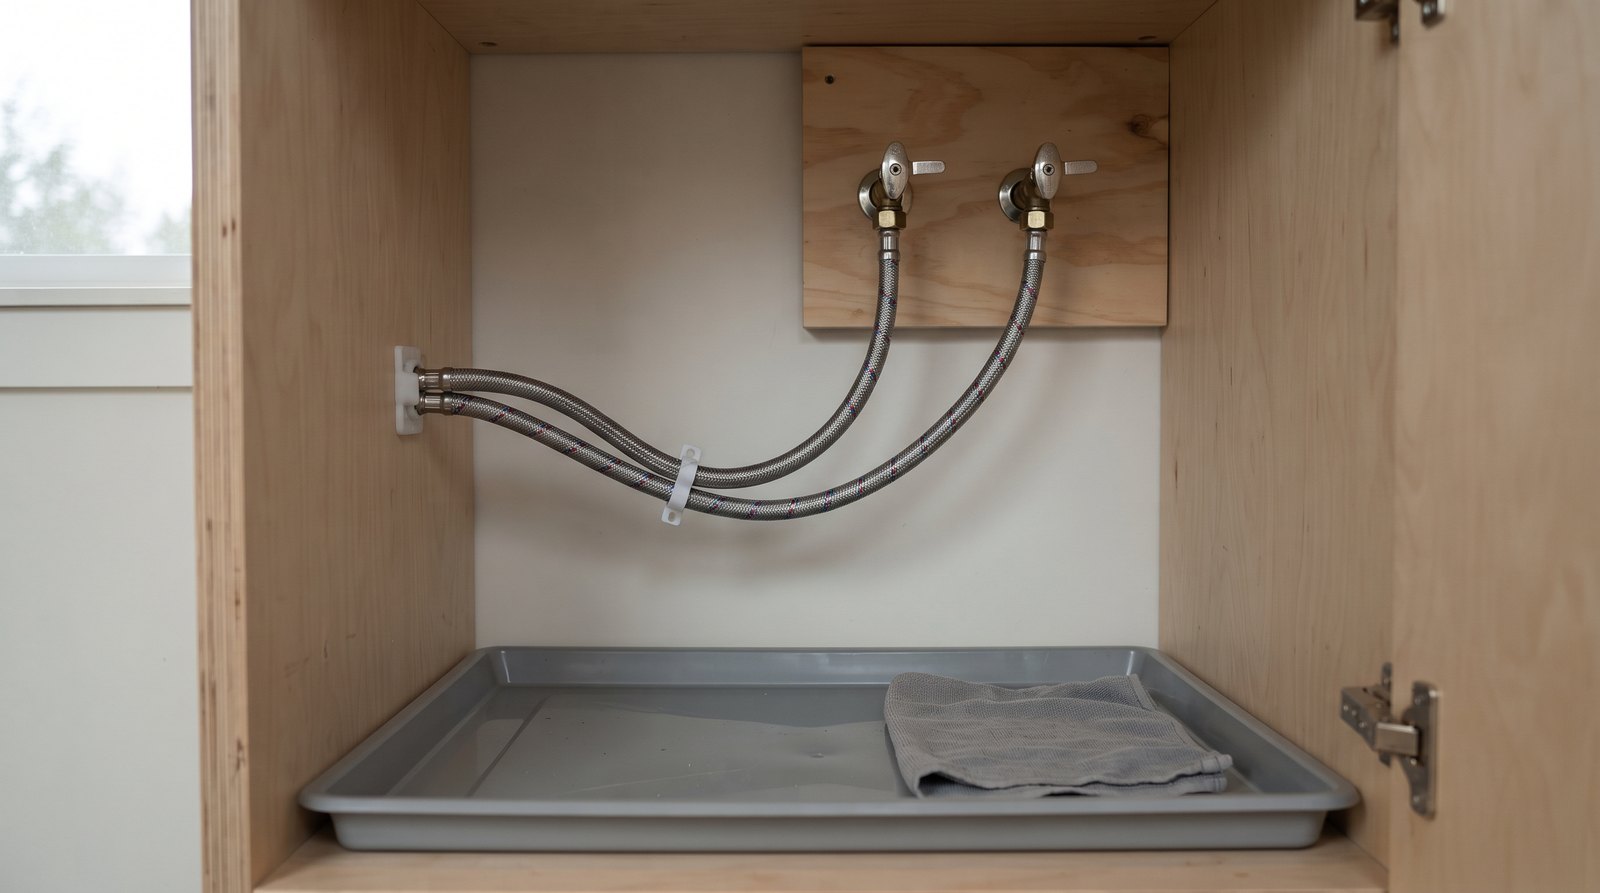
Tiny house appliance supply lines are safest when each connector matches the appliance and valve, bends without kinking, stays visible for inspection, and has an accessible shutoff. Use listed parts, follow the appliance instructions, protect lines from freezing and travel movement, and replace any hose that shows corrosion, bulging, abrasion, or leakage.
Table of Contents
Quick Answer by Situation
Choose the connector by the appliance, not by appearance. Faucets and toilets usually need short fixture connectors, washers use paired fill hoses, dishwashers often use a longer braided line, and ice makers use smaller tubing. In every case, verify both fitting ends, the required length, pressure rating, listing, and manufacturer instructions before buying.
- Faucet or toilet: Use a short listed connector with the exact shutoff and fixture fittings, plus enough length for a relaxed curve.
- Washing machine: Install new hot and cold fill hoses with fresh washers, visible connections, and quickly reachable valves.
- Dishwasher: Use the inlet size and elbow specified for the model, route the line away from the motor, frame edges, and door hardware.
- Refrigerator or ice maker: Use approved small-diameter tubing or a listed connector with a real shutoff, not a piercing saddle valve unless local rules specifically allow it.
- Tiny house on wheels: Add support and abrasion protection, leave controlled movement at the appliance, and inspect every line after travel.
- Freezing risk: Keep connectors inside the heated envelope or drain and winterize the exact appliance system as its instructions require.
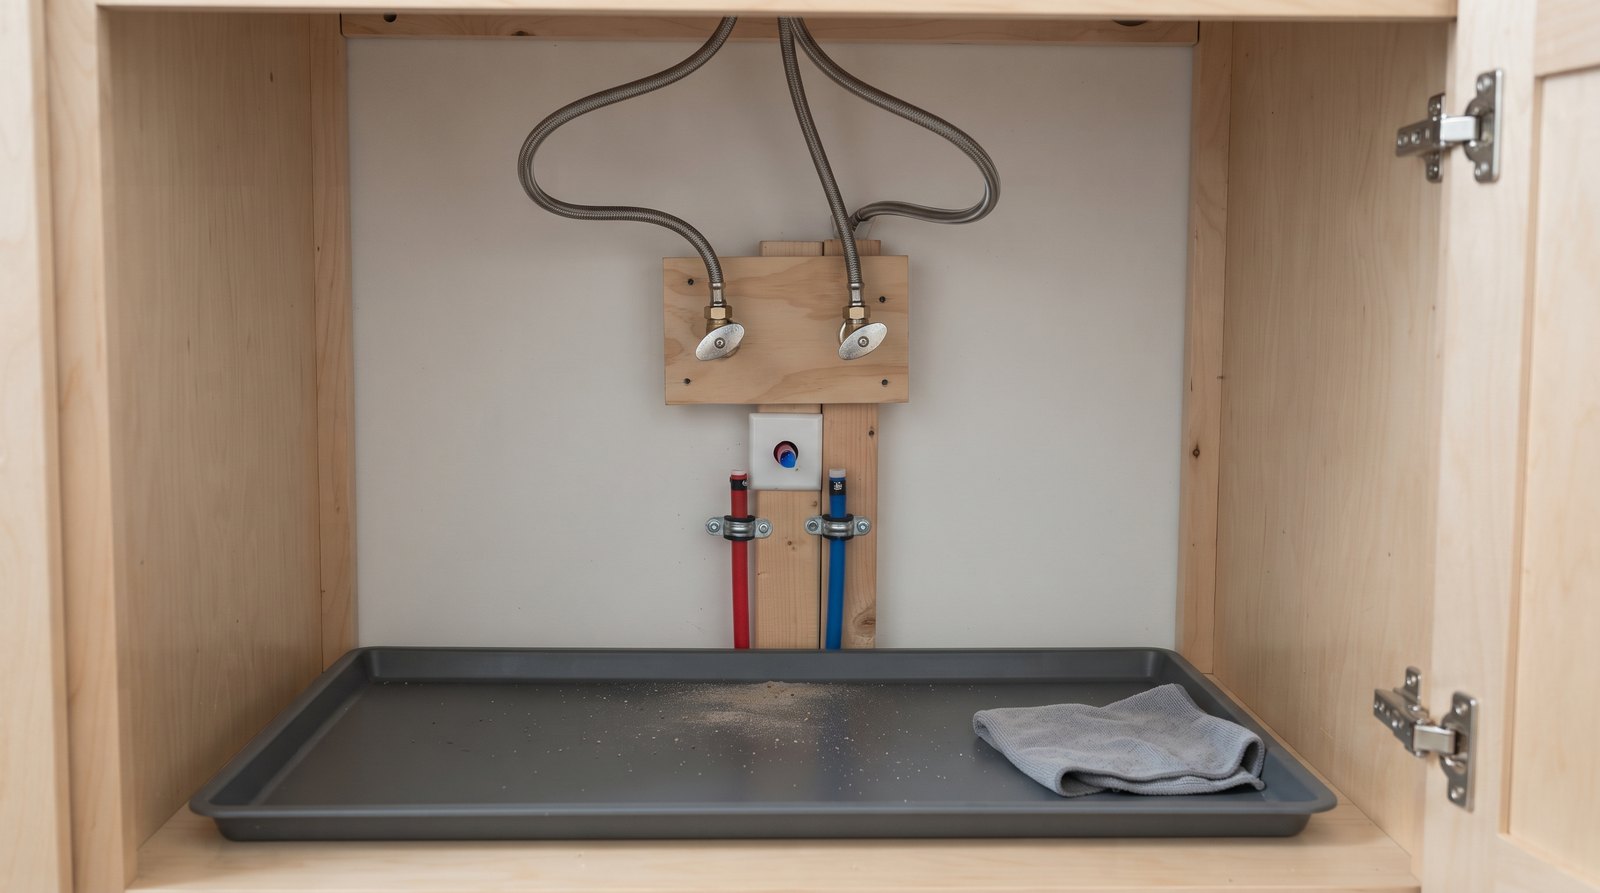
Match Every Connector to Its Appliance and Fittings
The correct connector must match four things at once: the appliance inlet, the shutoff outlet, the intended use, and the available path. Measure and identify both ends before shopping. A line that threads onto one side but needs an improvised adapter on the other is usually a warning that the wrong product was selected.
Typical faucet connectors pair a compression connection at the stop valve with a faucet-specific threaded end. Toilet connectors commonly use a compression inlet and a larger ballcock nut. Washing machines usually use 3/4-inch hose-thread connections. Ice maker lines are often 1/4-inch, while current dishwasher installations commonly use a 3/8-inch supply connection and a model-specific inlet elbow.
Use connectors identified for potable water where required. Do not reuse a gas connector, drain hose, garden hose, or unlabeled tube as a pressure water line. If an appliance manual calls for a new supply line during installation, treat that instruction as part of the installation, even when the old hose looks clean.
Choose Material and Length for the Real Installation
Braided stainless steel or braided polymer connectors are practical in many tiny houses because they tolerate controlled curves and simplify service. The braid is only an outer reinforcement, however. Compare the inner tube, fittings, listing, temperature rating, and application. Choose the shortest line that reaches comfortably without tension, tight loops, or hidden excess.
A connector should not be stretched straight between two fixed points. Leave enough slack for installation, appliance vibration, and future service, but avoid a large coil that can snag, rub, or trap belongings. If the available stock length is excessive, look for a shorter listed size or revise the valve location instead of forcing the hose into repeated loops.
Do not judge a fitting only by diameter. Pipe thread, compression, flare, hose thread, and appliance-specific connections seal differently. Thread tape belongs only where the instructions call for it. Compression fittings and hose connections usually seal at a ferrule, gasket, or washer, so tape on the wrong threads can interfere with assembly or encourage overtightening.
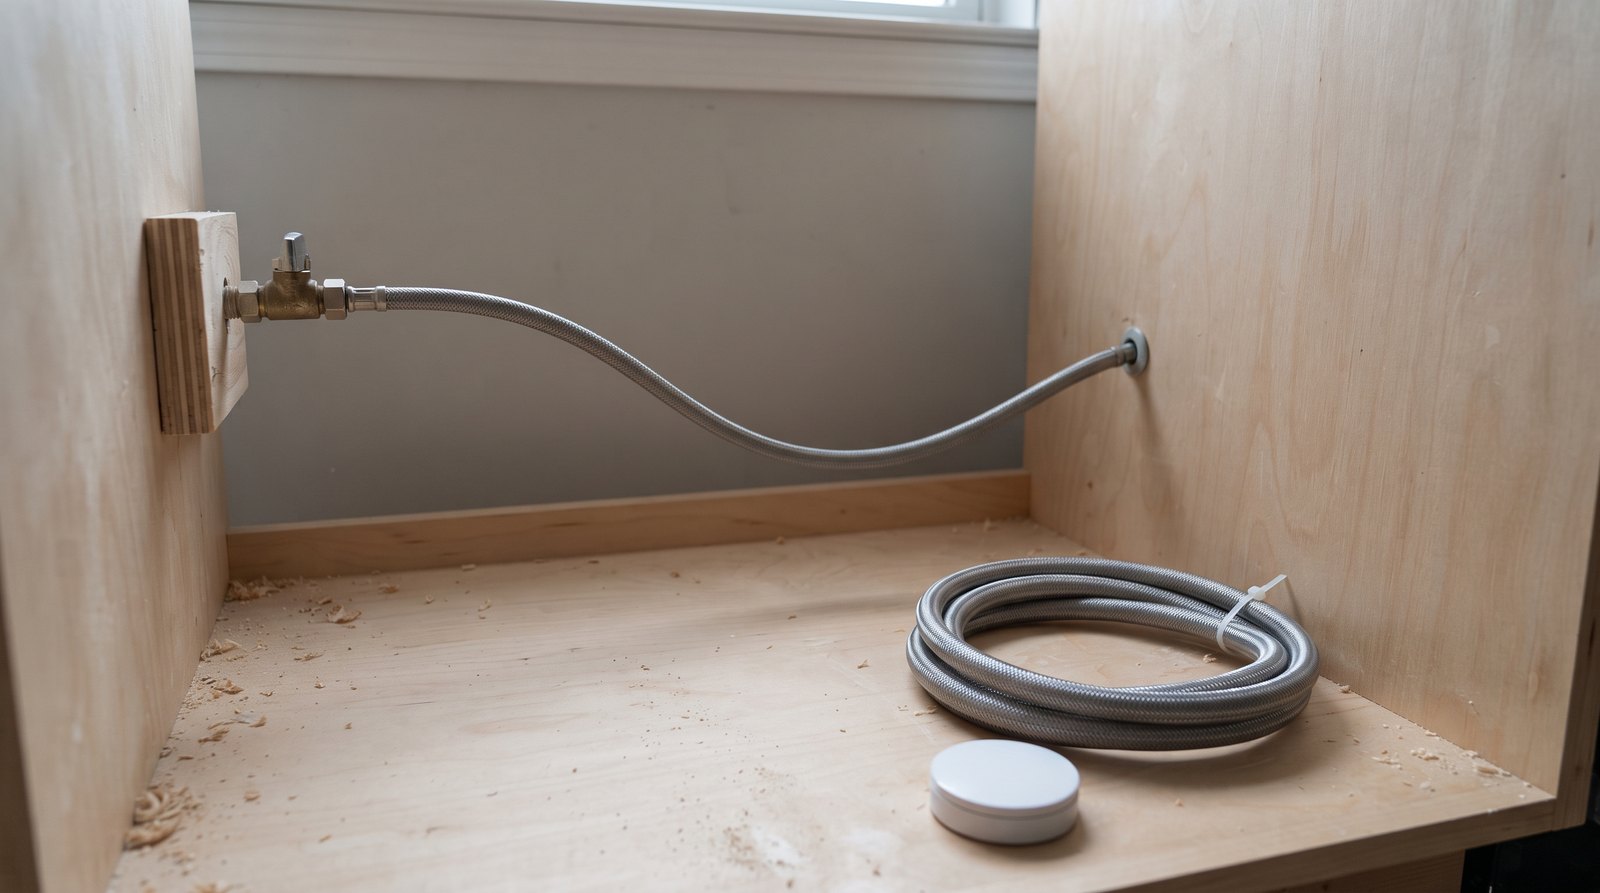
Put an Accessible Shutoff at Each Water-Using Appliance
Every connector needs a shutoff that can be reached before a small leak becomes major damage. Quarter-turn valves are easy to operate and easy to confirm visually. Place them in the same cabinet or service space when practical, with the handle clear of shelves, pans, stored supplies, and the appliance itself.
A valve hidden behind a washer, buried under a fixed drawer, or blocked by a dishwasher is not useful during an emergency. Plan access before cabinetry is finished. A removable panel can work, but it should open without special demolition. Label hot, cold, dishwasher, and ice maker valves in a location that remains readable after the appliance is installed.
Exercise service valves periodically so they do not remain untouched for years. Look for seepage around the stem, body, inlet, and outlet. If a valve will not close fully, turns roughly, or shows corrosion, replace it before depending on it. Shut off the main supply before valve work and use a qualified plumber when the piping method or local rules require one.
Route Hoses Without Kinks, Abrasion, or Strain
A good route forms broad, relaxed curves and keeps the connector away from sharp edges, hot surfaces, moving parts, chemicals, and stored objects. Support fixed plumbing before the flexible section begins. Protect every cabinet or floor penetration with a smooth sleeve or grommet, and keep joints visible rather than burying them inside walls.
Respect the minimum bend radius in the connector instructions. A hose that looks open from the outside can still have a pinched inner tube. Avoid twisting the connector while tightening its nut. Hold the fitting as directed, tighten to the specified method, then check that the hose lies naturally after the appliance is in its final position.
Before closing the cabinet, open the valve slowly and inspect every joint under pressure. Run the appliance through a monitored fill and shutoff cycle, then check again with a dry paper towel. Reinspect after the first several uses because a slow seep can appear only after vibration, temperature change, or full operating pressure.
Use Leak Trays and Sensors as Backup Protection
A tray and leak sensor can reveal a problem early, but neither repairs a bad connection. Put the sensor at the lowest likely collection point, keep it visible for testing, and make sure the pan does not hide active leakage. A pan with a drain must discharge to an approved location and remain accessible for cleaning.
Small battery water alarms are inexpensive and useful under sinks, toilets, dishwashers, refrigerators, and compact washers. Smart sensors can send a remote alert, but only when batteries, Wi-Fi, hubs, and notification settings are working. Test the audible alarm or app alert with water as the instructions describe, then dry and reset the device.
Document the installation with dated photos and receipts. Water losses can be expensive in a small structure because cabinets, flooring, insulation, and electrical components sit close together. Review the water-damage terms in your tiny house insurance, especially for an owner-built home or a house used as a rental.
Plan for Travel Vibration in a Tiny House on Wheels
Travel adds vibration, impact, cabinet flex, and shifting cargo to a plumbing system designed mainly for stationary use. Secure the appliance and rigid piping first, then protect flexible connectors from pulling, chafing, and striking nearby hardware. Close appliance valves before travel when the manufacturer permits it, and inspect connections after every move.
Before departure, shut down appliances according to their manuals, close the appropriate water supply, relieve pressure when directed, secure loose hoses, and check that leak pans are empty. After arrival, inspect first, restore water slowly, and watch each connection while the system repressurizes. A dry cabinet before travel does not prove it stayed dry on the road.
Mobility also affects utility hookups, campground expectations, and insurance classification. The broader differences between a tiny house and an RV for full-time living help explain why a house-style appliance installation may need extra travel planning.
Protect Supply Lines From Freezing
Keep supply lines, valves, and appliance inlets inside the insulated and heated envelope whenever possible. Small connectors freeze quickly, and trapped water can split an inner tube or damage a valve even when the main pipe survives. If the home will be unheated, follow the exact appliance and plumbing winterization procedure before temperatures fall.
Insulation slows heat loss but does not create heat. Avoid routing a connector against exterior sheathing or through a cold underbelly without a designed freeze-protection strategy. Seal air leaks around penetrations, maintain safe heat where the system is intended to stay wet, and monitor vulnerable cabinets during severe weather.
At spring startup, inspect hoses and fittings before restoring pressure. Open valves slowly, flush lines as required, and monitor the first operating cycle. Freeze damage can be a hairline crack that appears only under pressure, so an apparently dry connector should not be assumed safe after a cold event.
Inspect Regularly and Replace on the Right Schedule
Inspect connectors at installation, after travel, after freezing conditions, and at least several times each year. Replace a line immediately if it has a bulge, kink, cut, abrasion, rust, loose braid, damaged fitting, hardened gasket, or unexplained moisture. Age matters, but visible condition and manufacturer guidance matter more than a universal calendar.
Whirlpool currently advises replacing washing machine inlet hoses every five years and sooner when damage appears. That is useful guidance for compatible washer hoses, not an automatic rule for every connector in the house. Follow the schedule for each appliance and connector, record the installation date, and retain the instructions with the maintenance log.
Long service life depends on keeping water out of the structure. Supply-line maintenance belongs with roof, flashing, ventilation, and sealant checks in a broader plan for how long a tiny house lasts.
Realistic Supply Line and Leak-Protection Costs
Connector parts are inexpensive compared with water damage, but the full job includes valves, adapters, access work, testing, and labor. Current U.S. retail listings suggest roughly $3 to $10 for many faucet or toilet connectors, $10 to $20 for ice maker lines, $18 to $33 for dishwasher connectors, and $24 to $45 for washer hose pairs.
Quarter-turn stops commonly cost about $8 to $20 each before installation. Basic water alarms start around $14 to $20, while connected sensors often cost roughly $35 to $55 each. A washer pan is commonly about $30 to $40. Whole-house or automatic shutoff systems can cost far more and may require professional plumbing and electrical work.
For a new build, place valves and service openings before cabinets and appliances. That small planning expense can eliminate adapters, shorten connectors, and reduce future labor. For an existing house, photograph the current fittings and measure the route, then confirm the parts list before shutting off water or moving the appliance.
The Bottom Line
Safe tiny house appliance supply lines are correctly sized, gently routed, easy to inspect, and paired with reachable shutoffs. Use new listed connectors where the appliance instructions require them, protect every pass-through, test under operating conditions, add leak detection, and inspect again after travel, freezing weather, or any cabinet work.
Start with the installation manual and local requirements, not a connector that happens to be on the shelf. A careful layout costs little, makes service faster, and reduces the chance that one hidden drip damages several layers of a compact home.
Frequently Asked Questions
Most supply-line questions come down to compatibility, replacement timing, and access. The short answers below cover common tiny house situations, but they do not replace the instructions for the appliance, connector, valve, leak device, or plumbing system. When a listing or local requirement differs, that controlling requirement should be followed.
Are braided supply lines better for a tiny house?
Braided connectors are convenient and tolerate controlled curves, but the braid alone does not guarantee quality or compatibility. Choose a listed connector made for the exact appliance, fittings, temperature, and pressure. Route it without kinks or abrasion, keep both ends visible, and follow its bend and replacement instructions.
How often should washing machine hoses be replaced?
Whirlpool advises replacing washer inlet hoses every five years and sooner if they show bulges, kinks, cuts, wear, leaks, or damaged fittings. Other manufacturers may set different guidance. Record the installation date, inspect after travel or freezing, and follow the instructions for the exact washer and hose.
Can one shutoff valve serve several appliances?
A shared upstream valve may isolate a branch, but each appliance still benefits from a nearby accessible shutoff, and adopted plumbing rules or equipment instructions may require one. Separate valves make emergencies and service easier. Have the proposed layout reviewed when combining a sink, dishwasher, refrigerator, washer, or other water-using equipment.
Should supply lines be disconnected before moving a THOW?
Follow each appliance and connector manual. At minimum, close permitted appliance shutoffs, depressurize when directed, secure appliances and loose hoses, and inspect the route before travel. Disconnecting may be appropriate for some systems, but repeated reconnection can also damage seals or threads if it is not part of the design.
Do leak sensors shut off the water automatically?
Basic leak sensors only sound an alarm or send a notification. Automatic protection requires a compatible motorized valve or appliance shutoff system installed and tested as directed. Keep manual valves accessible even with automation, test sensors and batteries regularly, and confirm that loss of power or internet will not defeat needed protection.