The best flooring for a tiny house on wheels is usually quality click-lock luxury vinyl plank (LVP). It is light, moisture tolerant, easy to replace, and flexible enough for normal trailer movement. Engineered wood is the premium alternative. Cork is comfortable but needs careful sealing, while tile should be limited to small, properly reinforced areas.
Table of Contents
What is the best flooring for a tiny house on wheels?
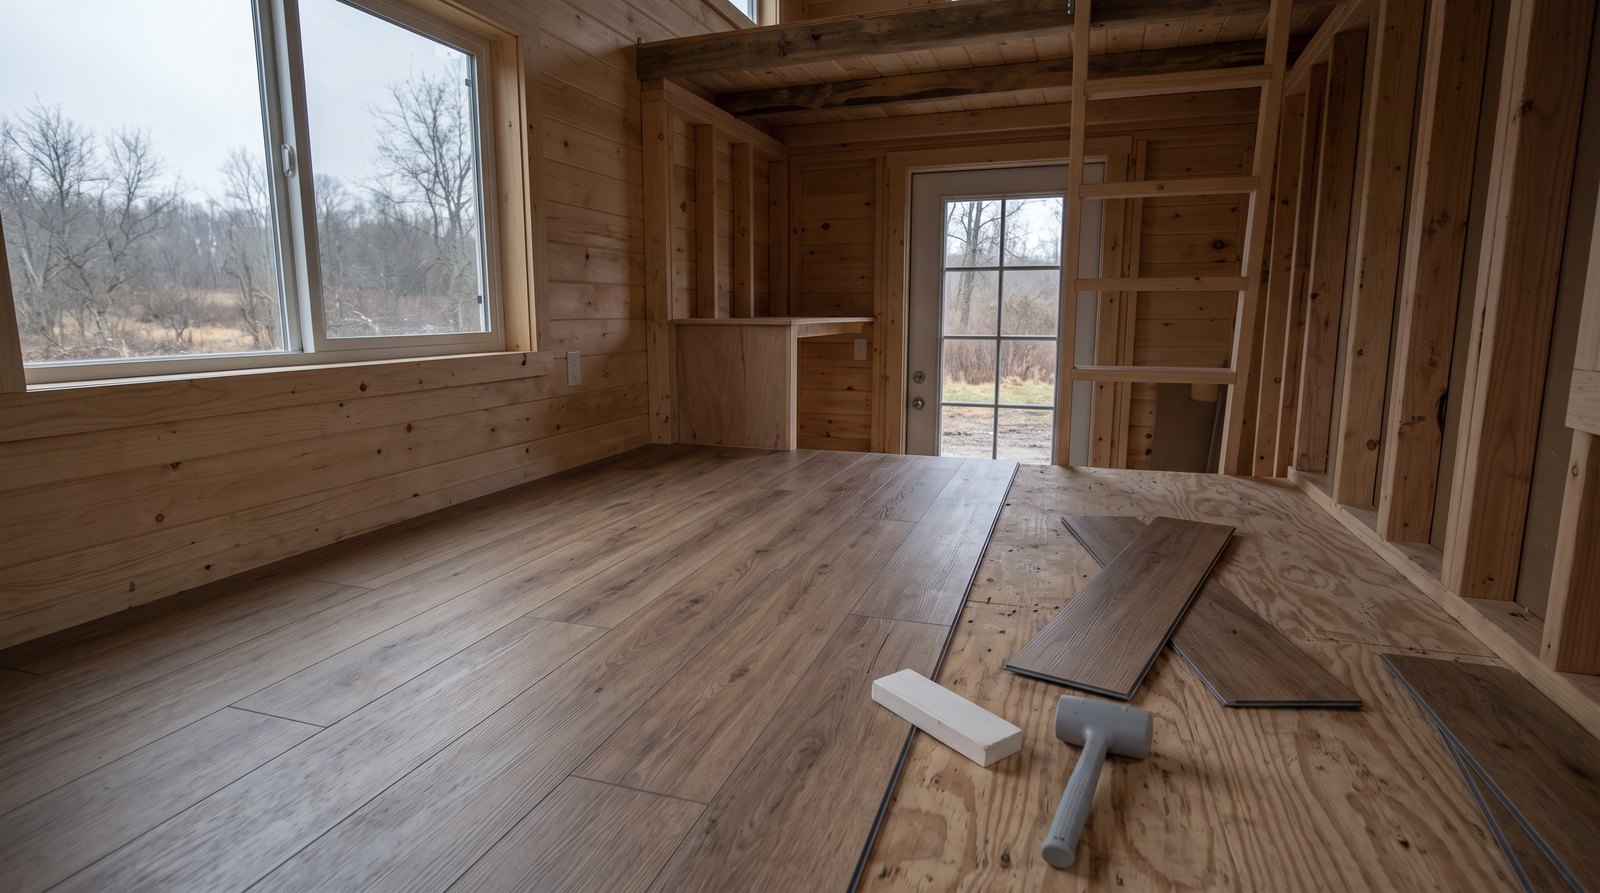
For most towable tiny houses, LVP offers the best balance of low weight, durability, water resistance, and repairability. Choose a product approved for your temperature range, prepare the subfloor precisely, and leave the expansion space required by its manufacturer. A good installation matters more than buying the thickest or most expensive plank.
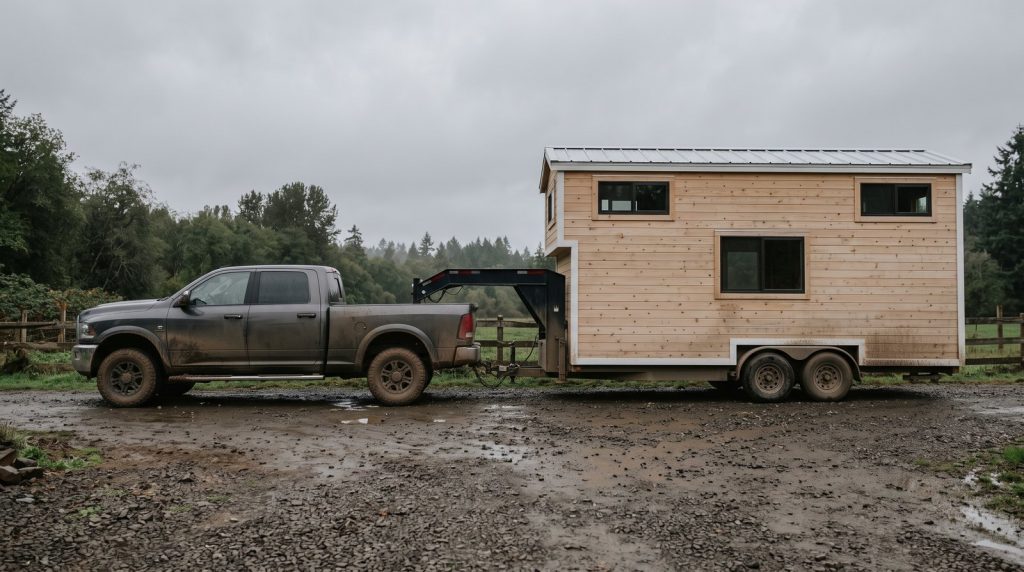
A tiny house floor has a harder job than flooring in a conventional house. It sits over a steel trailer that twists slightly on uneven roads and campsites. The entry may collect rain, mud, and grit within a few feet of the kitchen and bathroom. The interior can also experience wider temperature and humidity swings when the house is parked, stored, or heated intermittently.
Click-lock LVP handles those conditions well because it floats over the subfloor instead of being rigidly bonded across the whole house. It does not make the trailer structure stronger, and it cannot hide a bad subfloor. It does, however, tolerate routine movement better than brittle finishes and makes a damaged plank easier to replace.
Look for a rigid-core plank with a durable wear layer, a published installation guide, and a warranty that does not exclude the expected temperatures or mobile application. Avoid choosing only by total thickness. Locking-joint quality, dimensional stability, wear-layer thickness, and the manufacturer’s support are more useful than a large millimeter number on the box.
Quick answer by situation
- Best all-around choice: Click-lock LVP for a practical, moisture-tolerant floor with moderate cost and low maintenance.
- Best premium look: Floating engineered wood when the house will be climate controlled and moisture is managed.
- Best under bare feet: Cork with a durable factory finish and carefully sealed edges.
- Best budget finish: Sanded, filled, and coated plywood when you accept a workshop-like appearance.
- Best for a small wet zone: Porcelain tile over a suitable uncoupling and waterproofing system, only after checking weight and floor stiffness.
How do LVP, engineered wood, cork, tile, and plywood compare?
LVP wins on practicality, engineered wood wins on natural appearance, cork wins on comfort, tile wins on water and wear only when its assembly is built correctly, and finished plywood wins on simplicity. No material is perfect. Compare the entire installed assembly, including underlayment, adhesive, mortar, finish, and transitions, rather than the surface alone.
Luxury vinyl plank is commonly the easiest recommendation. It resists ordinary spills, cleans easily, and comes in floating systems that suit a small open floor plan. Installed planning prices in 2026 often fall around $4 to $11 per square foot before unusual subfloor repairs, custom stair work, or extensive trim. In a 240-square-foot house, small-job minimums can matter more than the simple square-foot calculation.
LVP’s weaknesses are heat sensitivity, plastic appearance in cheaper products, and vulnerable locking edges. A heavy cabinet, kitchen island, or built-in stair should not pin a floating floor unless the manufacturer explicitly allows it. Install permanent cabinetry first, then run the floor around it with the required clearance.
Engineered wood uses a real wood wear layer over a more dimensionally stable core. It feels and looks more natural than vinyl, and a floating engineered product can work well in a tiny house that remains conditioned. Expect roughly $7 to $18 per square foot installed in 2026 for mainstream products and normal labor, with premium species and complex layouts costing more.
Wood still reacts to moisture. Wet shoes, a leaking supply line, or long periods in an unconditioned house can cause swelling, cupping, or finish damage. Confirm that the exact product permits floating installation and matches the house’s expected humidity and temperature range. A thin wear layer may not allow meaningful refinishing later.
Cork feels warm and quiet, which is valuable when the entire home is one small acoustic space. It is also relatively light. Its tradeoffs are denting, fading, and water sensitivity at seams and edges. Use a product intended for floors, follow the coating schedule, and keep it out of a shower pan or any location where water can sit unnoticed. Installed prices commonly land around $5 to $12 per square foot.
Tile handles surface water and abrasion, but the complete assembly is heavy and brittle. Tile, mortar, membrane, grout, and extra subfloor can add several hundred pounds across even a modest area. More importantly, trailer and wood-subfloor movement can crack grout or release tile. Schluter explains that an uncoupling membrane permits in-plane movement between tile and the substrate, which helps prevent cracking and delamination. That is useful, but it does not excuse inadequate framing or deflection.
Finished plywood is the most direct option. Fill voids, ease sharp edges, sand carefully, and apply a tough floor coating compatible with the panel. It is inexpensive, light, and easy to touch up, but seams remain visible and standing water can damage it. Plywood also telegraphs fasteners and irregular joints if preparation is rushed.
How much weight does tiny house flooring add?
Flooring weight varies by product, so calculate from the actual technical sheet and include every layer. A light floating floor may add only a few hundred pounds to a whole tiny house. Tile can add much more once mortar, membrane, backer, and extra subfloor are counted. Weight estimates should feed the trailer’s full load calculation, not stand alone.
Do not rely on generic labels such as vinyl, wood, or tile. One rigid-core plank may weigh noticeably more than another. A dense engineered board can outweigh a thin product, and natural stone may be far heavier than porcelain. Ask the supplier for case weight and coverage, then divide pounds per case by square feet per case.
Tile deserves a complete assembly calculation. The surface tile is only one line. Add thin-set below and above the membrane where applicable, grout, waterproofing, backer or a second structural panel if specified, and thresholds. If the proposed finish forces a stronger subfloor or framing change, count that weight too.
Keep your result in the build’s running weight sheet and leave useful payload for water, propane, batteries, furniture, food, clothing, and personal belongings. If you are unsure where the house stands, weigh it by axle and tongue after completion. The trailer GVWR, axle ratings, tire ratings, and hitch limits all matter when it moves.
Why do flooring seams fail when a tiny house moves?
Seams usually fail because the subfloor is uneven, the floating floor is pinned, expansion clearance is missing, or weak locking edges are forced to carry movement. Trailer flex can expose those mistakes, but travel is not always the root cause. Correct flatness, fastening, moisture, perimeter gaps, and transition details before blaming the product.
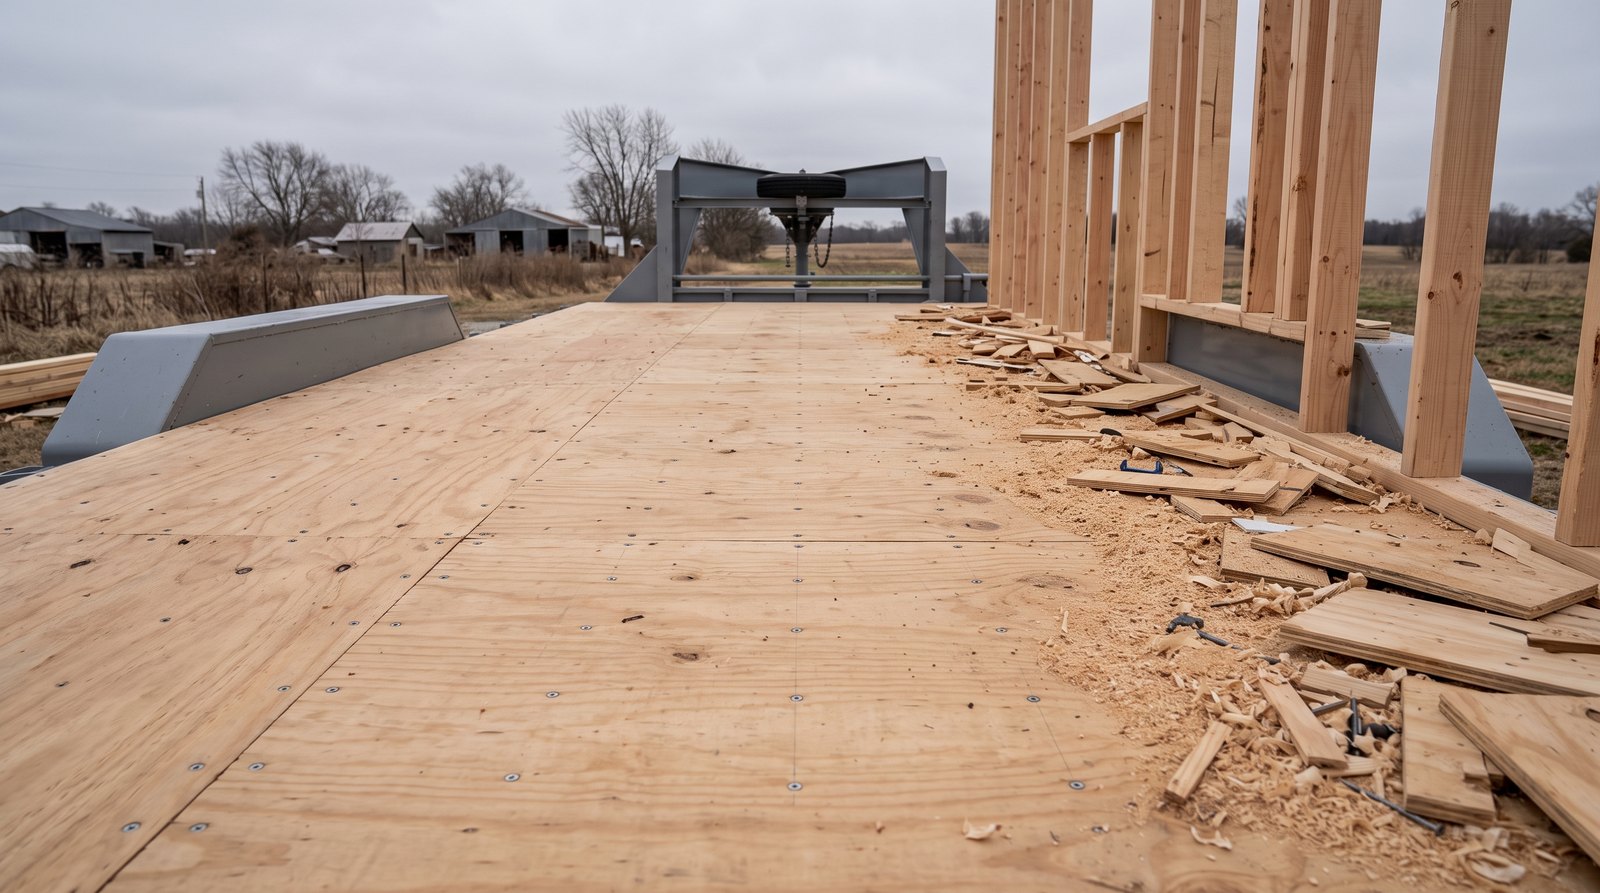
Start with the subfloor. APA guidance says plywood underlayment should go over a dry subfloor, with uneven joints corrected and squeaks refastened before finish flooring is installed. That advice is especially important in a tiny house, where a hump over a trailer crossmember or a loose panel edge can stress a click joint repeatedly.
Check the flooring manufacturer’s flatness tolerance with a long straightedge. Sand high panel edges, fill low areas with a compatible compound, drive proud fasteners correctly, and vacuum the surface. Do not simply add a soft pad to disguise unevenness. Excessive cushion can let locking joints bend whenever someone walks across them.
Leave the specified gap at walls, pipes, door jambs, and fixed cabinets. Use trim to cover the gap without fastening through and trapping the floating planks. Long narrow runs may need a transition or expansion break even when the total square footage is small. Follow the exact limits in the installation guide.
Before towing, secure loose furniture and anything that can strike the floor. A refrigerator wheel, metal stair edge, or unsecured storage bin can gouge a plank during braking. After a move, inspect transitions and the entry before dirt works into an opened seam.
How should you prepare the subfloor?
The subfloor should be dry, stiff, clean, securely fastened, and flat within the flooring manufacturer’s tolerance. Fix structure and panel joints before finish work begins. Then install only the underlayment or membrane approved for that product. Extra layers are not automatically better, and the wrong pad can weaken click-lock joints.
Map every panel seam and trailer framing line while they are still visible. Repair soft areas, stripped screws, damaged panel edges, and unsupported joints. If the floor squeaks now, a floating finish will not cure it. APA recommends checking flatness and refastening squeaks before underlayment goes down.
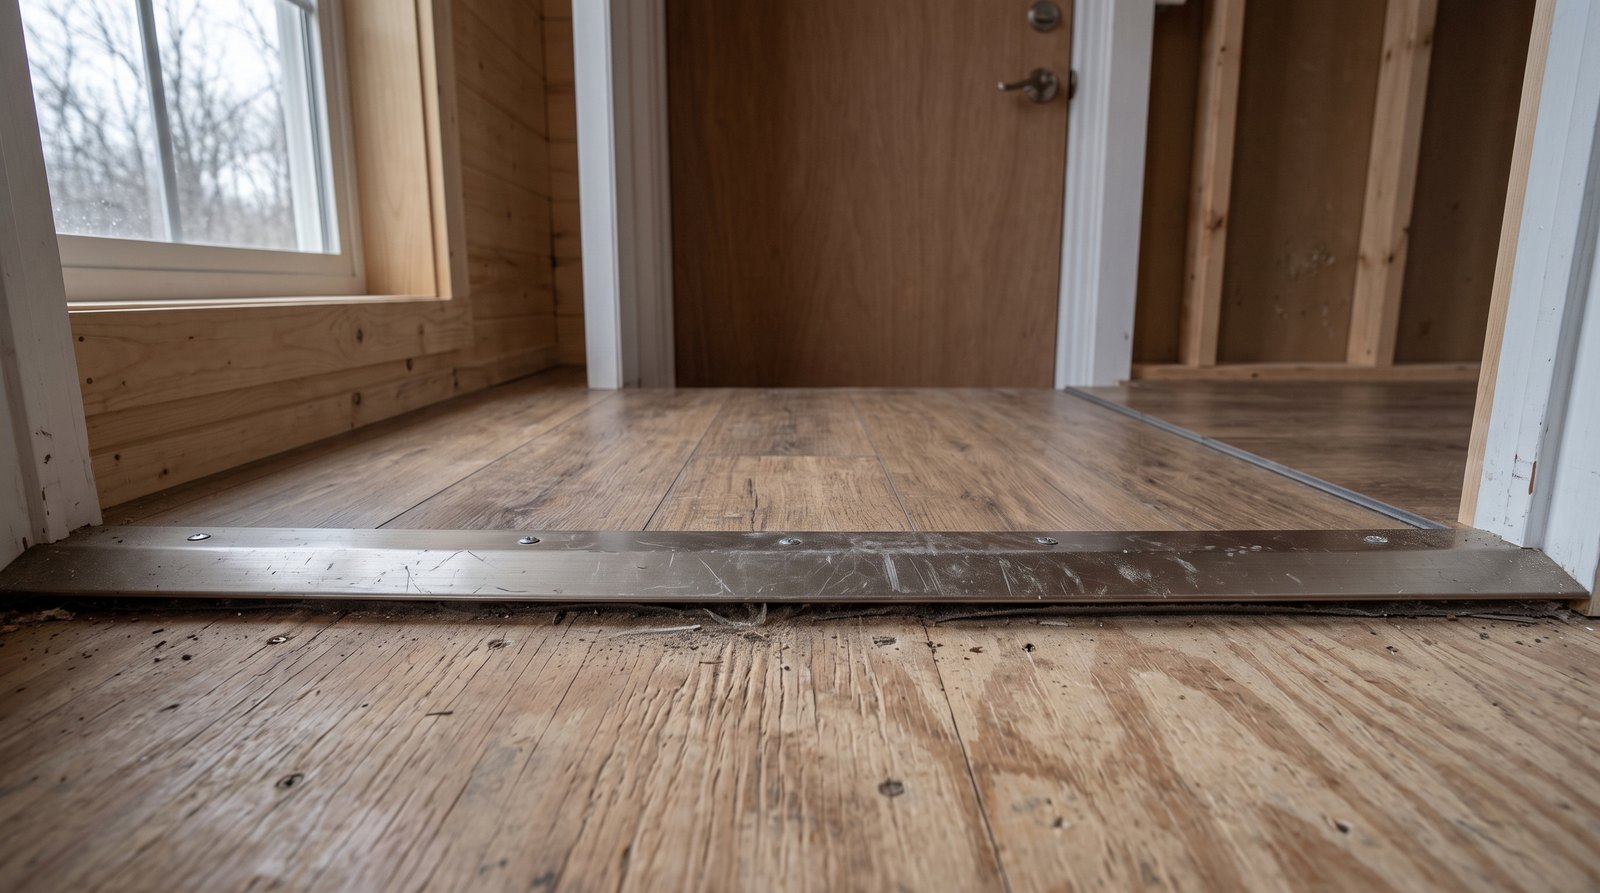
At the entry and bathroom, treat water control as a system. A waterproof surface is not the same as a waterproof room. Water can travel through perimeter gaps, under trim, around a toilet flange, or down a plumbing penetration. Use a durable threshold, a washable mat, sealed penetrations, and a pan or waterproof assembly where the design requires one.
If you use tile, follow a recognized assembly for the joist spacing, panel thickness, tile type, and wet-area conditions. Schluter’s current DITRA guidance describes the membrane as an uncoupling, waterproofing, vapor-management, and load-distribution layer over suitable plywood or OSB. Follow the complete handbook rather than copying one layer from a diagram.
What does tiny house flooring cost in 2026?
For planning, expect about $4 to $11 per square foot installed for LVP, $7 to $18 for engineered wood, $5 to $12 for cork, and roughly $8 to $22 or more for tile. Finished plywood can cost less, especially as a DIY job. Small-project minimums, prep, freight, stairs, and trim can raise totals sharply.
These are national planning ranges, not quotes. A tiny house may contain only 180 to 300 square feet, but installers still have travel, setup, cutting, and cleanup time. A loft, storage stairs, angled walls, and multiple transitions can make a small floor labor intensive. Material waste also rises when a narrow room does not divide neatly by plank width.
Buy enough extra flooring for waste and future repairs, typically following the manufacturer’s estimating guidance. Keep several full planks in a dry, conditioned place. Colors and locking profiles change, and a matching replacement may be unavailable when a damaged entry plank finally needs attention.
Flooring is only one part of long-term durability. Our guide to how long tiny houses last explains how water management and maintenance affect the whole structure. If the home will travel regularly, also budget for the full transport picture in tiny house moving costs.
Final recommendation
Choose click-lock LVP for the typical tiny house on wheels, engineered wood for a conditioned premium build, and tile only for a small, engineered wet-area assembly. Spend money first on a flat, dry, stiff subfloor and correct transitions. The right product installed poorly will fail sooner than a modest product installed to its instructions.
Frequently asked questions
Can you put tile in a tiny house on wheels?
Yes, but keep the area limited and use a floor assembly designed for movement, stiffness, and water exposure. Count the weight of tile, mortar, grout, membrane, and any extra subfloor. An uncoupling membrane can reduce movement stress, but it cannot compensate for inadequate framing or excessive deflection.
Is vinyl plank too heavy for a tiny house?
Usually not, but calculate it from the exact product. Divide case weight by case coverage to get pounds per square foot, then multiply by the installed area and add underlayment and trim. Include that number in the trailer’s complete loaded-weight plan rather than assuming every vinyl plank weighs the same.
Should flooring go under tiny house cabinets?
Permanent cabinets generally go in before a floating floor, which then runs around them with the manufacturer’s required expansion gap. Pinning a floating floor beneath heavy built-ins can prevent movement and open seams elsewhere. Glue-down or nail-down systems have different rules, so follow the specific installation guide.
How do you protect a tiny house floor at the door?
Use a durable threshold, properly flashed and sealed door opening, washable mat, and flooring rated for wet entries. Keep perimeter gaps from becoming water paths, clean grit promptly, and inspect the transition after towing. A small removable runner can take most abrasion without trapping water against the floor.
Can plywood be the finished floor in a tiny house?
Yes. Good plywood can be filled, sanded, and coated as a light, economical finished floor. Expect visible seams and a more utilitarian look. Seal cut edges and penetrations carefully, use a coating intended for foot traffic, and repair leaks quickly because standing water can swell panels and damage the finish.