Tiny house soundproofing works best when you seal air gaps, fill cavities with sound-absorbing insulation, add mass, and separate finish surfaces from framing. Start with doors, windows, and noisy equipment before rebuilding walls. A tiny home can become much quieter, but low bass, heavy rain, and highway vibration are rarely eliminated completely.
Table of Contents
What tiny house soundproofing can actually achieve
Good sound control can soften conversations, traffic hiss, appliance hum, rain, and footsteps enough to improve sleep and privacy. It cannot make a lightweight house silent. Low-frequency engine noise and vibration travel through structure, and every window, vent, plumbing hole, and poorly sealed door can weaken an otherwise strong wall.
Soundproofing is really four jobs. Absorption reduces energy inside a wall or ceiling cavity. Mass makes a surface harder to move. Decoupling interrupts the direct path through studs or joists. Sealing closes the small air paths that carry surprising amounts of sound. A successful assembly usually uses more than one of these methods.
Do not judge materials by a single acoustic claim. Sound Transmission Class, or STC, summarizes airborne sound performance for a complete tested assembly, not one loose product. It also does not describe impact noise well and is less useful for deep bass. The framing, fasteners, electrical boxes, edges, workmanship, and flanking paths all affect real-world results.
Identify the noise path before buying materials
First decide whether the problem is airborne sound, impact sound, equipment vibration, or an exterior leak. Play steady music on one side, listen around edges, and lightly press on doors and windows. Then switch pumps and fans off one at a time. A ten-minute diagnosis can prevent an expensive wall rebuild that misses the actual path.
Voices, television, dogs, and traffic are mainly airborne sources. Footsteps, cabinet slams, a water pump, and trailer suspension create structure-borne vibration. If noise changes sharply when you press a door closed, repair its gasket and latch. If one corner, outlet, or pipe opening sounds louder, seal that discontinuity before adding layers across the whole room.
Use a phone recording only for comparison, not as a laboratory measurement. Record from the same position with the same source and volume before and after each change. For road noise, compare the house parked, connected to shore power, and moving. A noise that disappears when parked may come through the trailer, wheels, loose trim, or cargo rather than the wall.
Build quieter walls and ceilings
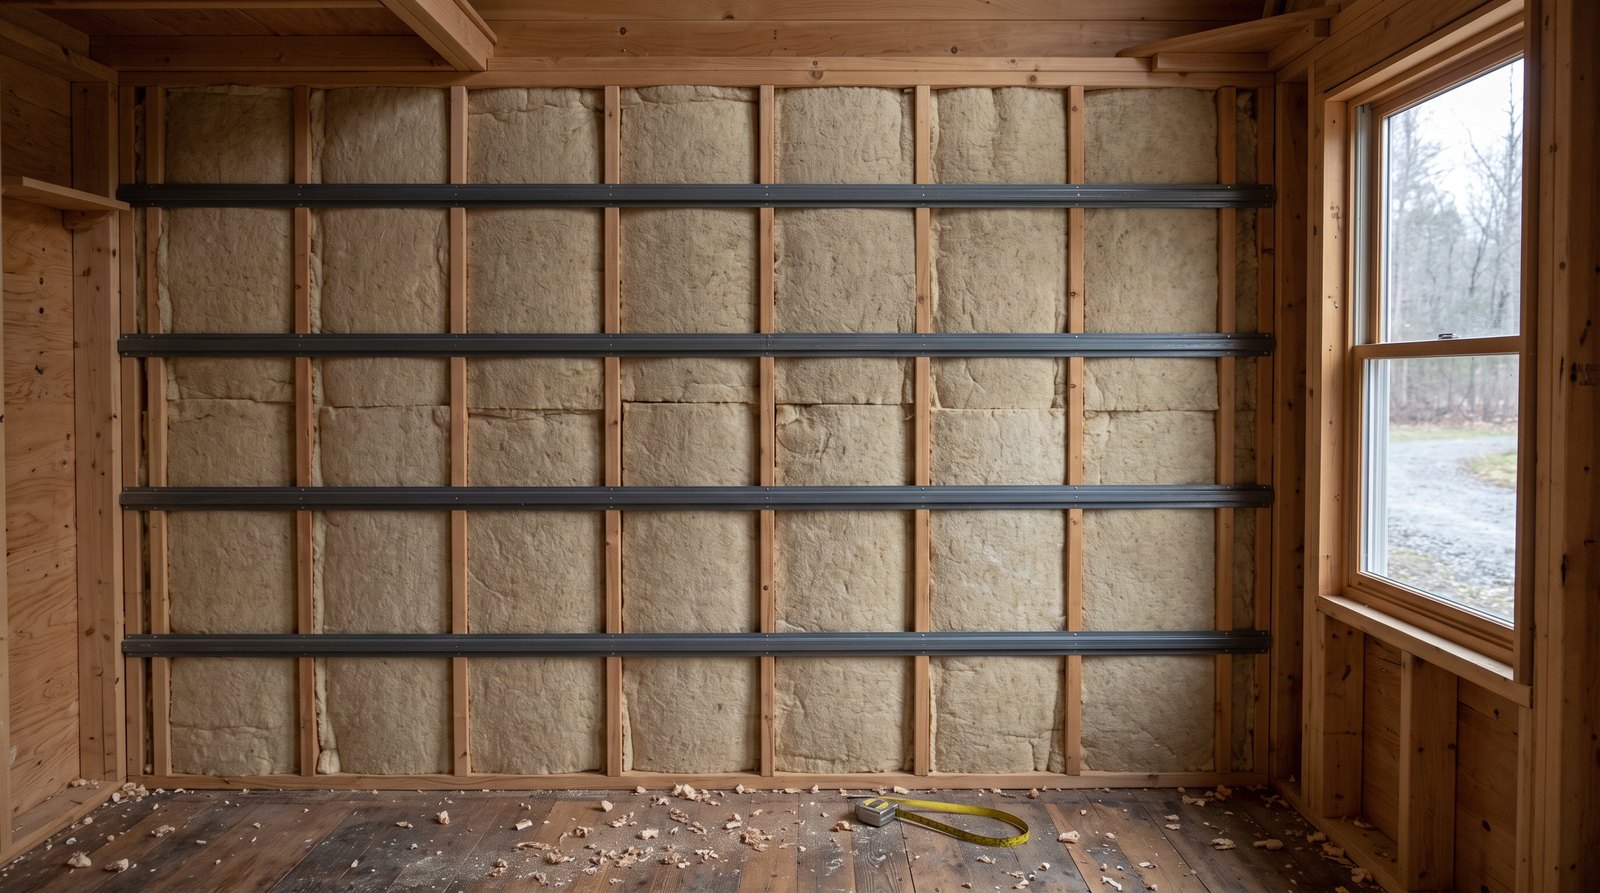
A high-value wall combines a sealed gypsum layer, cavity insulation, and some separation between drywall and framing. Mineral wool or fiberglass absorbs sound inside the cavity, while added drywall supplies mass. Resilient channel or acoustic clips can improve isolation, but only when installed as part of a tested assembly without screws bridging directly into studs.
For new construction, choose a documented wall or ceiling assembly and copy its spacing, fastener schedule, panel thickness, insulation, and perimeter treatment. A manufacturer-tested assembly can reach useful STC performance, but changing one detail can change the result. Do not assume that thicker insulation alone will equal the rating of the complete design.
In a retrofit, the least disruptive option is often to seal the perimeter and penetrations, then add a second layer of 5/8-inch gypsum with staggered seams. A damping compound between layers may help, but it still needs airtight edges. On a tiny house on wheels, have the added weight checked against the trailer rating and actual scale weight first.
Avoid common shortcuts. Do not pack fibrous batts so tightly that they bridge the cavity. Do not mount cabinets, trim, or a television through a decoupled finish and back into framing unless the detail allows it. Never use ordinary foam panels as a substitute for mass and sealing. Decorative foam mainly changes reflections inside the room.
Seal doors, windows, and penetrations first
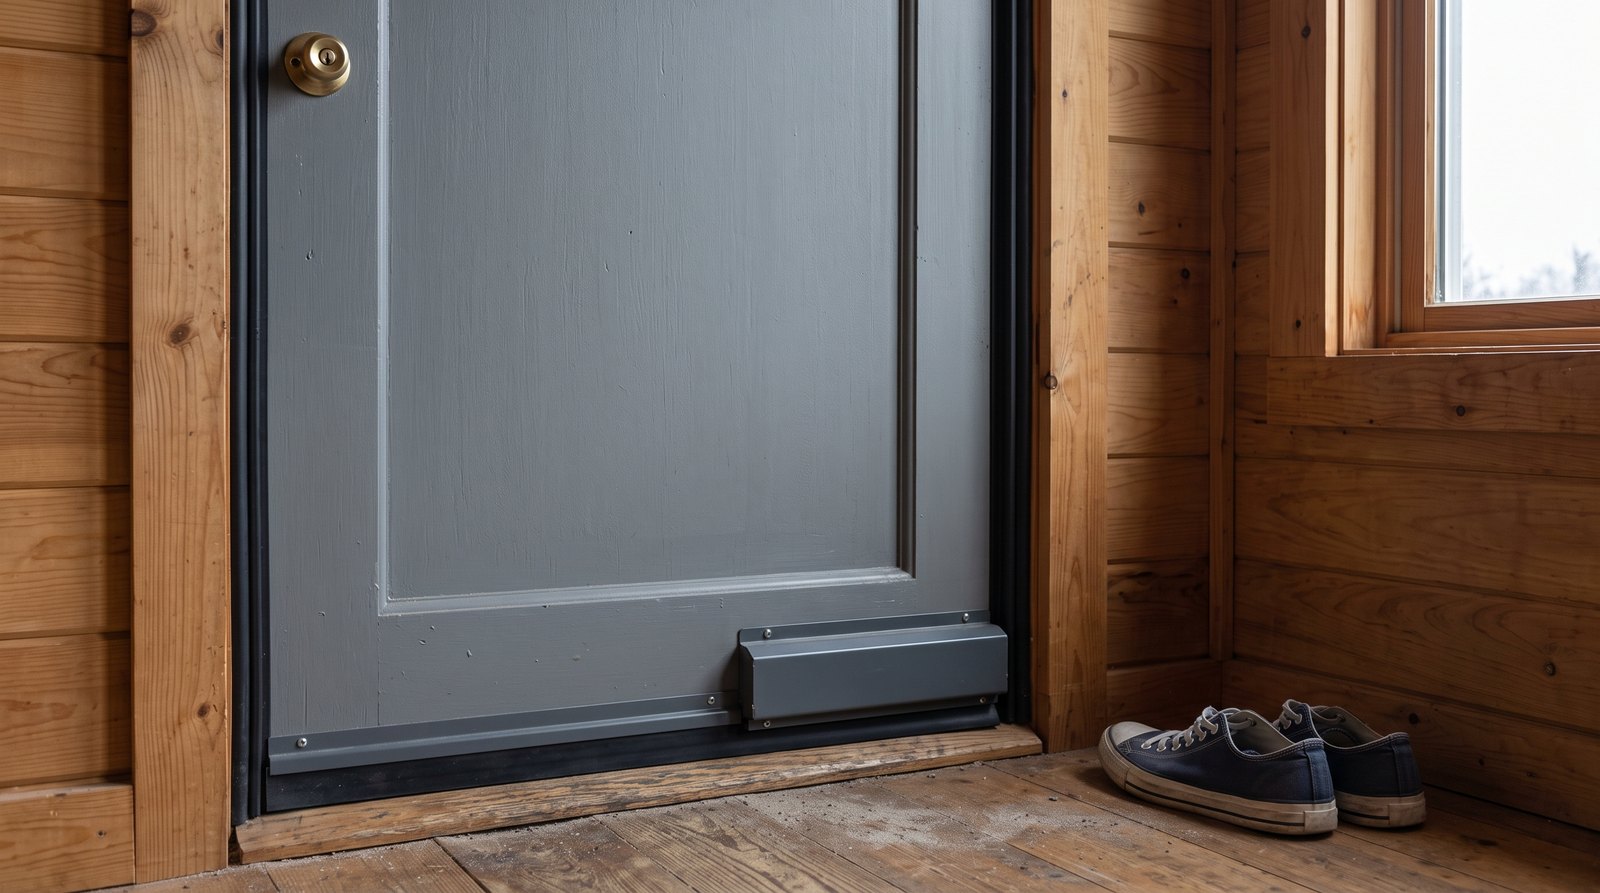
Doors, windows, vents, and utility holes are usually the best first targets because sound follows air. Adjust the latch so the door compresses its gasket evenly, add an appropriate sweep at the threshold, and seal fixed frame gaps. Treat operable parts with replaceable weatherstripping, not permanent caulk that prevents safe operation or drainage.
Start with a bright flashlight test at night and a thin strip of paper around the closed door. Light or a loose paper grip reveals a likely leak. Current retail listings show basic door sweeps around $8 to $20, while a complete perimeter seal and better automatic drop seal can cost more. Fit matters more than buying the thickest product.
Windows are harder because glass is light and must remain usable. Repair missing seals and loose stops first. A snug interior storm panel can add another sealed air space without replacing the window, but it must be removable and must not trap damaging condensation. Thick curtains reduce room echo and a little high-frequency sound, but they do not transform window isolation.
Seal electrical boxes, plumbing penetrations, wall-to-floor joints, and finish gaps with a compatible flexible sealant. Keep required clearances around flues, heat-producing equipment, and electrical components. Use listed firestop products where the assembly requires them. Never block a combustion-air opening, dryer outlet, plumbing vent, or designed drainage path to chase a quieter result.
Control floor, loft, and stair impact noise
Impact noise needs softness and structural separation more than extra wall insulation. Start with felt pads, rubber cabinet bumpers, a dense rug pad, and resilient underlayment where the flooring system permits it. For a loft, isolate the walking surface or ceiling below, and tighten loose stairs before adding heavy layers that reduce headroom.
A floating finish floor can help when the underlayment remains continuous and fasteners do not short-circuit it. Check the flooring manufacturer’s instructions, especially around click-lock joints and cabinets. In a trailer, do not cover inspection points, tie-down hardware, plumbing access, or floor areas that must dry after a leak.
Stair squeaks and loft creaks are often movement problems. Tighten accessible connections, add construction adhesive only where structurally appropriate, and place thin isolation material between nonstructural contact surfaces. If a bounce feels new or severe, have the framing inspected. Sound treatment should never hide a loose connection, water damage, or an overloaded loft.
Quiet pumps, fans, refrigerators, and mini splits
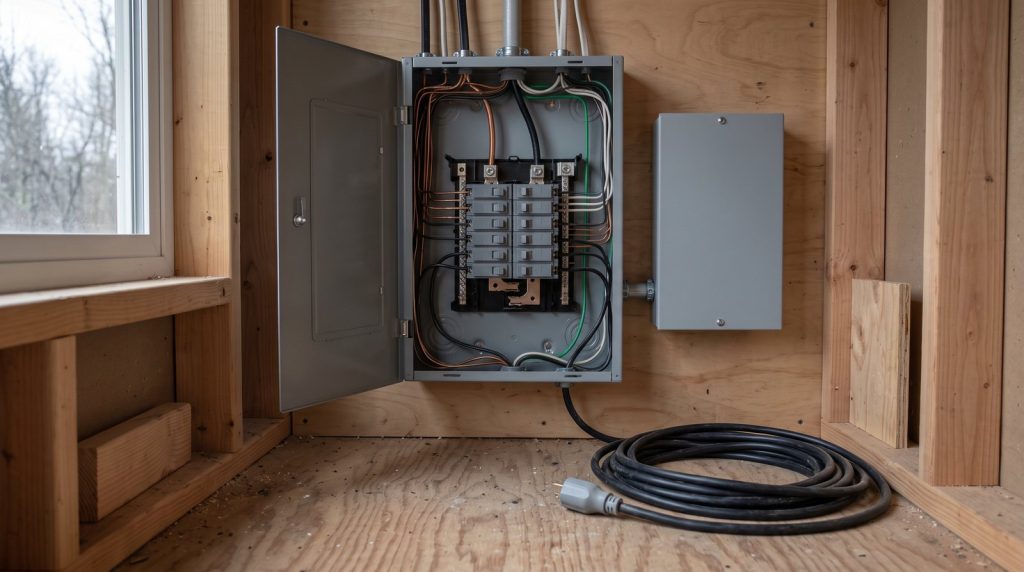
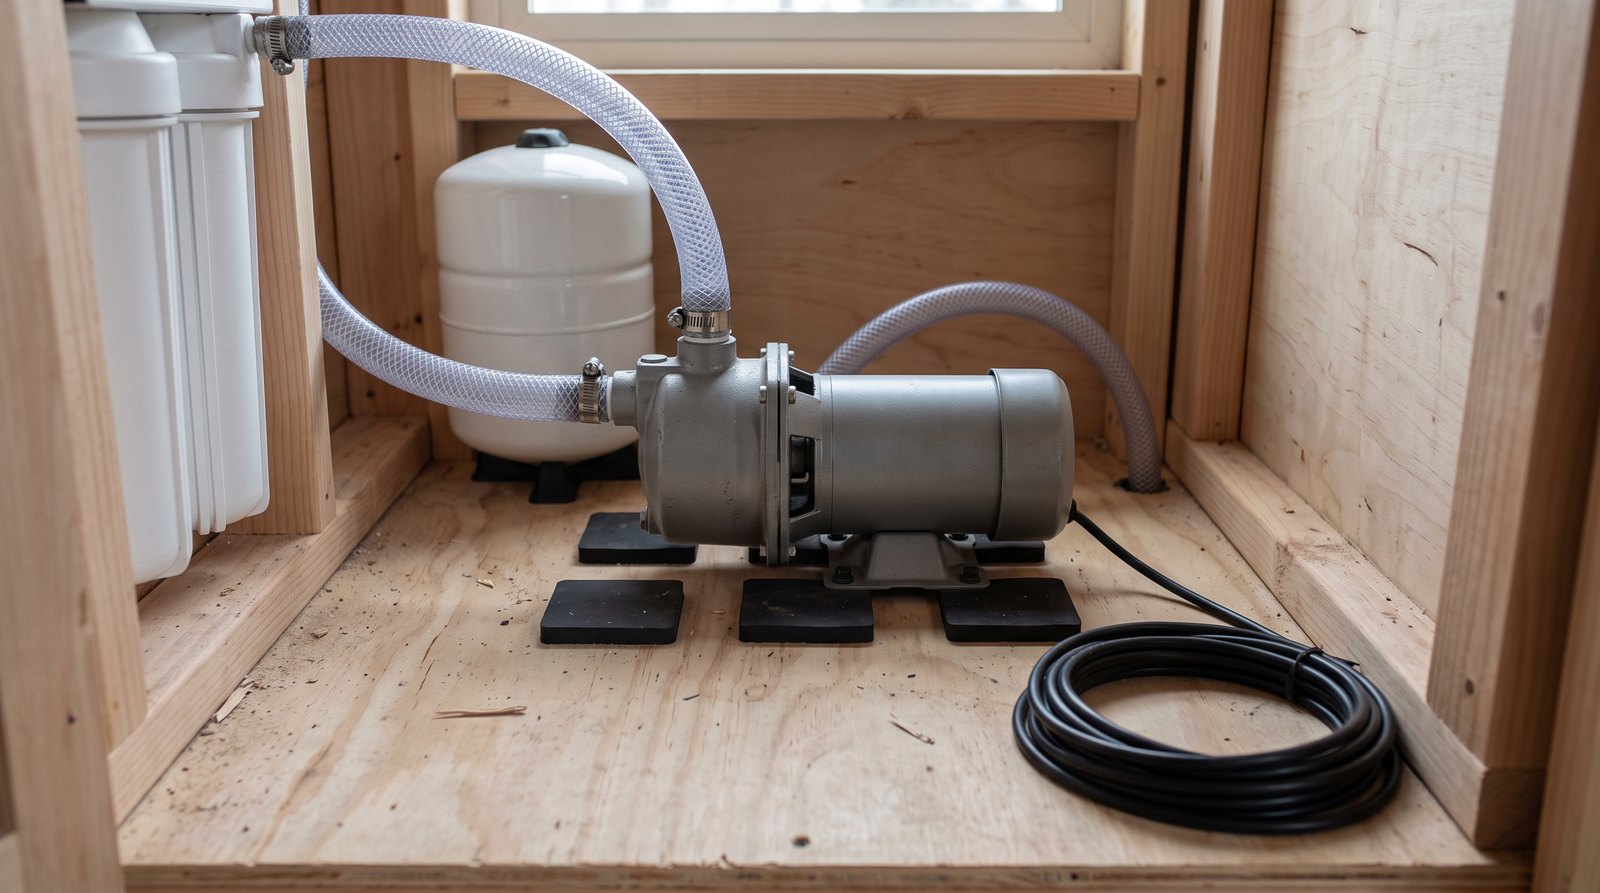
Mechanical noise usually improves fastest at the source. Mount pumps and compressors on appropriate isolation pads, use flexible connectors where the manufacturer allows them, secure rattling pipes and panels, and keep equipment from touching finish walls. Service the appliance before enclosing it. A failing bearing or clogged fan should be repaired, not muffled inside a box.
A water pump often transmits more vibration through rigid pipe and plywood than through the air. Flexible hose sections, rubber-isolated mounts, padded pipe clamps, and a small air accumulator can reduce cycling and structure-borne buzz when compatible with the system. Maintain ventilation, drainage, freeze protection, and service access around every component.
For fans, compare certified airflow and sound ratings, and use the duct size and routing specified by the manufacturer. A quiet fan connected to a crushed or undersized duct can become loud and ineffective. Refrigerators need clearances for heat rejection. Mini split line sets and condensate lines should be supported without rubbing on framing or finish panels.
Reduce rain and road noise in a tiny house on wheels
Rain and road noise are difficult because a metal roof, light shell, windows, trailer frame, and unsecured contents can all contribute. For rain, improve the insulated roof or ceiling assembly and stop interior rattles. For travel, weigh the house, secure cargo, inspect running gear, and diagnose vibration before adding mass that could reduce payload.
A well-detailed ceiling with cavity insulation, airtight gypsum, and resilient separation can soften rain better than thin decorative panels. Roof work must preserve the drainage plane, ventilation strategy, flashing, and condensation control. If the tiny home has a metal roof, do not sandwich new materials into an unverified assembly that can hold moisture against the deck.
On the road, empty dishes, blinds, range grates, sliding doors, and loose hardware may dominate what occupants hear later. Use removable travel restraints and soft separators. Do not ride inside a tiny house on wheels unless it is legally designed and approved for occupancy in motion. Treat the structure as cargo and follow the tow vehicle, trailer, and local requirements.
Extra drywall, mass-loaded vinyl, tile, and dense board can consume payload quickly. Get an axle-by-axle scale weight and compare it with every applicable rating before and after major changes. Moving expenses also rise with size, weight, route, and setup complexity, as explained in our guide to tiny house moving costs.
Protect ventilation, moisture control, and living space
Never trade healthy ventilation for quiet. Air sealing and controlled ventilation belong together, especially in a tiny volume where cooking, showering, and sleeping raise moisture quickly. Keep bath and kitchen exhaust paths functional, use quiet rated equipment, and have combustion appliances checked. Sound baffles must not cut airflow below the required design rate.
Current residential ventilation guidance, including ASHRAE Standard 62.2-2025, treats whole-dwelling ventilation, local exhaust, and source control as parts of acceptable indoor air quality. Your adopted code may use a different edition, so confirm requirements with the local building department and the system designer. Do not guess at duct or intake sizing.
Every acoustic layer also consumes inches. Clips, channels, and added drywall can shrink an already narrow aisle or loft. Sketch the finished clearances around doors, stairs, egress windows, electrical panels, and appliances before building. Moisture management is central to durability, which is one reason ventilation and envelope details matter in how long tiny houses last.
Tiny house soundproofing costs and retrofit priorities
Budget first for diagnosis and sealing, then for source control, and only then for wall or ceiling reconstruction. A useful DIY improvement may cost under $200, while a professionally rebuilt assembly can reach several thousand dollars. Access, finish repair, electrical work, moisture damage, local labor, and trailer weight review create the largest price differences.
Quick answer by situation:
- Door leak or hallway voices: Adjust the latch, renew perimeter weatherstripping, and install a fitted sweep. Plan roughly $30 to $150 in common DIY materials.
- Water pump or appliance buzz: Service the unit, isolate mounts, add approved flexible connections, and pad pipe clamps. A small DIY job may run $40 to $250.
- One hollow interior wall: Seal penetrations and fill the cavity during an open-wall project. Materials may run a few hundred dollars, plus drywall and finishing.
- Serious bedroom or road-facing wall: Price a tested insulated, decoupled, double-layer assembly. Small professional projects commonly reach the low thousands once demolition and finishing are included.
- Whole THOW: Begin with scale weights, doors, windows, equipment, and rattles. Get structural and trailer advice before adding heavy layers throughout.
These are planning ranges, not quotes. Measure actual square footage and count sealant, fasteners, trim work, electrical extensions, paint, disposal, and temporary lodging. Ask contractors which tested assembly they are following and how they will prevent flanking paths. A quote that says only “soundproof insulation” is not a complete acoustic plan.
If you are choosing between a mobile tiny house and a travel trailer, compare not only insulation but also chassis vibration, windows, ventilation, repair access, and certified travel use. Our tiny house versus RV guide covers the broader full-time-living tradeoffs.
FAQ
What is the best soundproofing material for a tiny house?
No single material is best. Use fibrous insulation for cavity absorption, sealed gypsum for mass, resilient channels or clips for decoupling, and flexible sealant for gaps. The best choice is a tested complete assembly that fits your wall depth, moisture design, fire requirements, budget, and allowable trailer weight.
Can I soundproof a tiny house without removing drywall?
Yes, begin with door and window seals, utility penetrations, rattles, appliance mounts, rugs, and soft cabinet bumpers. You can also add a sealed second gypsum layer where structure and weight allow. Results are limited if the main weakness is an empty cavity or a wall that needs true decoupling.
Does mineral wool make a tiny house soundproof?
Mineral wool helps absorb sound inside wall, floor, and ceiling cavities, but it does not soundproof a house by itself. The surrounding panels, framing, seams, outlets, doors, and windows still determine transmission. Use it at its intended density and thickness within a complete assembly, without compressing or leaving gaps.
How do I reduce rain noise on a metal tiny house roof?
Improve the whole roof or ceiling assembly with cavity absorption, an airtight interior layer, and resilient separation where appropriate. Also stop loose trim and fixture rattles. Any change must preserve flashing, drainage, ventilation, and condensation control. Ask a building-envelope professional before altering an existing metal roof assembly.
Is soundproofing worth the weight in a tiny house on wheels?
It can be, but start with lightweight fixes and source control. Weather seals, isolated pump mounts, flexible connections, and secured hardware often deliver good value. Before adding drywall or dense membranes, obtain actual scale weights and confirm axle, tire, hitch, trailer, and tow-vehicle ratings with qualified professionals.