Tiny house dehumidifiers are useful when indoor relative humidity repeatedly stays above about 55 percent after leaks, wet crawlspaces, cooking moisture, and weak exhaust have been addressed. Choose capacity by moisture load, not floor area alone, provide safe drainage and power, and treat the unit as support for ventilation and source control.
Table of Contents
Does Your Tiny House Need a Dehumidifier?
You probably need one if a reliable hygrometer shows sustained humidity above 55 to 60 percent, windows sweat, closets smell musty, or soft goods remain damp. A short shower-related spike is normal. Humidity that stays high for hours, returns every day, or affects several rooms calls for investigation and control.
The U.S. Environmental Protection Agency says indoor relative humidity should remain below 60 percent and ideally between 30 and 50 percent. In a tiny house, 45 to 55 percent is a practical operating range for many climates. Forcing the setting lower can waste electricity, make the space uncomfortable, and cause the compressor to run nearly continuously.
Before buying equipment, check for plumbing leaks, rain entry, wet skirting, ground moisture below a foundation home, an unvented clothes dryer, and bathroom or kitchen fans that do not exhaust outdoors. A dehumidifier removes water already in the air. It does not repair the source, deliver required fresh air, or remove cooking pollutants.
Quick answer by situation
- Only the bathroom spikes after showers: Improve the exhaust fan, use it during bathing and for about 20 minutes afterward, and keep the door open when practical.
- The whole house stays above 55 percent: Start with a properly rated portable compressor unit and measure the result.
- A crawlspace or foundation stays damp: Fix drainage, ground vapor control, and air leaks before adding mechanical drying.
- The house is vacant for long periods: Use an auto-restart model with a continuous drain and remote humidity alert if reliable internet is available.
- A THOW travels: Choose a portable unit that can be emptied, dried, unplugged, and positively restrained before towing.
How to Size a Tiny House Dehumidifier
For most tiny homes, start with the smallest full-size compressor dehumidifier that can handle the measured moisture load, often a current 20 to 25 pint-per-day model. Move up when the climate is very humid, the house has a wet lower level, or the smaller unit cannot hold the target without running constantly.
The pint rating means water removed in 24 hours under a standardized laboratory test. It is a comparison tool, not a promise that the bucket will collect that amount in your house. Actual removal falls when the room is cooler or less humid, and it rises after showers, wet laundry, or a spell of humid outdoor air.
Do not rely on marketing claims that a small portable covers thousands of square feet. A 250-square-foot tiny house can impose a harder load than a larger dry apartment because two people cook, shower, sleep, and dry gear in a much smaller air volume. Air leakage, climate, temperature, occupancy, and exposed soil matter as much as floor area.
Avoid extreme oversizing. A large portable occupies precious floor space, can sound harsh in one open room, and may create more noticeable heat. Capacity also has to fit the available circuit and drainage plan. If moisture remains high despite adequate capacity, look again for water entry, blocked airflow, or an exhaust problem.
Portable Versus Compact Ducted Units
A portable unit is usually the best first choice because it is inexpensive, serviceable, and easy to test. A compact ducted unit makes sense when humidity affects separated rooms, floor space is exceptionally tight, or quiet automatic control matters enough to justify professional installation, permanent drainage, and a larger budget.
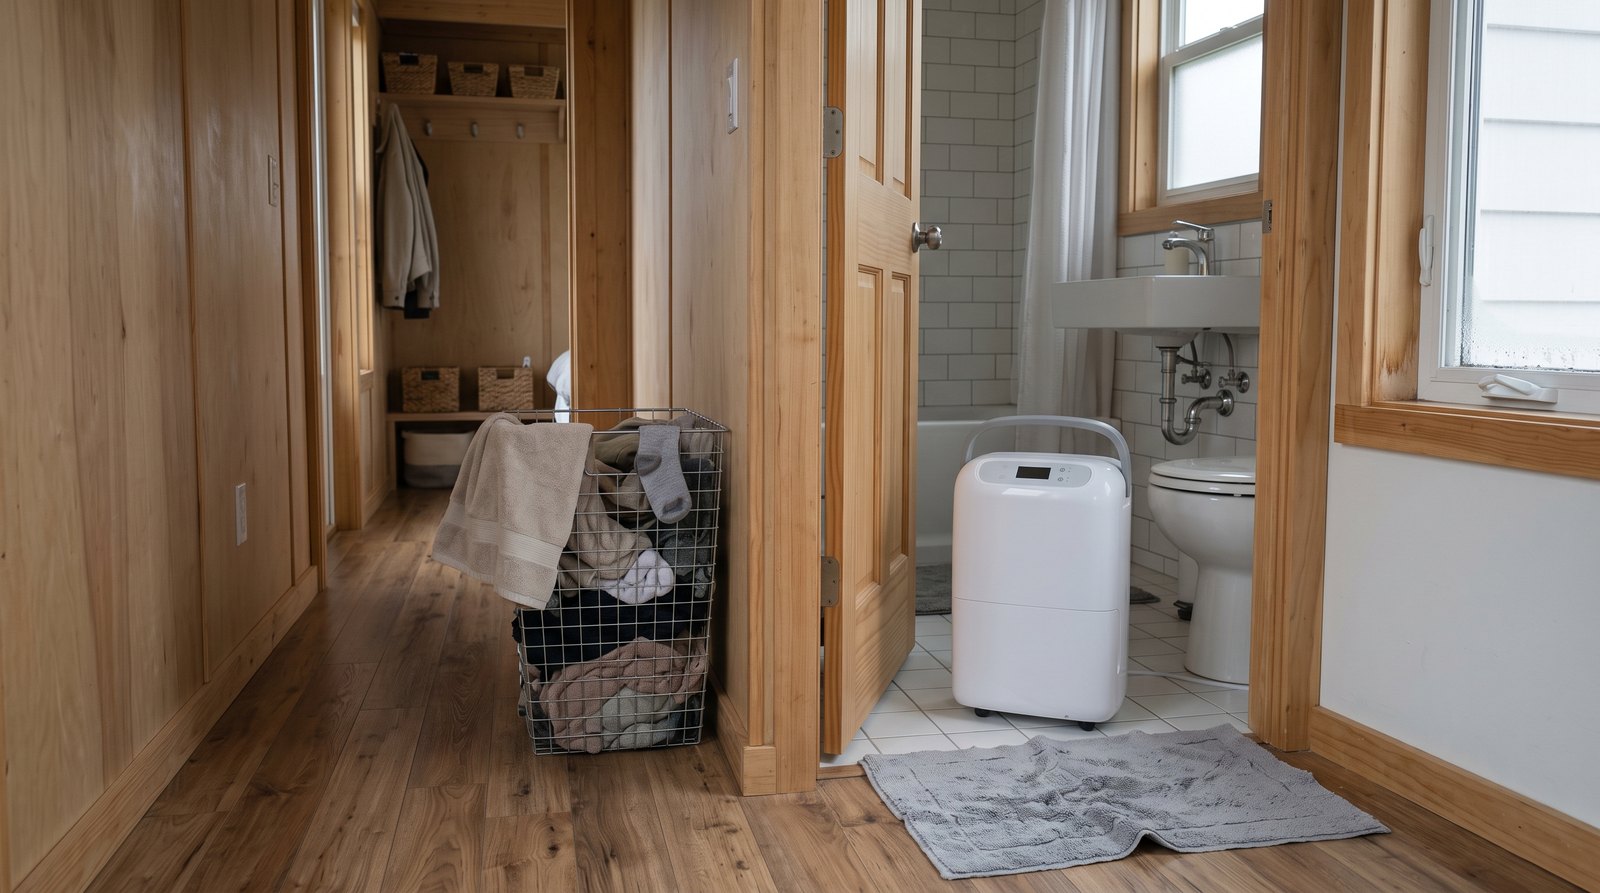
Portable units combine the fan, cold coil, warm coil, bucket, and humidistat in one cabinet. They work best in an open layout with several inches of clearance around the intake and discharge. A bathroom door left open after a shower lets the appliance dry that room without placing electrical equipment in a splash zone.
A compact ducted dehumidifier can live in a utility compartment and move air through short dedicated ducts. It needs adequate return and supply paths, filter access, vibration isolation, condensate drainage, and enough surrounding room for service. Do not improvise a connection to heating or cooling ducts unless the manufacturer allows that exact arrangement.
Drainage, Pumps, and Leak Protection
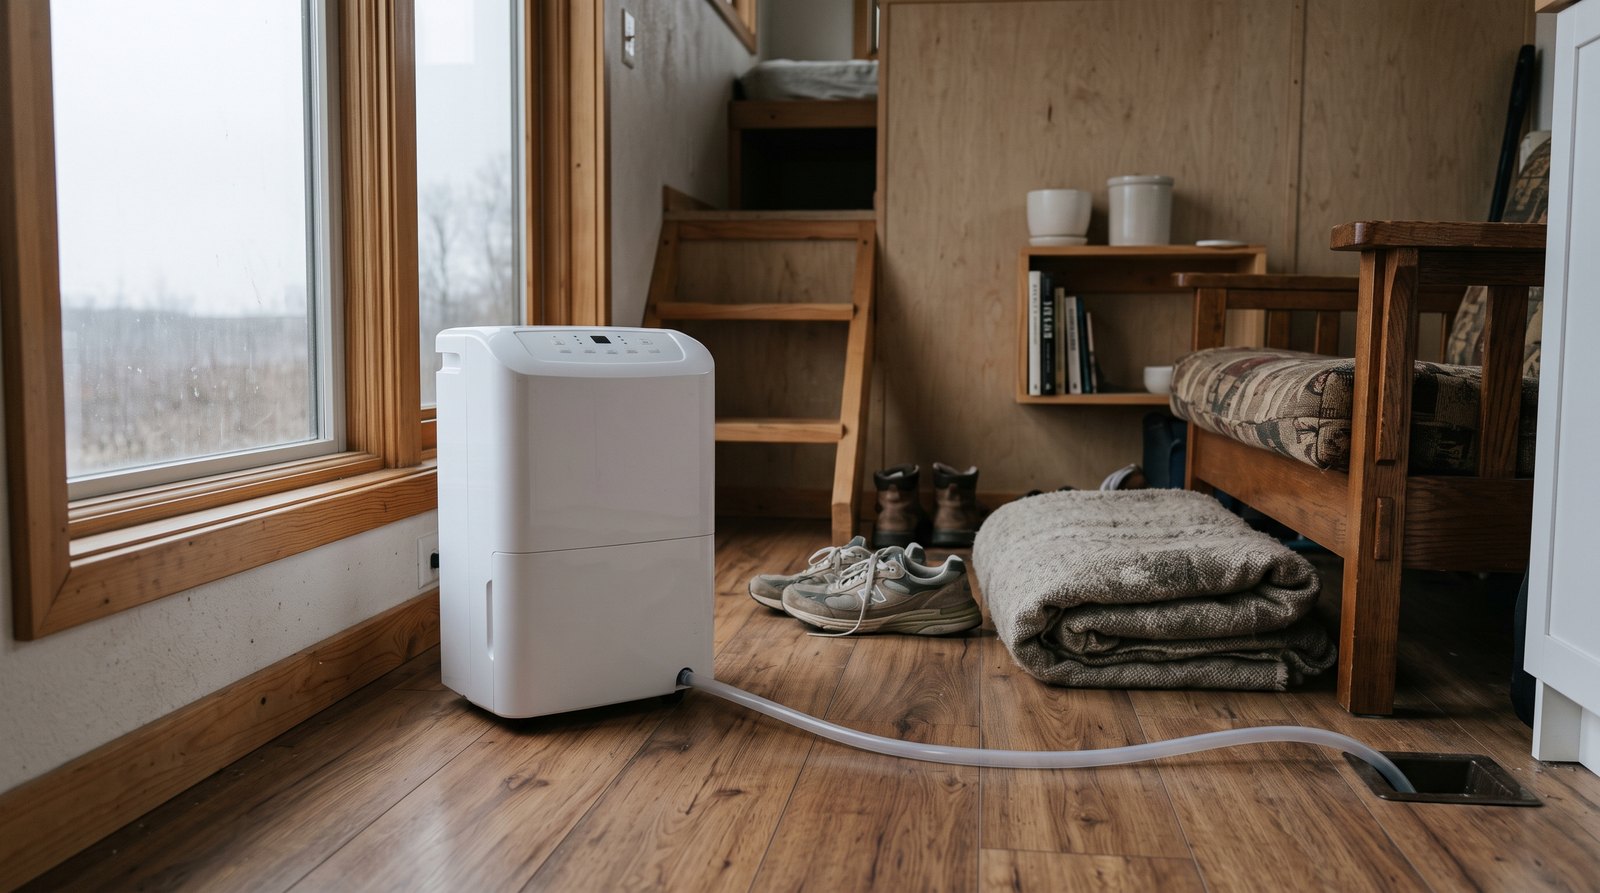
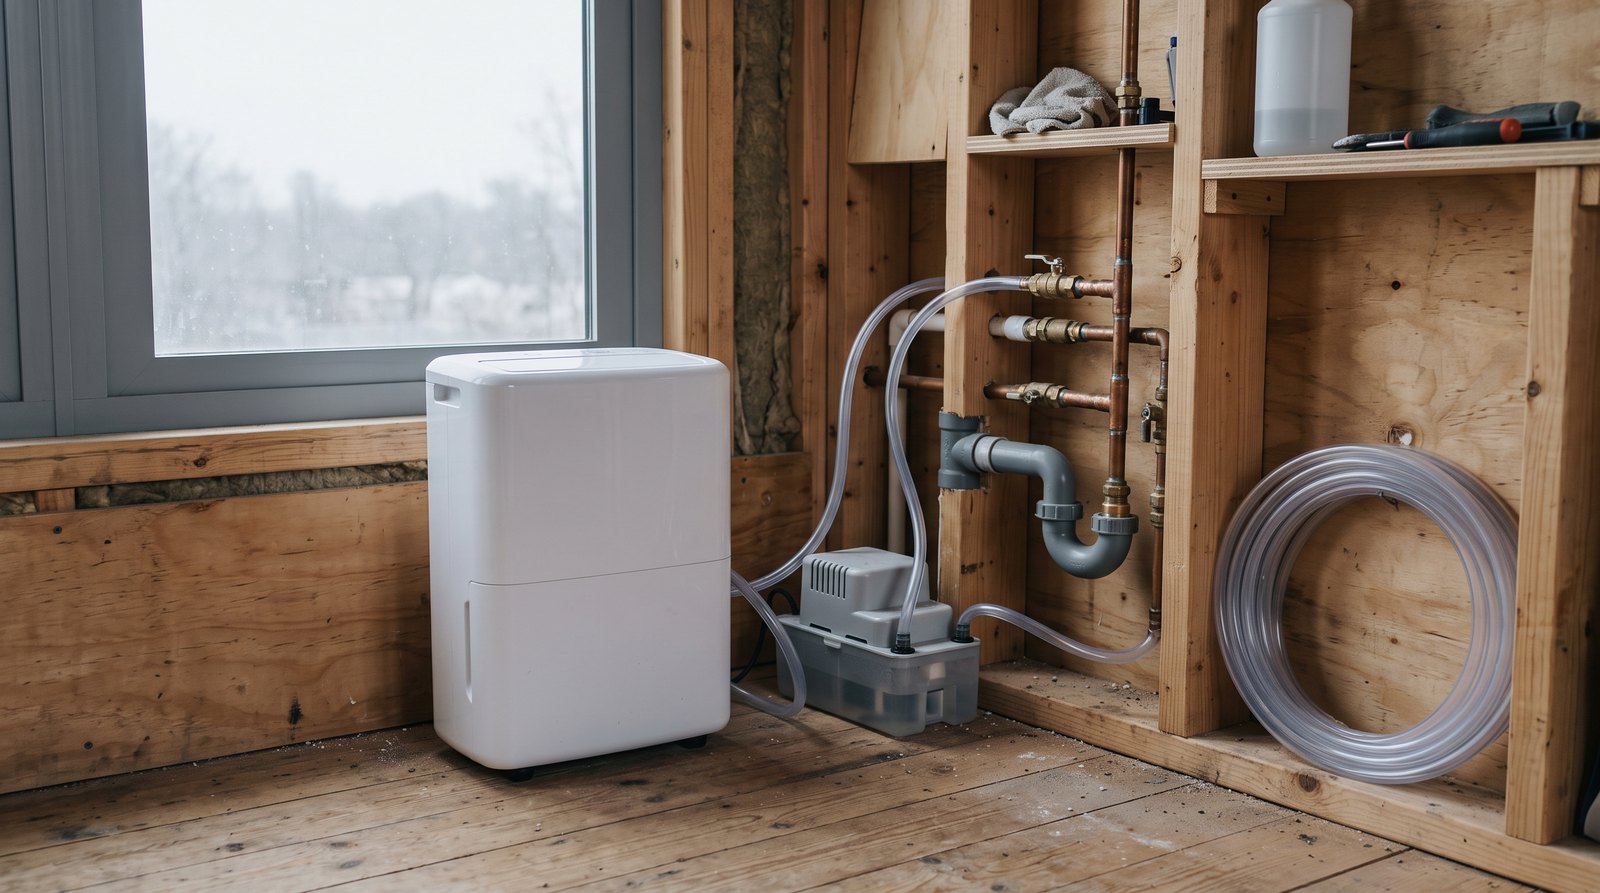
Continuous gravity drainage is the simplest reliable setup when a floor drain or approved receptor sits below the outlet. Keep the hose short, supported, continuously sloped, and protected from kinks. If gravity cannot work, use a listed condensate pump sized for the lift and provide a plan for pump or power failure.
Never run a drain hose uphill and expect the dehumidifier to overcome the rise unless it has an integral pump. A slight sag can also trap water and stop flow. Test the installation by running the unit until condensate reaches the destination, then inspect every connection. Recheck it after moving furniture or cleaning around the appliance.
A separate condensate pump adds flexibility but also adds a reservoir, switch, check valve, tubing, and another power connection that can fail. Place it where a leak is visible, use the pump manufacturer’s tubing size, and secure the discharge line. If an overflow safety contact is available, have a qualified installer use it to stop the dehumidifier.
Where a leak could damage flooring or cabinetry, set the appliance and pump in a shallow drain pan with a water alarm. Do not route condensate into a plumbing vent, onto a walking surface, or outdoors where it can create ice. Local plumbing rules control acceptable discharge points, so confirm the plan with the authority having jurisdiction.
Power Use, Heat, Noise, and Winter Operation
Expect a compressor dehumidifier to be a meaningful electrical load, a noticeable heat source, and one of the louder appliances in a one-room home. Read the nameplate rather than guessing, use the manufacturer’s required receptacle, and estimate cost from measured kilowatt-hours. Cool-weather performance also deserves attention before winter operation.
ENERGY STAR measures efficiency as liters of water removed per kilowatt-hour. A higher Integrated Energy Factor means greater efficiency under the test conditions. The current Version 6.0 specification took effect October 1, 2025, and certified units use about 20 percent less energy than comparable conventional models, according to ENERGY STAR.
For a simple cost estimate, multiply watts by operating hours and divide by 1,000. A 400-watt unit running eight hours uses 3.2 kilowatt-hours. Multiply that by the electricity rate on your bill. A plug-in energy meter gives a better monthly estimate because the compressor cycles while the fan may continue to sample the air.
Every compressor dehumidifier warms the room. The appliance returns motor and compressor heat to the air, plus the heat released as water vapor condenses. That warmth can be welcome in a cool shoulder season and unwelcome during summer. Sometimes air conditioning handles both sensible heat and moisture more comfortably, but an oversized air conditioner may cool too quickly to dehumidify well.
Published decibel numbers are useful only when the test method is comparable. In a tiny house, vibration through a hollow cabinet or floor can matter more than the fan rating. Set the unit level on a firm surface, keep it away from bed framing, and avoid soft pads that block airflow or let the cabinet rock.
Refrigerant-style units remove less water in cold rooms and may enter defrost mode. Check the manufacturer’s minimum operating temperature. Do not use the unit below that limit. In a cold, unoccupied THOW, winterize the plumbing and address condensation at the building envelope instead of expecting a standard portable dehumidifier to solve freezing conditions.
Placement, Ventilation, and THOW Travel
Place the dehumidifier where room air can reach it, the discharge will not blow directly at the humidistat, and the drain route is safe. Keep required clearances, keep cords out of walkways, and protect the unit from splashes. A THOW also needs a storage and restraint plan before every move.
The center of an open living area often works better than a bathroom corner. Close exterior doors and windows while dehumidifying humid summer air, but continue using required mechanical ventilation. A balanced fresh-air system, bath fan, or range hood serves a different purpose. Dry recirculated air is not a substitute for outdoor air or source exhaust.
Plug the appliance directly into the type of grounded receptacle specified by its instructions. Avoid extension cords and overloaded multi-outlet adapters. Bathrooms, kitchens, crawlspaces, and other damp locations may require GFCI protection under the locally adopted electrical code. Have an electrician resolve nuisance trips rather than bypassing protection.
Before towing a tiny house on wheels, switch the unit off, unplug it, drain the bucket and hoses, dry all water-contact surfaces, and secure the cord. Keep the appliance upright unless its manual explicitly allows another position. Anchor it with a positive restraint that cannot release under braking.
Maintenance and Mold Prevention
Clean the filter on schedule, keep the air path open, sanitize the bucket without damaging coatings, and inspect drainage every month during heavy use. Track humidity instead of judging by feel. If mold or condensation returns, fix the moisture source promptly rather than lowering the humidistat and making the machine run harder.
A loaded filter reduces airflow and water removal. Vacuum or wash it exactly as the manual directs, then let a washable filter dry before reinstalling it. Dust the intake grille and check that curtains, laundry, or stored gear have not moved against it. Clean the drain hose and pump reservoir when buildup appears.
EPA guidance emphasizes that moisture control is the key to mold control. Dry wet materials within 24 to 48 hours when practical, repair leaks, and address condensation. A dehumidifier may protect finishes and furnishings, which supports the long-term durability discussed in how long tiny houses last, but it cannot make water-damaged materials sound again.
Document the humidity problem, repairs, equipment, and maintenance with dates and photos. That record helps a contractor diagnose the building and can be useful if damage leads to an insurance question. Coverage varies, and gradual moisture damage is often treated differently from a sudden covered leak, so review the issues described in tiny house insurance.
What Tiny House Dehumidifiers Cost in 2026
Current portable units commonly cost about $130 to $300, while models with built-in pumps often run about $250 to $400. A true ducted whole-home unit can cost roughly $1,500 to $2,600 before installation. Add drainage, electrical work, controls, ducts, filters, and any moisture-source repairs to the budget.
The cheapest appliance is not always the lowest-cost choice. Compare certified efficiency, noise, bucket size, continuous-drain design, auto restart behavior, warranty service, filter cost, and whether the model remembers its humidity setting after an outage. A reliable 20 to 25 pint unit may serve a tiny house better than a discounted oversized machine.
Operating cost depends on watts, runtime, climate, and electricity price. Source control is the best energy upgrade. A repaired leak, working bath fan, sealed ground vapor barrier, or properly vented dryer can reduce the hours a dehumidifier must run. Recheck the cause if the compressor rarely cycles off at the target setting.
Frequently Asked Questions
What humidity should I set in a tiny house?
Start near 50 percent relative humidity and verify conditions with a separate hygrometer. Adjust within roughly 45 to 55 percent for comfort, climate, and condensation control. EPA guidance says to stay below 60 percent and ideally between 30 and 50 percent, but forcing an unnecessarily low setting increases runtime and cost.
Is a 20-pint dehumidifier too large for a tiny house?
Not necessarily. A current 20 to 25 pint unit is often the smallest conventional compressor size and can work well if its humidistat cycles the compressor. The right capacity depends on moisture load, temperature, and air movement. Test performance and return an unsuitable unit rather than trusting a square-foot claim alone.
Can I drain a dehumidifier into a tiny house sink?
Only if the manufacturer allows continuous drainage and the plumbing arrangement is legal, secure, and protected against backflow or overflow. A loose hose dropped into a sink can fall out or block normal use. A properly sloped line to an approved receptor is better. Confirm local plumbing requirements before making a permanent connection.
Can I leave a dehumidifier running while away?
Unattended operation is reasonable only when the appliance instructions allow it and the setup has been tested. Use a sound receptacle, clean filter, auto restart if desired, continuous drain, leak pan, and water alarm. Inspect the hose and pump first. Do not leave a bucket-dependent unit running if it may fill.
Will a dehumidifier replace a bathroom fan or fresh-air system?
No. A dehumidifier recirculates indoor air and removes some water vapor. A bathroom fan exhausts moisture and contaminants at the source, while a fresh-air system dilutes indoor pollutants. Use each system for its intended job. If local code requires mechanical ventilation, installing a dehumidifier does not remove that requirement.