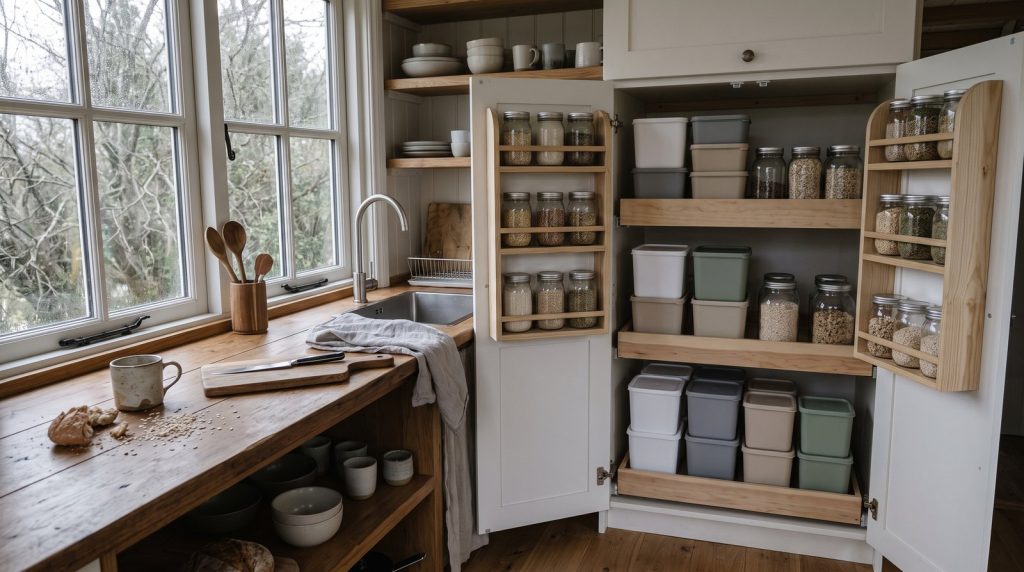
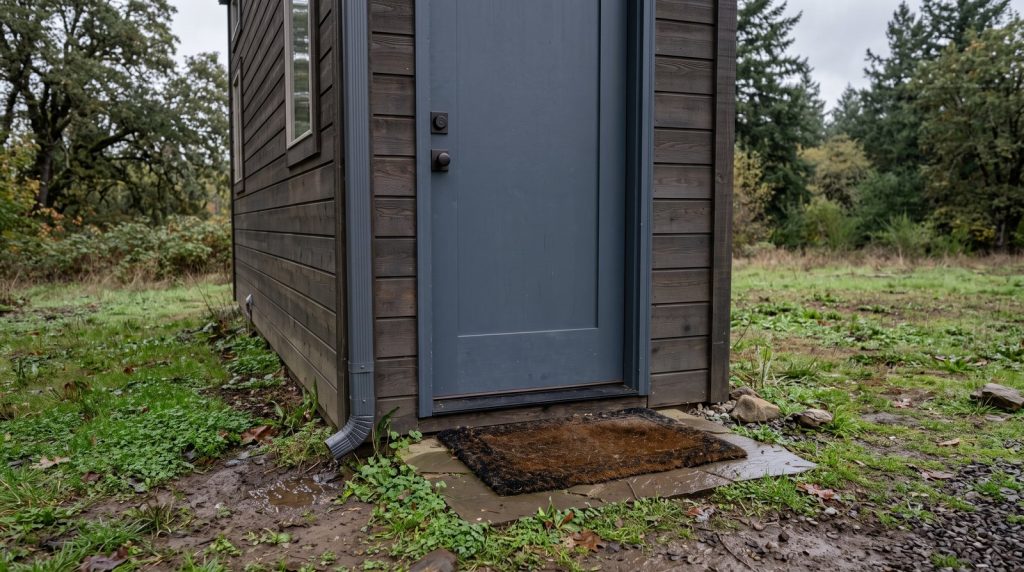
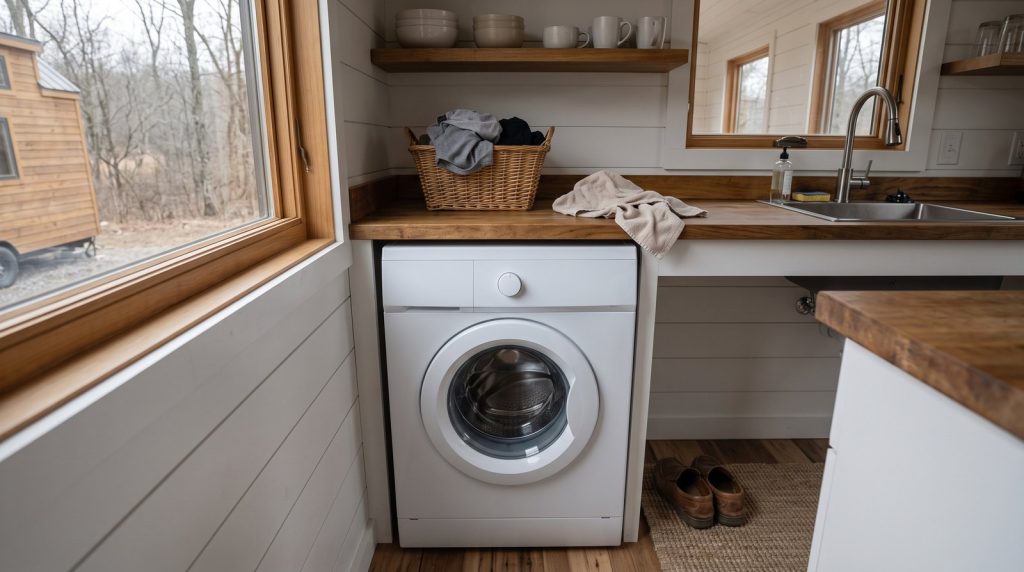
Tiny house entryway storage works best when it protects the door swing, gives wet shoes a ventilated place to dry, and keeps daily gear within one arm’s reach. A shallow bench, wall hooks, a boot tray, and one closed cabinet usually outperform a large hall tree that crowds the only exit.
Table of Contents
Start With the Door and a Clear Landing
Plan the entry around safe movement before choosing any cabinet. The exterior door must open fully, the latch must remain easy to reach, and stored shoes cannot narrow the walking path. Mark the complete door swing on the floor, then keep permanent storage and loose baskets outside that arc.
For homes reviewed under the International Residential Code, the commonly adopted R311.2 rule calls for at least one side-hinged egress door with a 32-inch clear opening measured with the door open 90 degrees. Your city or county may use a different code edition or classification, so confirm the adopted requirements before installing anything that affects the exit.
Do not count a movable shoe basket as harmless just because it is not built in. If the basket slides into the path every time the house moves or someone kicks it, it is an obstruction. A recessed tray, low shelf lip, or nonslip mat keeps the landing predictable. You should be able to leave in the dark without moving an object first.
Build a Bench and Shoe Zone Without Wasting Floor Space
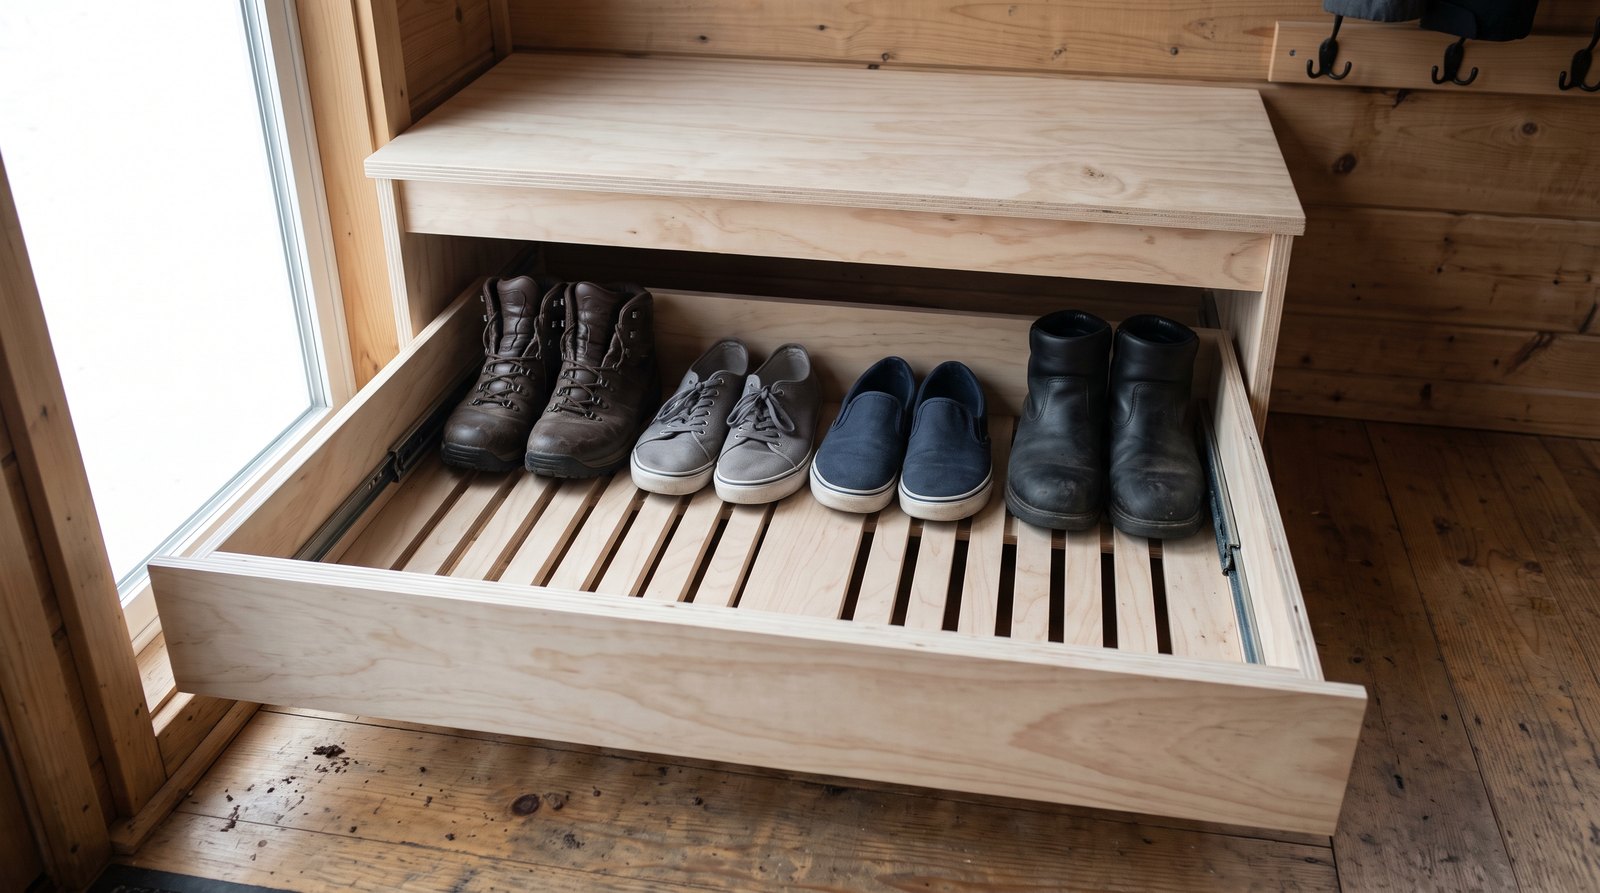
A bench earns its space when it is shallow, sturdy, and paired with open or ventilated shoe storage. A depth of roughly 12 to 16 inches is usually enough for sitting without creating a bulky hallway. Keep frequently worn shoes accessible and move seasonal footwear to a different storage area.
Wet footwear should sit on a removable tray with a raised edge. Place slats, a perforated mat, or a washable rack above the tray so soles do not remain in pooled water. Leave an air gap at the back. Fully enclosed shoe drawers need ventilation holes or a louvered front, especially in rainy and snowy climates.
Fasten a built-in bench to wall framing and, where appropriate, the floor structure. Do not rely on finish paneling or thin plywood alone. If the bench hides plumbing, electrical connections, trailer fasteners, or a wheel well, provide a removable access panel. A storage project should not turn a ten-minute repair into cabinet demolition.
Make Wet Shoes and Coats Dry Instead of Smell
Wet gear needs separation, airflow, and a surface that can be cleaned. Give dripping coats a hook above a waterproof tray, leave space between garments, and avoid packing damp shoes into a sealed cabinet. A small exhaust fan or dehumidifier can help, but it cannot fix storage that traps moisture.
Do not dry coats directly against an exterior wall. Fabric blocks air movement and can hide condensation. A hook rail mounted on a spacer strip creates a small gap, while a shallow open shelf above the hooks keeps hats away from damp jackets. Washable baskets are better than fabric bins for gloves that often arrive wet.
Moisture problems are not only about odor. Persistent dampness can damage trim, flooring, fasteners, and wall finishes. Our guide to how long tiny houses last explains why water management and routine inspection matter so much in a compact building.

Use Hooks, Cabinets and Overhead Shelves Safely
Wall storage is the most efficient option when every component is anchored to structure and easy to reach. Put everyday hooks between shoulder and eye level, reserve high shelves for light items, and use closed cabinets for visual calm. Heavy tools, water jugs, and batteries belong low, not above the doorway.
A hook rail spreads loads across several studs and gives you more freedom than individual hooks. Use a stud finder, confirm the framing location, and choose fasteners appropriate for the wall assembly. In a steel-framed or structural insulated panel home, ask the builder where attachments are permitted. Generic drywall anchors are a poor choice for travel loads.
A narrow coat cabinet can be only 12 to 16 inches deep if coats hang on side-facing hooks rather than a standard front-to-back rod. Add a vent opening at the top and bottom if the cabinet will hold damp clothing. A removable drip tray protects the base, and an adjustable shelf makes the cabinet useful after seasonal gear changes.
Quick Answer by Situation
The right setup depends on climate, travel, household size, and whether the home is fixed in place. Most owners need one primary landing zone, not storage for every item they own. Use the following combinations as a starting point, then adjust dimensions to your door, framing, and daily routine.
- Solo owner in a dry climate: A shallow bench, four hooks, one shoe tray, and a small key shelf are usually enough.
- Couple in a wet climate: Use a slatted shoe drawer, spaced coat hooks, a drip tray, and active ventilation nearby.
- Family with children: Give each person one low hook and one labeled basket, but keep labels inside if you prefer a clean view.
- Full-time THOW: Choose low, latched storage, secure every basket, and weigh the finished house after installation.
- Foundation home with a second exterior door: Put muddy gear at the less formal entrance and keep the required egress route clear.
- Seasonal rental: Favor simple open storage, rounded corners, washable trays, and clear checkout instructions.
If you are still deciding between a towable dwelling and an RV-style setup, compare the storage, mobility, and code differences in tiny house versus RV for full-time living. The right entry system depends partly on how often the unit will actually travel.
Secure Entryway Storage for Travel in a THOW
A tiny house on wheels needs positive latches, structural attachment, and sensible weight placement. Friction catches are not enough for rough roads. Use tested mechanical latches on drawers and cabinet doors, remove loose objects before departure, and confirm that new storage does not overload an axle or increase tongue weight beyond limits.
Put dense items low and near the area approved by the trailer designer. Do not assume the entry wall can carry a heavy cabinet simply because there is open space. NHTSA guidance for conventional trailers commonly targets tongue weight near 10 to 15 percent of loaded trailer weight, but the trailer manufacturer, axle ratings, hitch rating, and tow vehicle limits all control.
Weigh the completed home in travel condition, including water, propane, tools, clothing, food, and entryway contents. Record individual axle weights and tongue weight, not only total weight. If a new cabinet changes the balance, move heavy contents or have the layout reviewed by the builder. Storage convenience is never worth unstable towing.
Before travel, empty the boot tray, close the umbrella, latch every door and drawer, remove hanging coats, and place loose baskets in a secured low compartment. Road vibration can turn an ordinary hook into a lever and a full drawer into a battering ram. If moving is occasional, include setup and pack-down labor in your estimate of tiny house moving costs in 2026.
What Tiny House Entryway Storage Costs in 2026
A useful entryway can cost less than $200 when you install a hook rail, boot tray, shelf, and simple bench yourself. A coordinated ready-made system generally costs more, while a custom built-in with drawers, cabinet doors, durable finish, and professional installation can reach several thousand dollars. Measure first so you do not buy twice.
- Basic DIY setup, about $75 to $250: Hooks or a short rail, a washable tray, a narrow shelf, baskets, and mounting hardware.
- Ready-made bench system, about $200 to $800: A compact bench or shoe cabinet, wall shelf, hooks, latches, and moisture-resistant upgrades.
- Simple site-built unit, about $400 to $1,200: Plywood bench, ventilated drawer or cubbies, finish, fasteners, and hardware, excluding major wall changes.
- Custom professional built-in, about $1,200 to $3,500 or more: Fitted cabinetry, durable finish, labor, travel latches, and access panels.
These are planning ranges, not quotes. Current retail examples show wall-mounted storage around $60 to $260, basic shoe benches near $130, and combination hall trees around $160 to $200, before delivery or installation. Custom costs change with region, finish quality, wall conditions, and the number of drawers and doors.
Spend first on structure, waterproof surfaces, reliable slides, and latches. Decorative baskets are easy to replace later. If the budget is tight, install the boot tray and hook rail now, then add a bench after living with the layout for a month. Real use will show whether you need sitting space, closed storage, or simply fewer shoes at the door.
Install the System in a Practical Order
Install entryway storage from the floor upward and test each layer before adding the next. Begin with the clear path and wet zone, then add the bench, hooks, and high shelf. This order prevents a visually attractive cabinet from forcing the shoe tray into the doorway or placing hooks where coats block a switch.
- Map the entry: Mark the door swing, clear walking path, studs, utilities, trim, and access panels with painter’s tape.
- Test with boxes: Build a temporary mockup at the proposed depth and live with it for several days.
- Prepare the wet zone: Protect the floor, add a removable tray, and confirm that water cannot run under the wall finish.
- Anchor the bench: Level it, fasten it to approved structure, and verify that hidden systems remain accessible.
- Add vertical storage: Mount hooks and shelves to framing, then load-test them gradually with ordinary gear.
- Fit travel hardware: Install positive latches, drawer stops, shelf lips, and nonslip liners where needed.
- Run an exit test: With the entry fully loaded, open the door, reach the lock, and leave without moving anything.
For a foundation home, ask the local building department whether the work affects required egress, accessibility, electrical clearances, or a rated wall assembly. For a THOW, follow the builder’s attachment guidance and trailer limits. Manufacturer instructions and the locally adopted code take priority over generic dimensions.
Keep the Entryway Working After Installation
Good storage still needs a short maintenance routine. Empty water from trays, vacuum grit before it scratches the floor, dry cabinet interiors, tighten hardware, and remove unused gear. A five-minute weekly reset keeps the entrance safer than adding another basket, and a seasonal review prevents coats and shoes from quietly taking over.
Once a month, check fasteners, latch alignment, drawer stops, shelf lips, and any caulk joint near the wet zone. Look for darkened wood, swelling panel edges, rust, musty odor, or condensation behind coats. Fix the moisture source before repainting or covering damage.
Frequently Asked Questions
Tiny house entryways raise the same practical questions about depth, wet gear, door clearance, and travel safety. The best answer always begins with the actual door, framing, climate, and classification of the home. These short answers cover the most common decisions, but local requirements and manufacturer instructions still control.
How deep should a tiny house entryway bench be?
A depth of about 12 to 16 inches works for many compact benches, but test the dimension with a box before building. The bench must stay outside the door swing and leave a comfortable walking path. Measure your longest shoes if storage sits beneath it, because footwear orientation can determine the required depth.
Should shoes go in an open rack or closed cabinet?
Open racks are better for wet daily shoes because they dry faster and make dirt easy to see. Closed cabinets create a calmer appearance but need ventilation and a removable tray. Many homes use both: an open spot for current footwear and a closed area for clean, dry, less frequently worn pairs.
Can I put coat hooks on tiny house paneling?
Only when the hooks are fastened through the paneling into suitable framing or an approved backing plate. Thin decorative panels alone may not hold loaded coats, bags, or travel forces. Locate structure first, use compatible fasteners, and ask the builder for attachment guidance when the wall uses steel framing or insulated panels.
Do cabinets in a tiny house on wheels need travel latches?
Yes. Drawers and doors should have positive mechanical latches that cannot release from vibration or a bump. Remove hanging coats and secure loose baskets before towing. After installation, weigh the home in travel condition and confirm axle, tongue, hitch, tire, and tow-vehicle limits with the relevant manufacturers.
What is the cheapest useful tiny house entryway setup?
Start with a washable boot tray, a securely mounted hook rail, a narrow shelf, and one basket for small items. A basic setup can often stay under $200 if you install it yourself. Add a bench only if you need seating or shoe storage, since an unnecessary bench can consume valuable landing space.