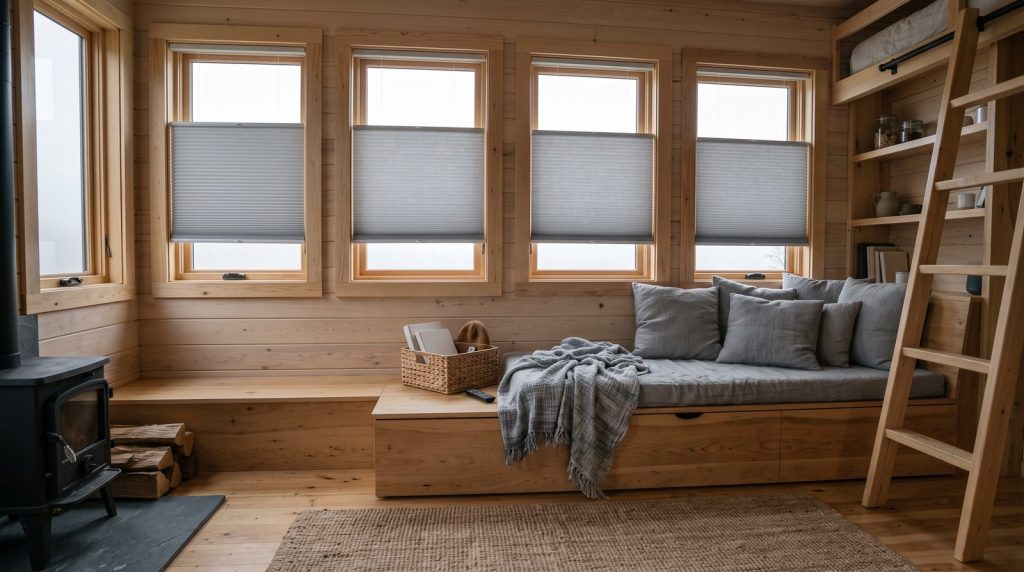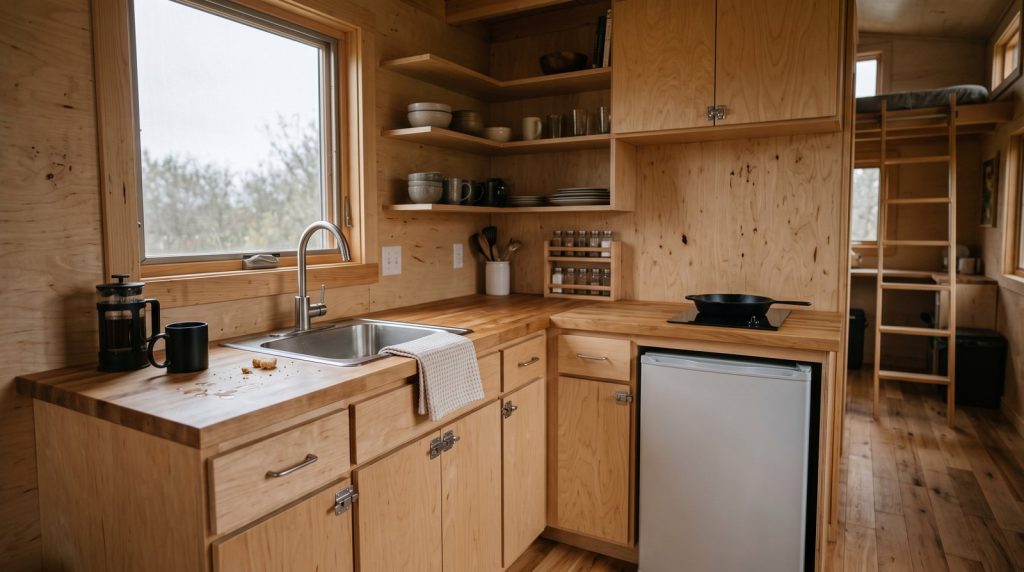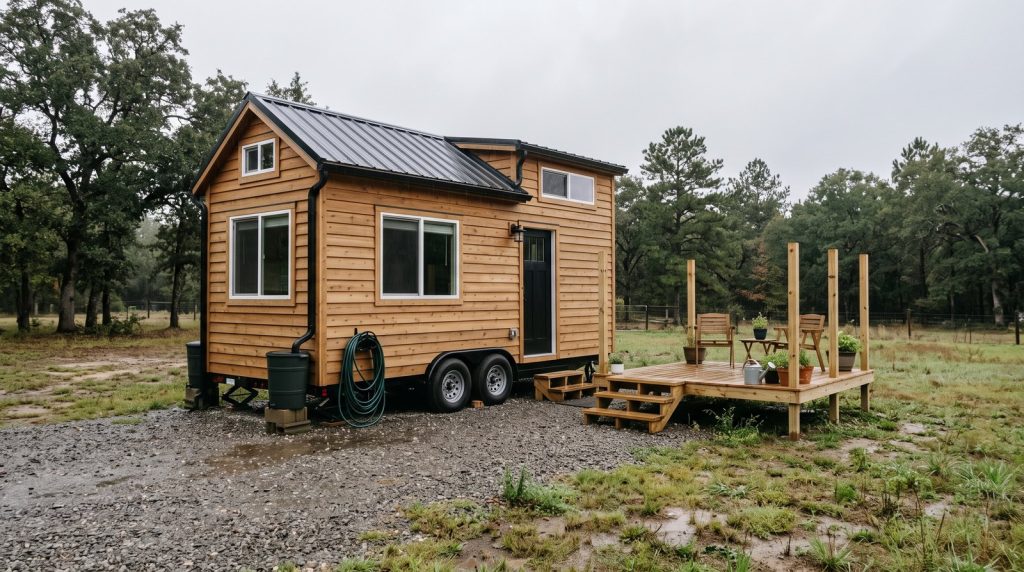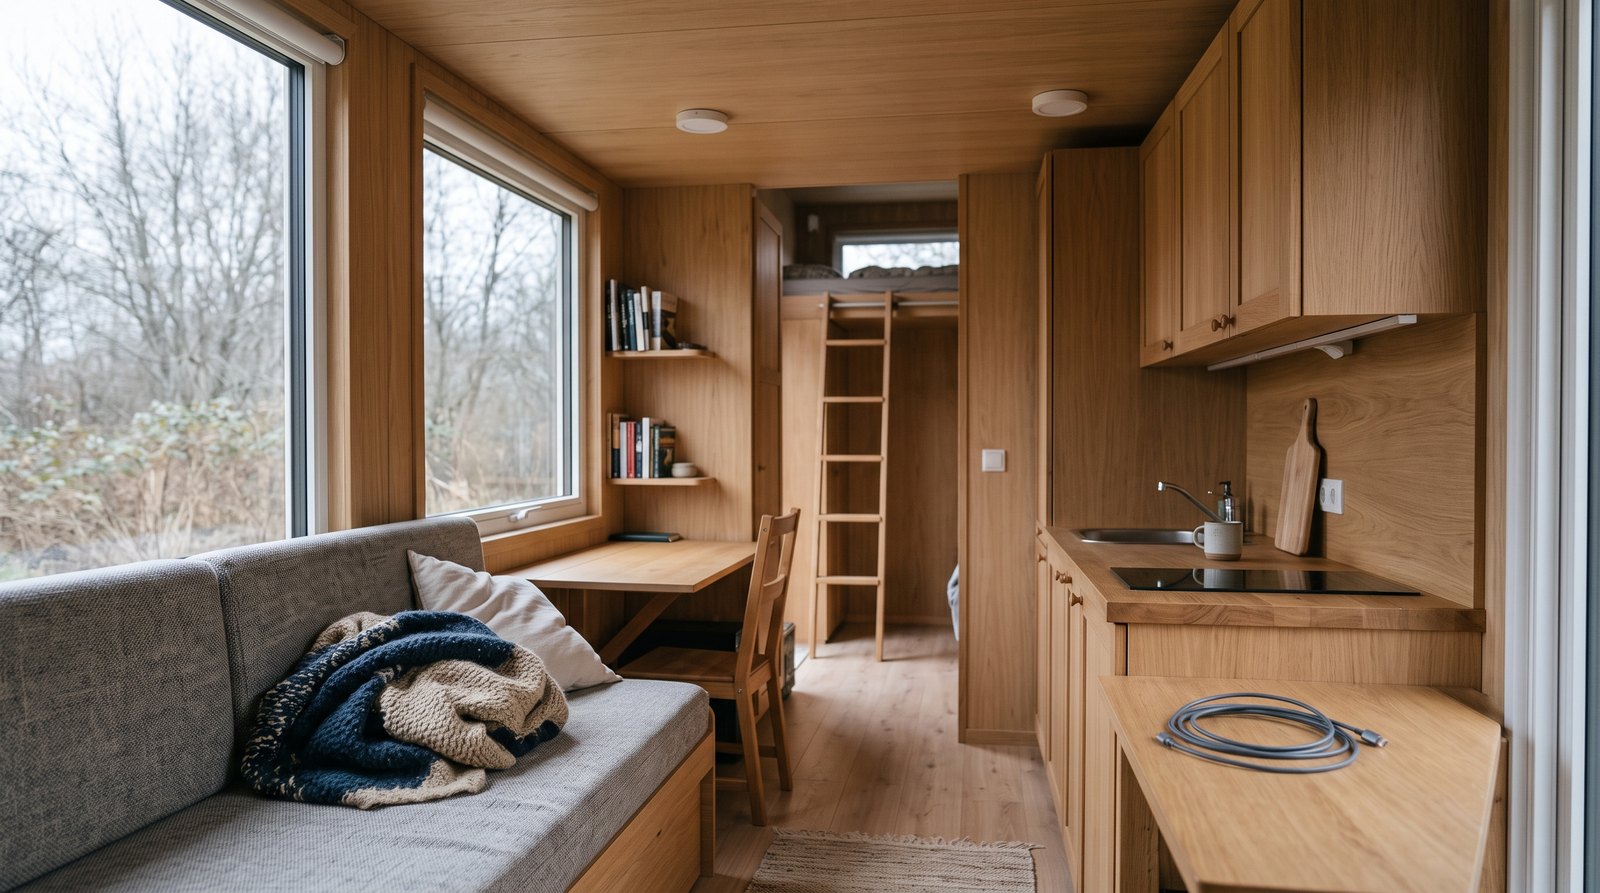
Good tiny house lighting uses efficient LEDs in layers: modest ambient light, focused task light, and a few controlled accent lights. Plan by lumens instead of watts, keep color temperature consistent, put switches where you enter each zone, and calculate every fixture’s draw if the house runs from batteries or a limited shore-power connection.
Table of Contents
Start With Layers, Not One Bright Fixture
A tiny house needs several small light sources more than it needs one powerful ceiling fixture. A central light can make the floor bright while leaving counters, stairs, storage cubbies, and a loft in shadow. Layering lets you light the task in front of you without flooding the entire house or wasting battery power.
Use three simple layers. Ambient lighting provides safe general visibility. Task lighting aims at a counter, desk, sink, shower, stair, or reading seat. Accent lighting is optional and should earn its space by helping with orientation, such as a low stair light or a small fixture near an entry.
Low-profile surface fixtures usually fit tiny houses better than deep recessed cans because ceiling cavities may already contain insulation, wiring, framing, and a roof ventilation channel. Under-cabinet strips keep your body from casting a shadow across a kitchen counter. A wall-mounted reading light saves the headroom and table space that a floor lamp would consume.
Quick answer by situation:
- Open living area: Use two or three modest ceiling fixtures on a dimmer instead of one harsh fixture.
- Kitchen: Combine general ceiling light with a continuous under-cabinet strip aimed at the work surface.
- Sleeping loft: Choose shielded wall lights or reading lights that cannot be bumped easily.
- Stairs and storage: Add low-output step or cabinet lights with separate controls or door sensors.
- Off-grid house: Favor separately switched zones so only the occupied area draws power.
- Tiny house on wheels: Use compact fixtures with secure fasteners, strain relief, and vibration-resistant connections.
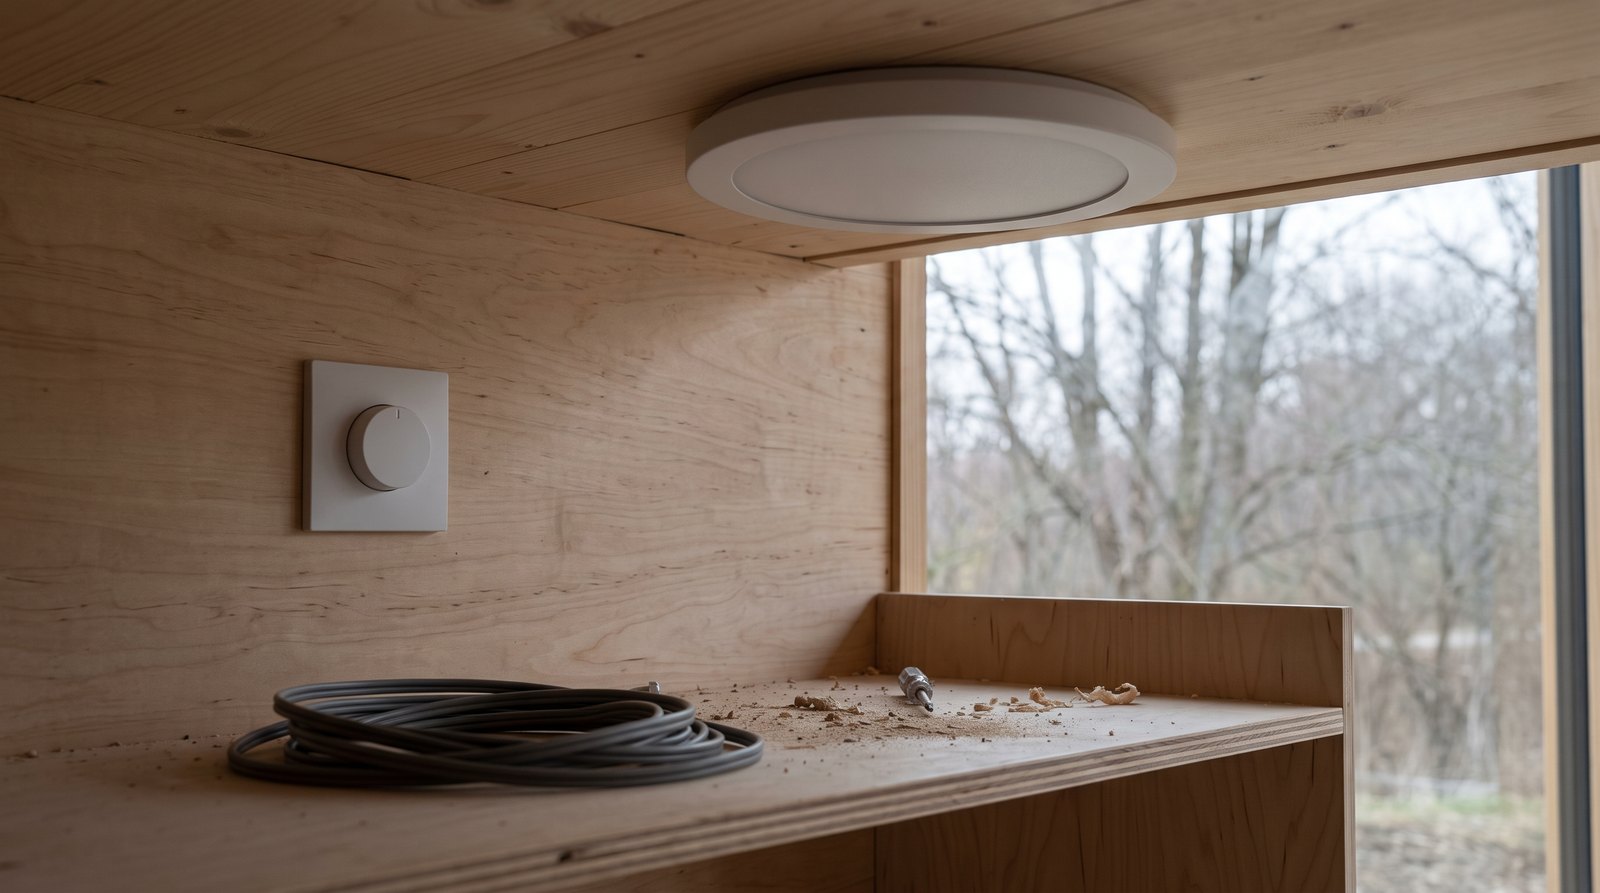
How Many Lumens Does a Tiny House Need?
Choose brightness in lumens, then divide it among fixtures and work surfaces. Watts describe power use, not visible light. As a practical starting point, a small living zone may need about 1,000 to 2,000 total lumens, while a kitchen needs stronger light at the counter even when its floor area is smaller.
Those are planning ranges, not universal requirements. Dark wood, high ceilings, opaque shades, and limited daylight require more output. White walls, large windows, and light counters reflect more light. Start toward the lower end when the fixtures are dimmable, then verify the result after finishes, cabinets, and furniture are installed.
Bedrooms and lofts usually need less general light. A 400 to 800-lumen ambient fixture plus one focused reading light can be enough. Bathrooms often work best with a ceiling fixture and light near the mirror so a person’s face is lit from the front or sides, not only from above.
Choose Color Temperature and CRI Deliberately
Use 2700K to 3000K for relaxed living and sleeping areas, and consider 3000K to 3500K where you cook, clean, or work. Lower Kelvin numbers look warmer, while higher numbers look whiter or bluer. Keeping neighboring fixtures close in color prevents a small room from looking patched together.
ENERGY STAR explains color appearance using the Kelvin scale, with lower values appearing warmer and higher values appearing cooler. In a tiny house, very cool 5000K light across the whole interior can feel clinical and can make nighttime lighting uncomfortable. If you like cooler task light, confine it to a desk or workbench.
Color rendering index, or CRI, describes how naturally colors appear under a light source. Look for 90 CRI or higher in a kitchen, bathroom, wardrobe, and craft area. Food, wood finishes, paint, and clothing are easier to judge accurately. Two lamps can share the same Kelvin rating but render colors differently, so check both labels.
Put Task Lighting Where Shadows Begin
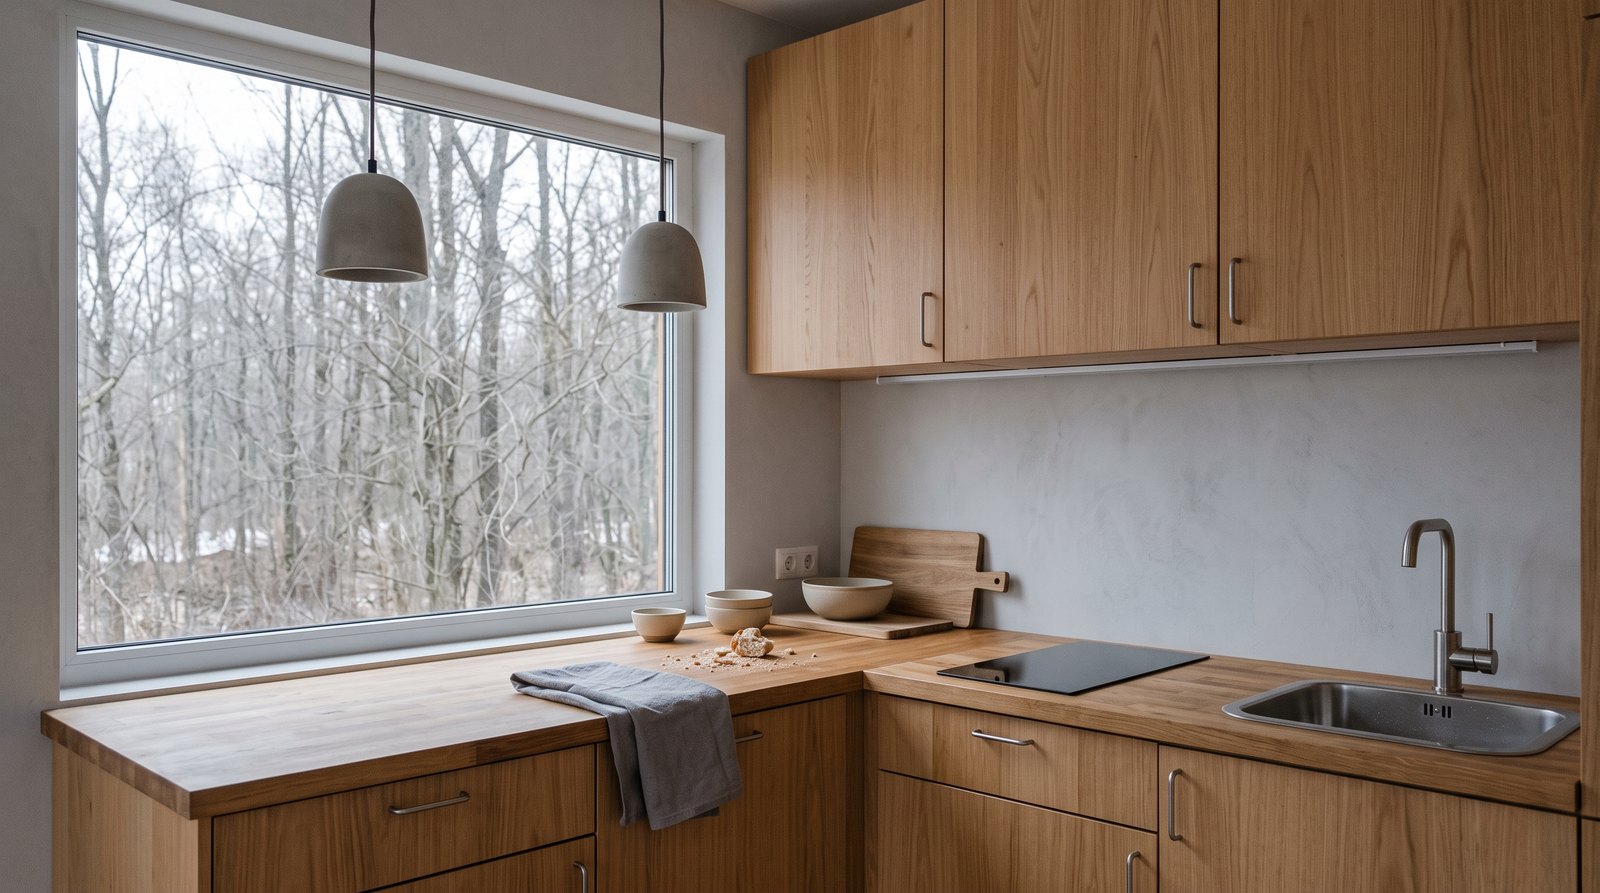
Task lighting should sit between your body and the work surface, not behind you. In a kitchen, that normally means an LED strip or small fixtures under the upper cabinets. At a desk or reading seat, aim the light from the side. At stairs, illuminate the tread without shining into a sleeper’s eyes.
Use a diffused channel for exposed LED tape. Bare diodes create bright dots on glossy counters and can be uncomfortable when seen from a seated position. Mount the channel near the front underside of a cabinet, then test the beam before fastening it permanently. A rear-mounted strip often lights the backsplash more than the work surface.
Keep pendants compact and outside walking paths. In a house that moves, rigid or short-stem fixtures are easier to secure than long swinging pendants. If you are still deciding whether your home should behave more like a residence or recreational vehicle, compare the electrical and living tradeoffs in tiny house versus RV living.
Choose Between 12-Volt and 120-Volt Lighting
Use 120-volt fixtures for a conventional residential electrical system, and consider 12-volt or 24-volt lighting when the house already has a compatible battery system. Neither voltage is automatically better. The cleanest design minimizes unnecessary conversions, uses listed components, and remains easy to service with parts you can actually replace.
A direct-current lighting circuit can run from a compatible battery system without the inverter, but voltage matters. A nominal 12-volt battery does not stay at exactly 12 volts, and long low-voltage wire runs can suffer noticeable voltage drop. Drivers, wire size, overcurrent protection, switches, and dimmers must all match the system voltage and load.
Do not mix 12-volt and 120-volt conductors casually in the same boxes or use household fixtures with improvised drivers. Low voltage does not mean no fire risk. Use listed lighting equipment, protect each circuit appropriately, label the panel and conductors, and have the design reviewed by a qualified electrician familiar with houses on wheels if applicable.
Plan Switches, Dimmers, and Circuits Before Walls Close
Divide lighting into useful zones and give each zone an obvious physical control. At minimum, separate the main ceiling lights, kitchen task lights, loft lights, bathroom light, and exterior light. A tiny house is too small for confusing controls, yet one switch for everything wastes energy and makes nighttime use unpleasant.
Place switches where you naturally reach them when entering. Add two-location control if a loft stair has two access points or if the main light must be controlled from the bed and entry. Use an LED-compatible dimmer and confirm that the fixture or lamp is marked dimmable. An incompatible pairing can flicker, buzz, glow when off, or lose much of its dimming range.
Keep lighting on a logical circuit rather than scattering it across appliance circuits simply because a box is nearby. The final circuit layout must follow the locally adopted electrical code, the fixture instructions, and the tiny house’s listing or certification requirements. Rules and adopted code editions vary by city, county, state, and whether the unit is treated as a dwelling or RV.
Use the Right Fixture in Bathrooms and Outdoors
Match every fixture to the moisture exposure it will actually receive. A fixture in a dry living area is not automatically suitable beside a shower or outside an entry door. Use damp-location or wet-location equipment as required, follow clearances in the product instructions, and let the local electrical inspector resolve uncertain placements.
UL guidance distinguishes damp locations, where condensation or moisture may occur, from wet locations, where water can drip, splash, or flow against equipment. A covered exterior fixture may need a damp or wet rating depending on exposure. A fixture exposed directly to rain needs a wet-location rating, not merely an outdoor-looking housing.
For a THOW, also consider movement. Use positive fasteners, secure removable shades before towing, support wiring near fixtures, and avoid heavy glass fittings that can work loose. Check fixtures, wire connectors, and cabinet-mounted strips after the first trip and during routine maintenance.
Calculate Solar and Battery Loads in Watt-Hours
Lighting is usually a small off-grid load, but it should still be calculated in watt-hours. Multiply each fixture’s watts by the hours used per day, then add the results. Use the actual LED wattage on the label, not the incandescent-equivalent wattage printed in large type on the package.
For example, eight 7-watt lights used an average of four hours consume 224 watt-hours per day. Add driver or inverter losses and a margin for longer winter evenings. Separately switched task lights can reduce the real load because you may run a 6-watt counter strip instead of all the ceiling lights.
Lighting is only one part of the electrical budget. Refrigeration, water heating, cooking, and climate control are normally much larger loads. Still, an efficient plan can keep evenings comfortable without forcing the inverter or generator to run for a handful of unnecessary fixtures.
Budget for Fixtures, Controls, and Installation
A practical tiny house lighting package often costs about $200 to $700 in hardware before professional labor. Simple surface fixtures and strips keep the low end possible, while high-CRI fixtures, multiple dimmers, wet-location exterior lights, low-voltage drivers, and specialty reading lights move the total upward. Wiring and labor depend heavily on access and local rates.
Current retail examples show basic low-profile LED ceiling fixtures around $15 to $80 and under-cabinet products around $20 to $50 per section or kit. Add switches, compatible dimmers, junction boxes, cable, connectors, channels, drivers, and exterior fixtures. Cheap LED tape without a listed power supply or replaceable components is rarely a bargain.
For a movable tiny house, tell your insurer about significant electrical modifications and keep receipts and photographs. Coverage varies, but documented professional work is easier to explain after a loss. Our guide to tiny house insurance costs explains other factors that affect premiums and eligibility.
Install for Serviceability and Maintain the System
Design the system so a failed lamp, driver, strip, or dimmer can be reached without opening a finished wall. Integrated LEDs can last a long time, but the driver may fail first. Leave ventilation where the manufacturer requires it, keep access panels usable, and avoid burying replaceable power supplies behind permanent cabinetry.
Before final installation, test every fixture for brightness, color, glare, dimming range, and audible buzz. View the lights while standing, sitting, lying in the loft, and working at each counter. Small changes in aim or diffuser placement can solve problems that extra wattage cannot.
Clean diffusers and range-area fixtures periodically because dust and cooking film reduce output. Tighten accessible THOW fixture hardware on a routine schedule, especially after rough travel. Replace flickering drivers or damaged strips rather than ignoring them, and investigate repeated failures for heat, moisture, loose connections, or incompatible controls.
Keep one spare lamp or a record of the exact integrated fixture. Matching color temperature years later can be difficult. A simple lighting schedule with location, voltage, watts, lumens, Kelvin, CRI, driver, dimmer, and purchase date turns future maintenance into a quick parts search instead of a redesign.
Frequently Asked Questions
The best tiny house lighting plan combines modest LED fixtures, targeted task light, compatible controls, and wiring suited to the home’s power system. The answers below cover the decisions owners ask about most often, but permanent electrical work still needs to follow product instructions and the code adopted by the local authority.
What color temperature is best for tiny house lighting?
Most tiny houses feel comfortable with 2700K to 3000K lighting in living and sleeping areas. A kitchen, bathroom, or desk can use 3000K to 3500K for a slightly clearer appearance. Keep adjacent fixtures close in color, and avoid very cool light everywhere unless you have tested it in the finished space.
How many lumens does a tiny house need?
There is no single total because finishes, windows, ceiling height, and tasks change the result. Start with roughly 1,000 to 2,000 lumens for a small living zone, then add focused kitchen, desk, mirror, stair, and reading lights. Dimmable fixtures make it easier to correct an intentionally generous plan.
Should a tiny house use 12-volt or 120-volt lights?
Use 120-volt fixtures when the house has a conventional residential system and normally uses shore power. Direct-current lights can suit an off-grid battery system and avoid running an inverter just for lighting. Match every driver, dimmer, conductor, fuse, and fixture to the chosen voltage, and do not improvise conversions.
Do LED lights save much battery power?
Yes. The Department of Energy says quality LEDs can use at least 75 percent less energy than incandescent lighting. Battery demand still depends on actual watts and hours used. Multiply watts by daily hours for each fixture, then add conversion losses and a margin for winter evenings when lights stay on longer.
Can I install tiny house lights myself?
Replacing a listed plug-in lamp may be straightforward, but new permanent wiring, panel work, wet-location installations, and mixed-voltage systems deserve professional review. Permit and inspection rules vary locally, and THOW certification can add requirements. Follow the adopted code and manufacturer instructions, and use a qualified electrician when the work exceeds your experience.