Tiny house trailer maintenance should happen on a calendar, by mileage, and before every tow. Check tire pressure, wheel hardware, brakes, bearings, the coupler, safety chains, breakaway equipment, wiring, suspension, frame, and actual loaded weight. A parked tiny house still ages, so long periods without travel do not eliminate maintenance.
Table of Contents
Use a three-level tiny house trailer maintenance schedule
The simplest reliable plan has three levels: a check before every trip, a seasonal inspection every three to six months, and a complete annual service. Follow the trailer, axle, brake, tire, and coupler manufacturers when their instructions are stricter, because components that look similar can have different specifications.
Dexter’s current trailer schedule is a useful baseline. It calls for operational brake, breakaway battery, and tire-pressure checks before every use. It places brake adjustment and wheel-nut checks at three months or 3,000 miles, several suspension and brake checks at six months or 6,000 miles, and bearing, hub, lining, seal, spring, hanger, and wiring work at 12 months or 12,000 miles.
Quick answer by situation
- The house stays parked: Check tires, rust, the battery, and supports monthly, then complete annual hub and brake service.
- You move once or twice a year: Perform annual service before the move, followed by a complete pre-trip check.
- You travel regularly: Track mileage and time, using whichever interval arrives first.
- You just bought the house used: Treat its maintenance history as unknown until a qualified trailer shop documents the brakes, bearings, tires, suspension, and loaded weight.
Inspect tires, wheels, and lug nuts carefully
Check every tire cold before towing, including the spare, and use the pressure specified by the tiny house or trailer manufacturer. Inspect tread and both sidewalls for cuts, cracks, bulges, punctures, or uneven wear. Replace a questionable tire before travel instead of assuming a short trip will be harmless.
Do not choose pressure from appearance. A heavily loaded trailer tire may be dangerously low without looking flat. Find the certification label, tire placard, trailer manual, and tire load information. The tire, wheel, valve stem, and axle must all be suitable for the actual load, and the lowest-rated component sets the practical limit.
Age matters even when tread looks deep. NHTSA notes that some vehicle and tire manufacturers recommend replacement at six to ten years regardless of treadwear. Read the last four digits of the DOT tire identification number as the production week and year. Check the hidden sidewall too, since the full code may appear on only one side.
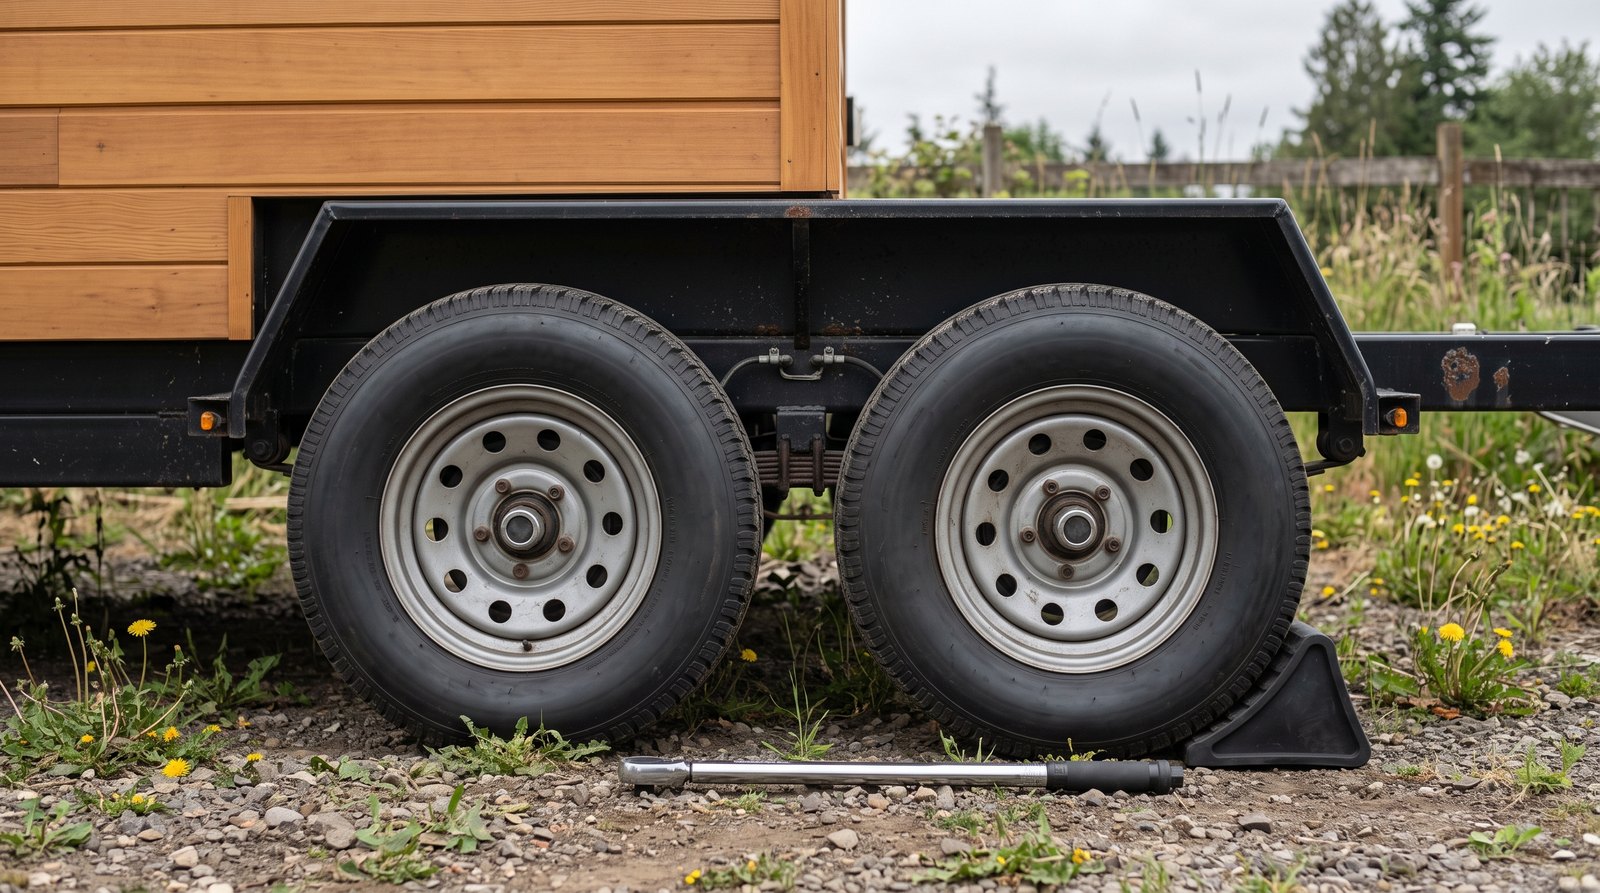
Use a calibrated torque wrench and the wheel or axle manufacturer’s specified value and sequence. Do not use a generic number from the internet. After a wheel has been installed, many trailer instructions call for rechecking lug torque after initial distances such as 10, 25, and 50 miles.
Service electric brakes and wheel bearings together
Test trailer brakes before every tow, inspect adjustment every three months or 3,000 miles unless the installed brakes are self-adjusting, and plan a full hub and bearing service at least every 12 months or 12,000 miles. Severe use, water intrusion, long storage, or unknown history can justify earlier service.
Start with a low-speed brake test in a safe open area. The tiny house should slow smoothly without pulling, grabbing, locking wheels, or pushing the tow vehicle. Set the brake controller for the actual loaded trailer, not an old setting from another trailer. Weak, delayed, or uneven braking needs diagnosis before highway travel.
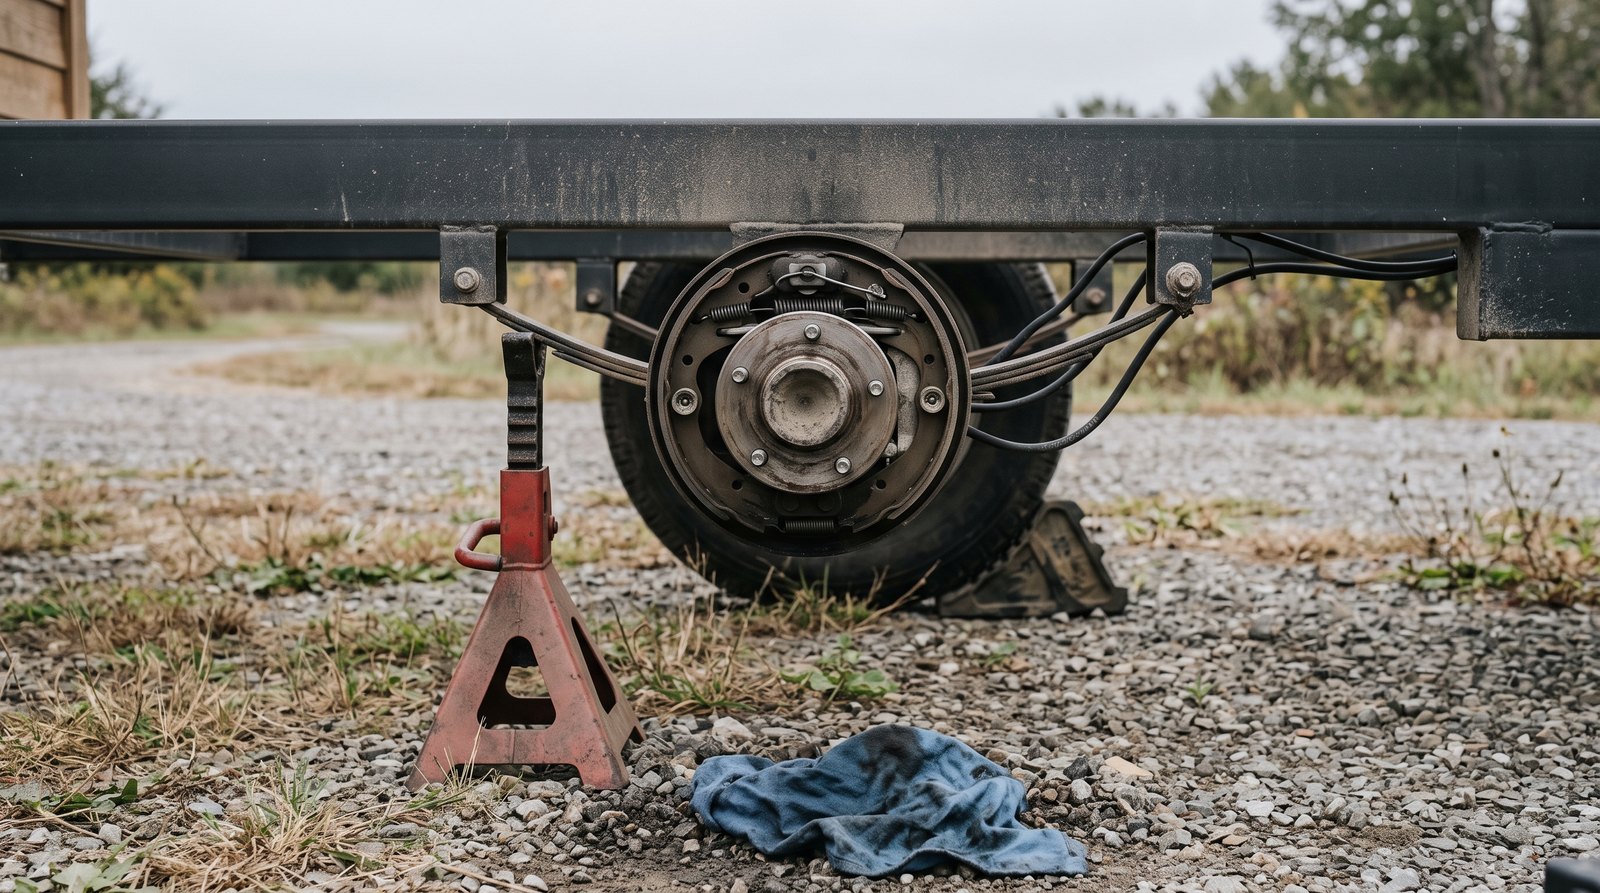
At the annual service, remove the drums and inspect brake linings, magnets, springs, adjusters, wiring, hub surfaces, seals, bearings, and bearing cups. Contaminated linings, scoring, heat discoloration, looseness, roughness, or leaking grease are not normal. Replace seals whenever removal or the component instructions require it.
Dexter recommends cleaning, inspecting, and repacking conventional wheel bearings every 12 months or 12,000 miles. Use the grease specified for the axle and do not mix incompatible grease thickeners. More grease is not automatically better. Overfilling some systems can push grease past a seal and contaminate the brakes.
Wheel-end work supports several tons and directly affects braking, so it is a poor place to learn through guesswork. Use approved lift points, a level hard surface, properly rated jack stands, and wheel chocks. Never work beneath a house supported only by a jack. A trailer technician is the sensible choice if specifications or procedures are unclear.
Check the coupler, chains, jack, and breakaway system
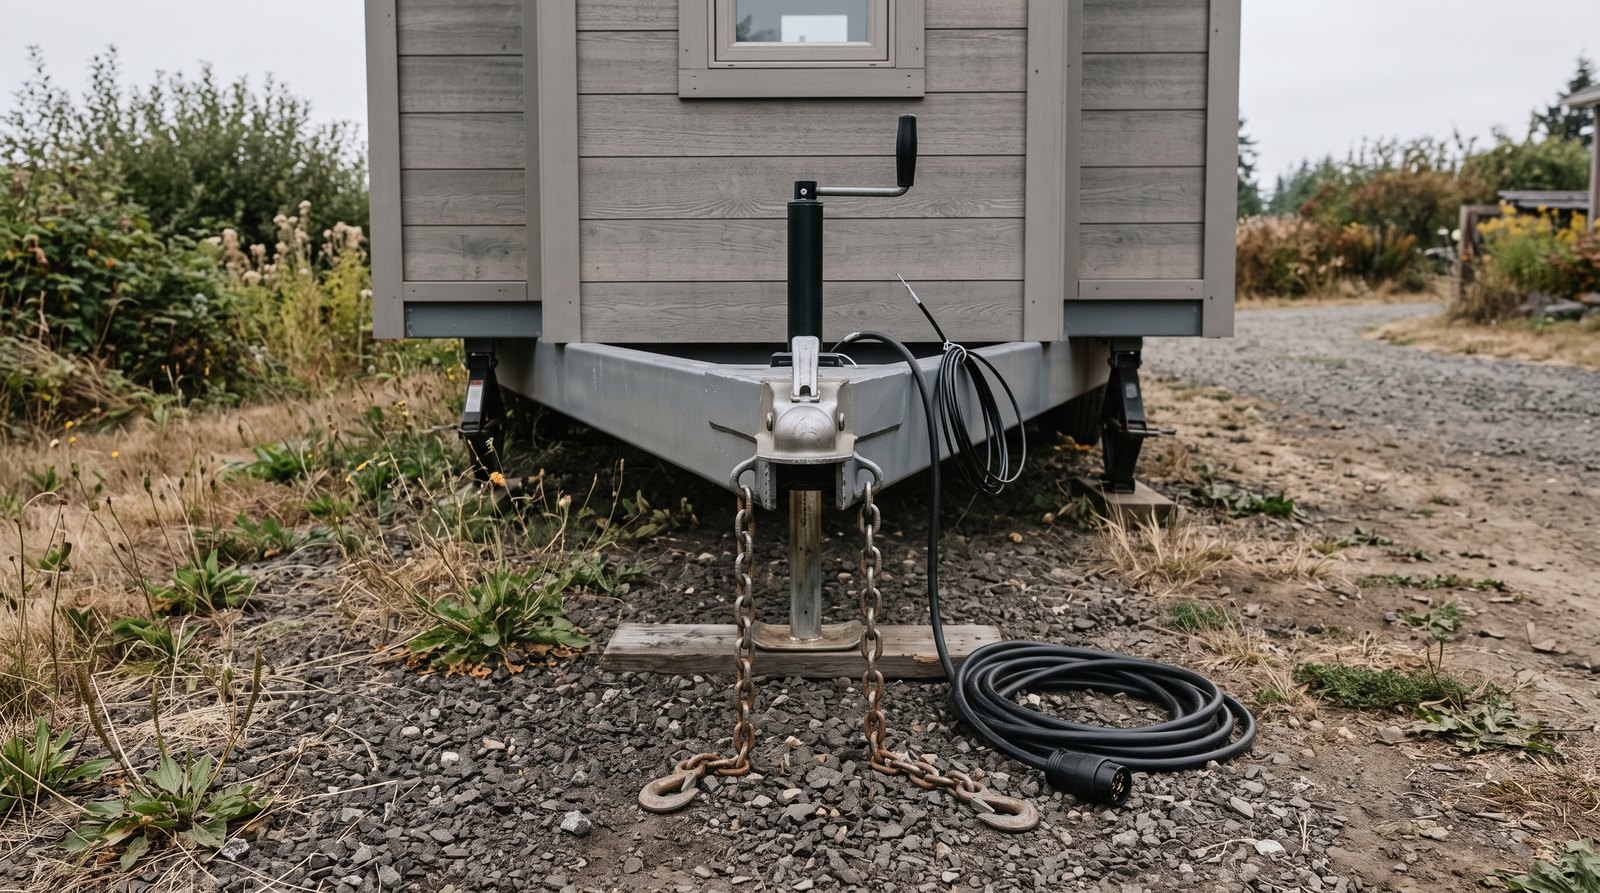
The complete towing connection needs inspection, not just the hitch ball. Confirm that the coupler matches the ball, latches fully, and has no cracks or excessive play. Then check safety chains, attachment points, the tongue jack, electrical plug, breakaway switch, cable routing, and battery before the tow vehicle moves.
Cross safety chains under the tongue when the tow-vehicle and trailer instructions call for it. Leave enough slack for full turns but not enough for the chains to drag. Inspect each link, hook, latch, weld, and frame attachment. Surface rust can be cleaned and protected, but stretched links, deep pitting, cracks, or damaged hooks require replacement.
The breakaway cable should connect to an independent, secure point on the tow vehicle, not the hitch ball or the safety chains. It must pull the switch if the trailer separates without activating during a normal turn. Test battery charge and switch operation according to the kit manual. Many kits instruct owners to disconnect the seven-way plug before testing to protect the brake controller.
Look for rust, cracked welds, and worn suspension parts
Inspect the steel frame and suspension at least every six months and before any major move. Focus on spring hangers, shackles, equalizers, U-bolts, axle seats, crossmembers, tongue connections, jack mounts, and weld ends. Fresh rust lines, displaced paint, metal dust, or a changing gap can reveal movement before an obvious failure.
Wash road salt, mud, and trapped leaves from the chassis, then let it dry. Remove loose surface rust and apply a compatible protective coating. Deep scaling, swelling between joined plates, perforation, or metal loss needs professional evaluation. Painting over active corrosion hides evidence and does not restore strength.
Look closely at the ends and toes of structural welds with good light. Do not grind away a suspected crack before a qualified person sees it. Photograph the area, mark the ends, and stop towing. Structural trailer repairs should follow the chassis manufacturer’s guidance and be performed by a welder experienced with trailer frames.
Check leaf springs for a broken leaf, lost arch, shifted alignment, or contact with the frame. Inspect shackles and bushings for elongated holes and side play. Verify that U-bolts, hangers, and equalizers remain secure using the correct procedures. Some wet-bolt systems need regular grease, while other bushings are not serviced the same way.
Weigh the tiny house instead of estimating axle load
A scale ticket is maintenance information because excess or uneven weight accelerates tire, bearing, brake, spring, and frame damage. Weigh the house in normal travel condition with water, batteries, propane, belongings, and removable equipment aboard. Confirm total weight, each axle load, tongue weight, and side-to-side balance when possible.
Stay within the trailer’s gross vehicle weight rating and every gross axle weight rating. Also verify the individual ratings for tires, wheels, coupler, chains, hitch, and tow vehicle. Two axles with matching labels do not guarantee equal loading, and total axle weight can hide an overloaded tire on one side.
Conventional trailers often target tongue weight near 10 to 15 percent of loaded trailer weight, but a tiny house builder or chassis manufacturer may specify a different safe target. Measure rather than assume. Moving batteries, water, tools, or furniture changes the balance, and rear-heavy loading can make a trailer unstable.
Use a public scale or a mobile weighing service that can capture the information you need. Keep the ticket with the maintenance log. Reweigh after renovations or any large equipment change. If you are planning a relocation, our guide to the cost of moving a tiny house explains why verified dimensions and weights matter to the hauler.
Protect a parked trailer during long-term storage
Long-term parking reduces mileage but increases damage from moisture, ultraviolet exposure, tire flat spotting, battery discharge, pests, and unnoticed leaks. Park on a firm, drained surface, chock the wheels, stabilize the house as designed, maintain tire pressure, and inspect after storms, freezes, flooding, or nearby construction.
Keep tires out of standing water and away from petroleum products. Use breathable tire covers if the tire maker permits them, and avoid sealing damp tires under plastic. Do not unload axles or lift the frame without the chassis maker’s approved support points and method, since incorrect blocking can twist the frame or overload a small area.
A dry, well-supported chassis helps the entire home last longer. For the building systems above it, use the broader maintenance priorities in How Long Do Tiny Houses Last?. Also tell your insurer when the house moves or its storage arrangement changes, since coverage terms vary. Our tiny house insurance guide covers the main policy questions.
Complete this pre-trip inspection before every move
A proper pre-trip inspection starts early enough to allow repairs, then ends with a final walkaround immediately before departure. Do not let a towing deadline turn a brake, tire, or structural concern into a roadside experiment. If any safety-critical item fails inspection, delay the move and repair it first.
- Confirm the loaded weight, route limits, tow vehicle rating, hitch rating, and required permits.
- Check cold tire pressure, tread, sidewalls, valve stems, wheel condition, and lug torque.
- Test service brakes, brake-controller response, the breakaway battery and switch, and every light.
- Latch and secure the coupler, connect the crossed safety chains, and route the breakaway cable independently.
- Retract and secure jacks, steps, awnings, removable downspouts, and exterior accessories.
- Inspect springs, hangers, U-bolts, visible welds, frame rails, wiring, and plumbing below the floor.
- Secure cabinets, appliances, loft items, batteries, propane cylinders, and all loose interior loads.
- Verify legal height, width, length, weight, brake, lighting, registration, and permit requirements for every jurisdiction on the route.
- Carry wheel chocks, a pressure gauge, the correct torque wrench and socket, emergency equipment, and service contacts.
After the first few miles, stop somewhere safe and walk around again. Check for heat, odor, looseness, rubbing, leaks, shifted loads, or a change in tire appearance. Recheck wheel torque at the intervals specified for your wheels. During travel, investigate any new vibration, sway, noise, brake-controller warning, or hot-wheel smell immediately.
Know when a trailer shop should take over
Professional help is warranted for brake imbalance, hot hubs, bearing noise, structural cracks, severe rust, bent axles, abnormal tire wear, damaged suspension mounts, electrical faults, uncertain loaded weight, or missing component records. Choose a shop that regularly services heavy trailers and will document measurements, part numbers, and torque specifications.
Ask for a written inspection that identifies axle and brake models, bearing and seal numbers, tire dates and ratings, measured brake condition, suspension wear, frame findings, battery test results, and the next service due. Keep invoices and photographs with the house records. That history makes future troubleshooting faster and supports an honest resale inspection.
Frequently asked questions
Tiny house trailer maintenance intervals depend on the installed axle, brakes, wheels, tires, and how the house is used. The answers below provide a conservative starting point, but the identification labels and component manuals for your exact chassis control whenever they call for a different procedure or shorter interval.
How often should tiny house trailer bearings be repacked?
Dexter recommends cleaning, inspecting, and repacking conventional trailer wheel bearings every 12 months or 12,000 miles, whichever comes first. Service sooner after water intrusion, overheating, seal leakage, severe use, or an unknown maintenance history. Follow your axle maker if it specifies another interval or uses a different lubrication system.
How old is too old for tiny house trailer tires?
There is no universal expiration date for every trailer tire. NHTSA says some manufacturers recommend replacement at six to ten years regardless of treadwear. Follow the tire and trailer makers, inspect condition regularly, and read the DOT date code. Cracks, bulges, pressure loss, impact damage, or abnormal wear can require earlier replacement.
Should trailer tire pressure match the number on the sidewall?
Use the cold inflation pressure specified by the tiny house or trailer manufacturer for the approved tire and load, while respecting the limits of the tire, rim, and valve. A sidewall number is not a universal setting for every installation. Check pressure cold with an accurate gauge and include the spare.
How often should electric trailer brakes be adjusted?
Dexter’s general schedule calls for brake adjustment every three months or 3,000 miles, but its self-adjusting brakes do not require that routine manual adjustment. Test operation before every tow and investigate pulling, weak braking, grabbing, noise, or controller problems. Use the interval and procedure for the exact brake assembly installed.
Can a tiny house stay on its trailer permanently?
It can remain on a properly designed trailer if local placement rules allow it and the chassis is supported, drained, and maintained as its manufacturers direct. Permanent parking does not stop tire aging, corrosion, battery discharge, or seal failure. Zoning, foundations, tie-downs, utilities, and occupancy rules vary by city and county, so confirm locally.