Tiny house hose bibs work best when the faucet matches the climate, the mounting is rigid, the supply line can drain, and the connection is protected from backflow. In freezing areas, use a properly pitched frost-free sillcock or a standard faucet with an accessible interior shutoff and drain, then disconnect every hose before cold weather.
Table of Contents
Quick answer by situation
The right setup depends on whether the tiny house stays put, travels, or faces sustained freezes. Start with the listed faucet instructions and the adopted plumbing rules for the site. The following choices are practical starting points, but the local inspector, water system, wall assembly, and climate control the final installation.
- Foundation tiny house in a cold climate: Use a listed frost-free sillcock long enough to place its valve seat inside conditioned space. Pitch the barrel toward the outdoors and keep the interior connection accessible.
- Foundation house in a mild climate: A standard hose bib may be reasonable if local rules allow it, but add an indoor shutoff and drain if occasional freezes occur.
- Tiny house on wheels: Prioritize a rigid mounting block, supported flexible piping, an accessible shutoff, and a complete drain-down procedure before travel or freezing weather.
- Seasonal or vacant house: Choose a system that can be isolated and drained without crawling into a sealed wall or removing permanent finish.
- City-water connection: Confirm that the hose outlet has the backflow protection required by the adopted code and local utility.
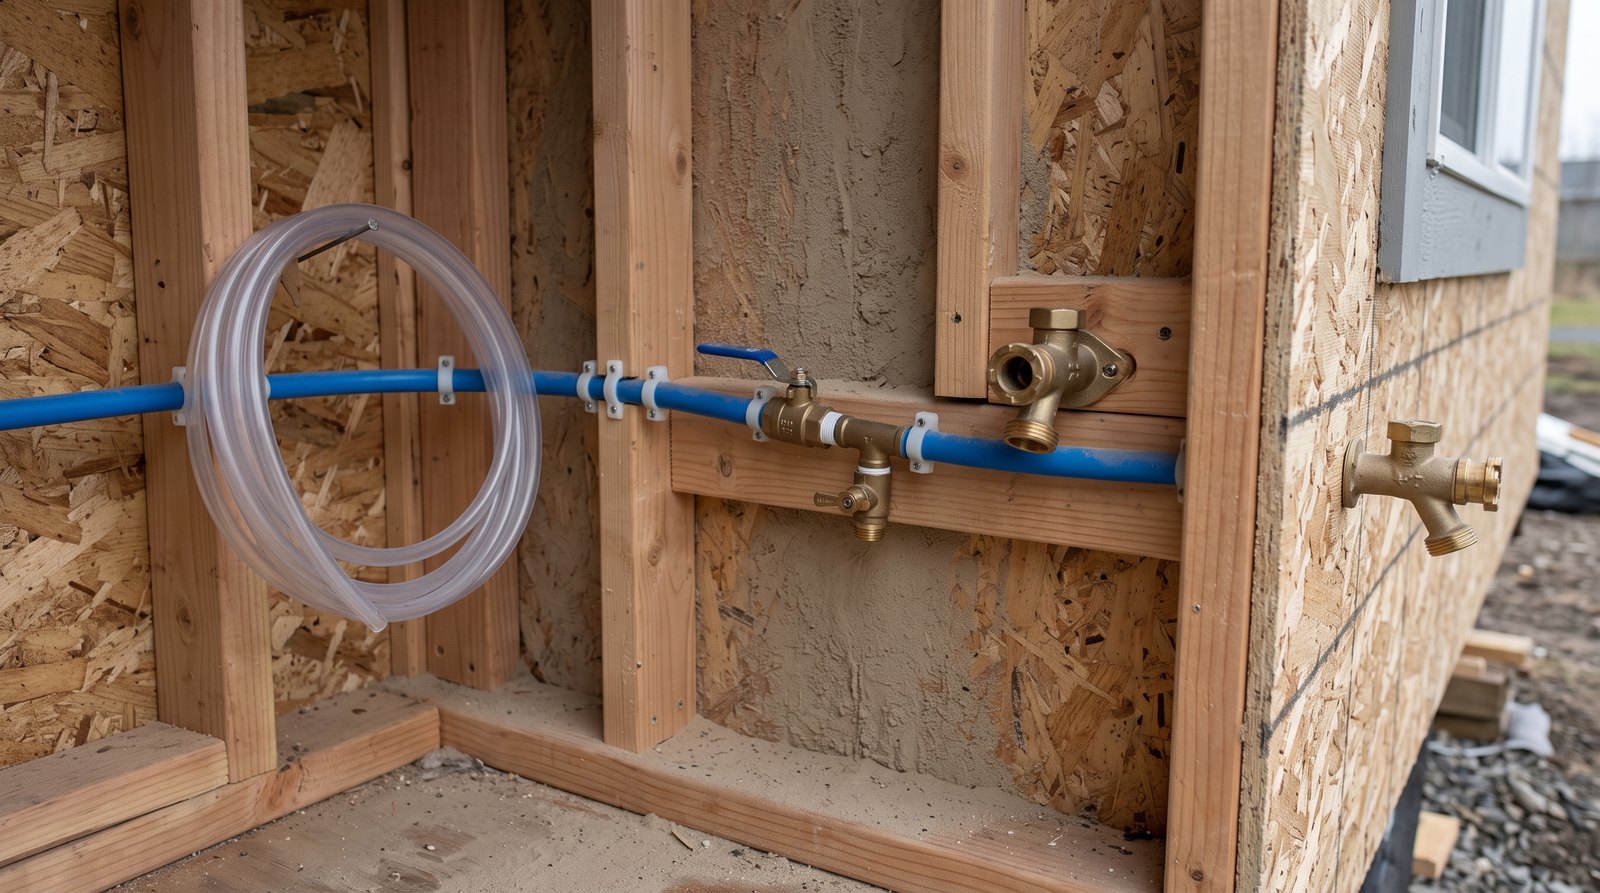
Choose a frost-free sillcock or a standard hose bib
A frost-free sillcock is usually the safer choice where freezing is routine, but it only works when its valve seat reaches the warm side of the wall and the barrel drains outdoors. A standard hose bib can work in warm climates or with a reliable interior shutoff and drain-down arrangement.
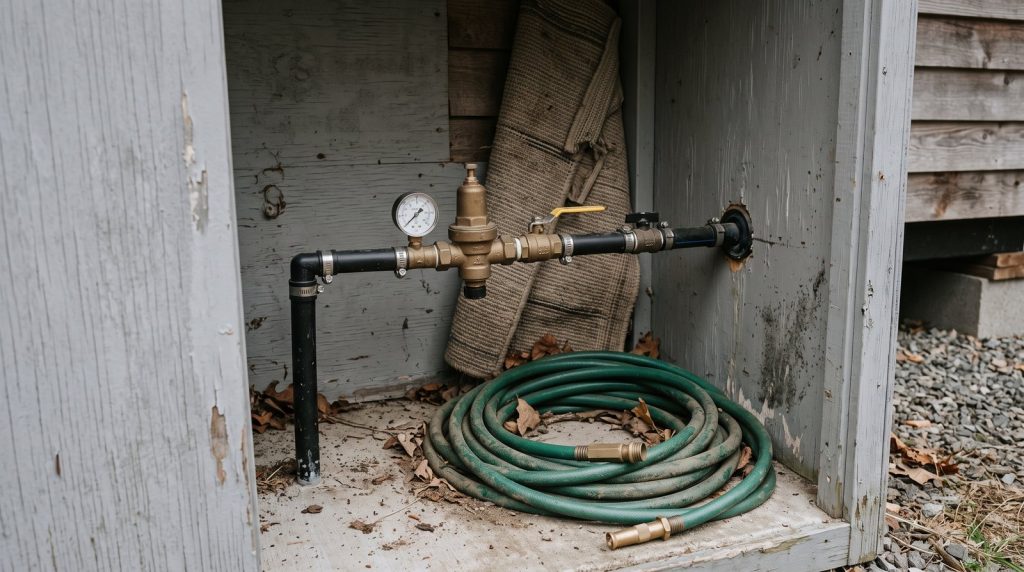
A standard hose bib closes at the exterior handle. Water remains in the valve body and nearby pipe after it is shut. That makes the assembly compact, inexpensive, and easy to service, but the trapped water can freeze if the outlet and supply are exposed to cold. Even a brief hard freeze can split a brass body, fitting, or nearby pipe.
A frost-free sillcock uses a long stem. Turning the exterior handle closes the water several inches inside the building. The water left in the outer barrel then drains through the spout. Choose the barrel length by measuring the full wall thickness and locating the shutoff point inside protected space. A longer faucet is not automatically better if its valve seat ends in an unheated chase.
Drainage is essential. Install the unit with the slight outward pitch specified by its manufacturer. Do not shim it level because the siding looks uneven. A hose, splitter, timer, spray nozzle, or vacuum breaker that holds water can defeat the drain-down design. Manufacturers commonly require the hose to be removed before freezing weather.
Build a solid mounting and service point
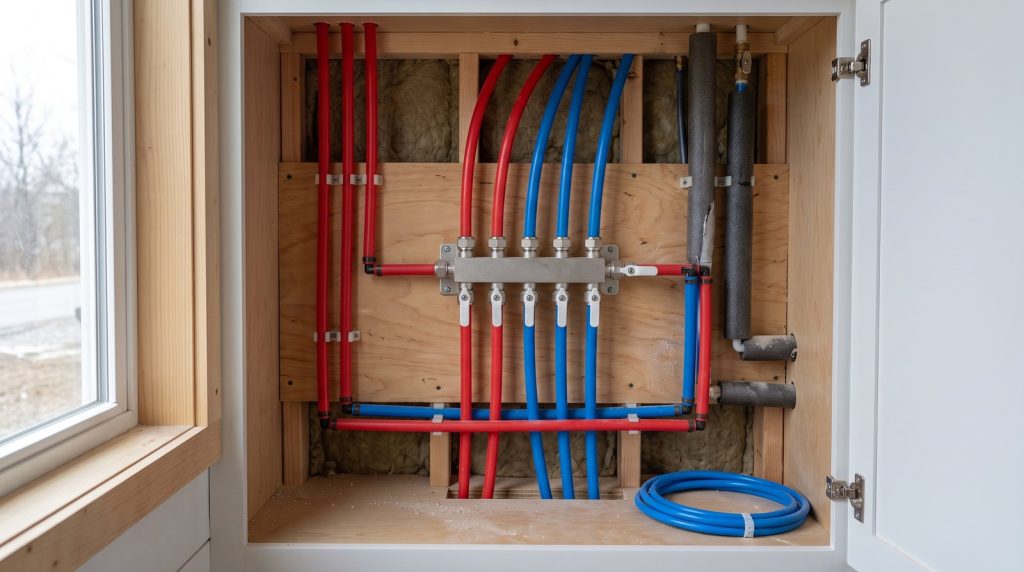
Mount the faucet to structural blocking, not just thin siding or sheathing. The block must resist hose pulls, valve operation, vibration, and winter cover removal without flexing the plumbing. Keep the supply connection, shutoff, and any drain fitting reachable through a cabinet or properly sized access panel.
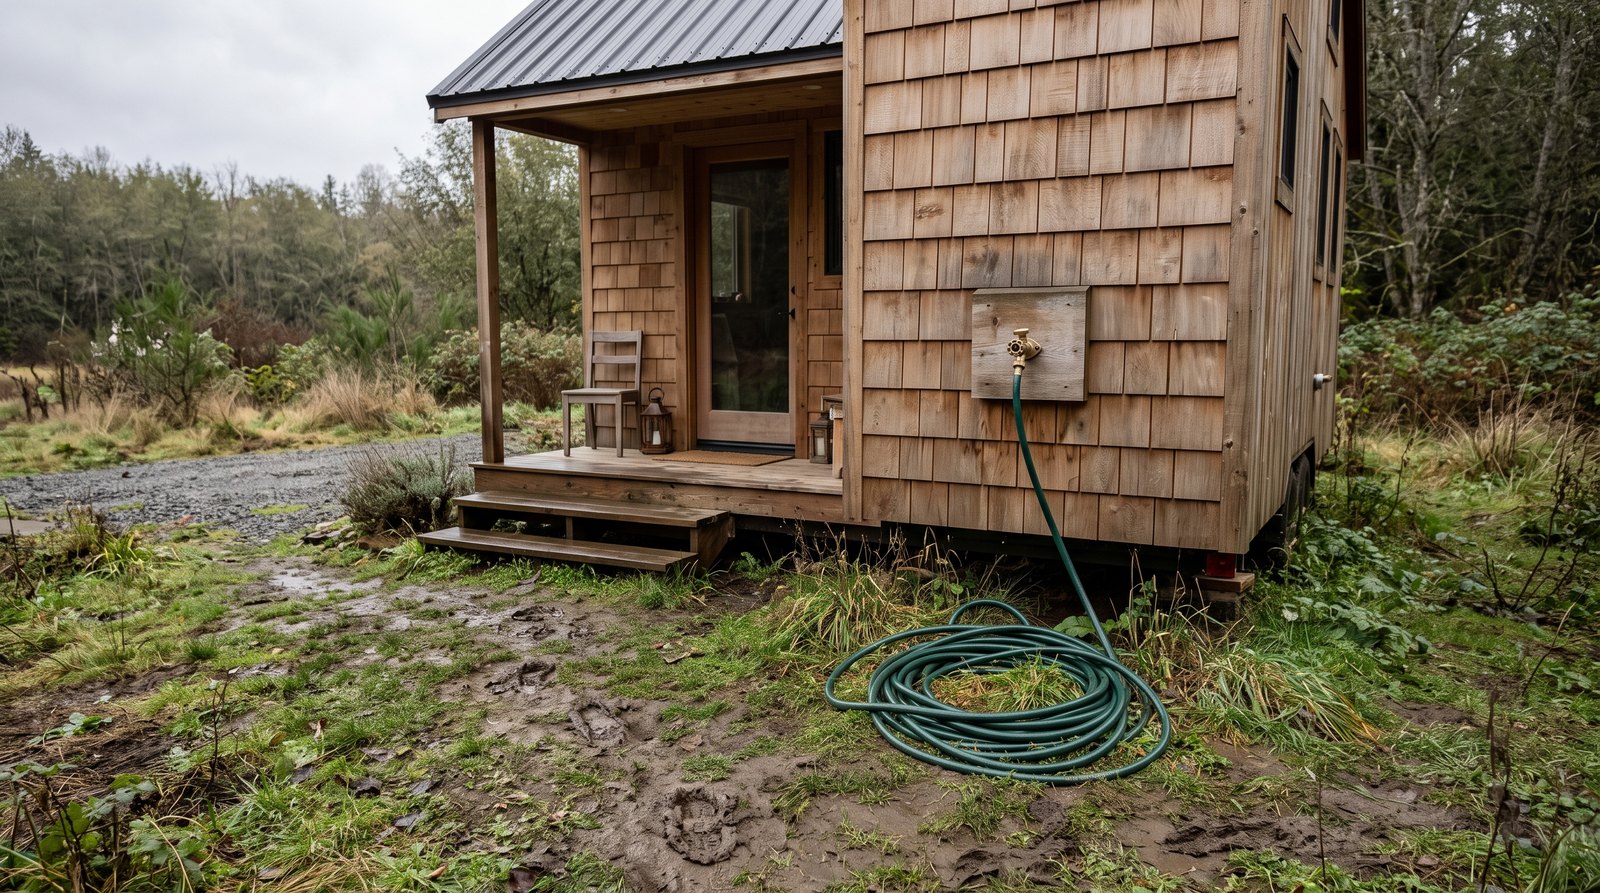
A practical mounting block spans framing or attaches securely to a stud. Exterior trim should shed water, and the faucet flange should sit flat without crushing the siding profile. Follow the cladding maker’s flashing details. Seal the wall penetration against air and bulk water while leaving the sillcock barrel free to maintain its required drainage pitch.
Support the interior pipe close to the faucet without locking every inch rigidly in place. PEX needs compatible supports and room for normal movement. Copper needs protection from sharp edges and dissimilar materials. A transition fitting must remain accessible when its listing or local rules require access. Avoid burying a push-fit or threaded connection behind glued paneling just to save a few inches.
Install an interior shutoff where a person can reach it quickly. In cold climates, a shutoff with a drain or a separate low-point drain makes winterization more dependable. Labeling is useful inside the owner-accessible cabinet, but the public-facing images and exterior fixtures do not need brand labels. A shallow pan or moisture sensor can provide early warning in a tight utility bay.
For a tiny house on wheels, add mechanical restraint for the valve body and the pipe immediately behind it. A hose can act like a lever, and road vibration can turn a marginal connection into a slow leak. Inspect the blocking, flange screws, supports, and fittings after the first trip and at the start of each season.
Plan drainage, air sealing, and backflow protection
A reliable hose bib installation controls three different paths: water leaving the faucet, outdoor air entering the wall, and contaminated water flowing backward into the potable supply. Treat each path separately. Pitch and drain the faucet, seal the wall penetration, and use the listed backflow device required for the connection.
Place the faucet high enough that runoff does not pool against siding, skirting, a trailer frame, or the foundation. Direct frequent discharge toward gravel, a splash block, or another approved drainage area. If winter water will create an icy walkway, move the outlet or provide a safer discharge surface rather than relying on a warning sign.
Seal the annular gap around the pipe with a material compatible with the pipe and wall assembly. Exterior sealant keeps rain out, while interior air sealing limits cold drafts that can chill the supply line. Do not fill the sillcock barrel, drain opening, or serviceable parts with foam. Keep required clearances and drainage routes open.
Many adopted plumbing codes require hose-connected outlets to have a vacuum breaker or other approved backflow protection. A hose can sit in a bucket, tank, pet bowl, or contaminated puddle. If supply pressure drops, that water can be drawn backward. Use an integral or permanently attached device that is listed for the application, and protect it from freezing as its instructions require.
Winterize before the first hard freeze
Winterizing is simple when the installation was designed to drain. Disconnect everything from the outlet, close and drain the branch if needed, verify that the faucet empties, and add an insulated cover only as a supplement. A cover cannot compensate for a trapped hose, a level barrel, or an unheated interior valve seat.
For a correctly installed frost-free sillcock, remove the hose and attachments, close the handle gently, and confirm water stops and the barrel drains. Do not overtighten the handle. If water continues to drip, repair the washer, cartridge, vacuum breaker, or seat before freezing weather. A persistent drip can refill the cold section and create an ice plug.
For a standard hose bib with an interior shutoff, close the inside valve, open the exterior faucet, and use the drain point to empty trapped water. Leave the exterior valve in the position recommended for the system during shutdown. If compressed air is part of a whole-house winterization plan, follow the fixture, pump, water-heater, and piping manufacturer instructions and limit pressure appropriately.
Check the surrounding wall for cold air leaks, damp insulation, or evidence of previous freezing. An inexpensive remote temperature sensor in the service cabinet can reveal a vulnerable area before damage occurs. When a tiny house is vacant, plan for power outages and equipment failure. Passive drain-down protection is more dependable than relying only on a space heater.
Protect the faucet during travel and setup
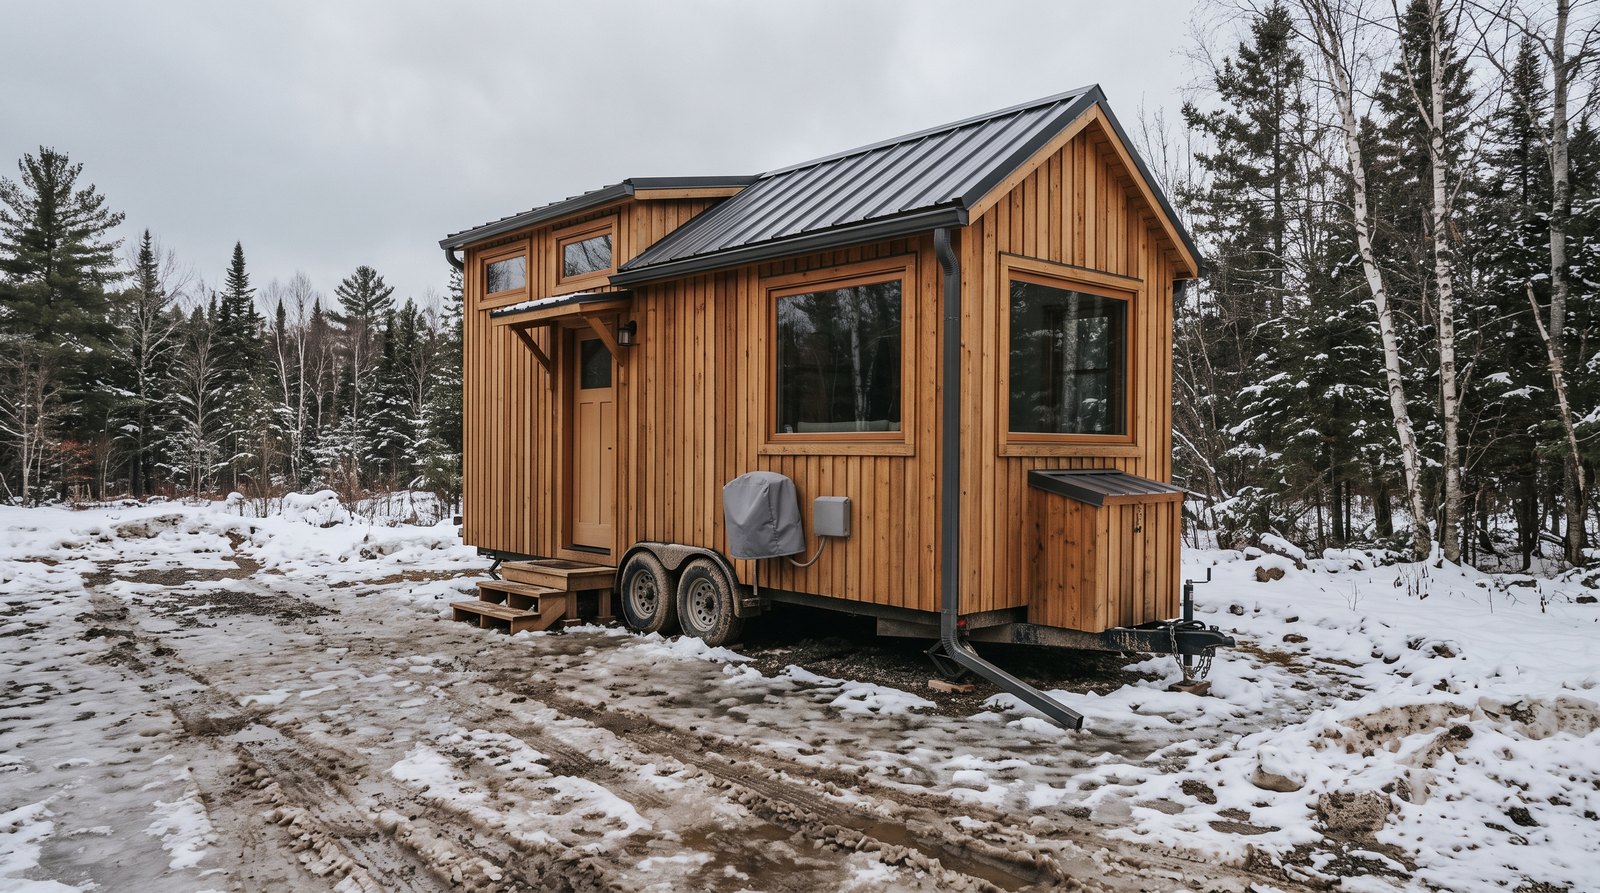
A hose bib on a THOW faces vibration, road spray, debris, and accidental impact as well as freezing. Drain and cap the system for travel, secure loose hoses elsewhere, and confirm the faucet does not project beyond the protected body line. After parking, inspect the mounting and connections before restoring water pressure.
Do not travel with a garden hose hanging from the outlet. Its weight and movement can crack a flange, loosen a threaded joint, or damage siding. A recessed box can protect the connection, but it must still drain, remain serviceable, and avoid becoming a cold pocket. A removable guard may be simpler for an exposed location.
If the THOW moves between climates, winterize for the coldest expected overnight condition, including stops along the route. The plumbing system should not depend on the destination forecast alone. For more transport planning, see our guide to tiny house moving costs in 2026.
Budget for the complete installation
Budget about $15 to $45 for a basic hose bib, $30 to $100 for many frost-free models, and roughly $150 to $500 for a straightforward professional replacement. New routing, wall repair, difficult access, freeze damage, or code upgrades can push the total higher, so price the complete assembly rather than the faucet alone.
Other common costs include a shutoff and drain, mounting block, compatible transition fittings, pipe supports, sealant, flashing, an insulated cover, and repair trim. A vacuum breaker may be integral to the faucet or purchased separately. Premium commercial wall hydrants, recessed boxes, and specialty freeze-resistant models can cost substantially more than basic residential hardware.
Labor varies with access. Replacing a threaded unit through an open utility cabinet may be quick. Opening a finished wall, rerouting pipe into conditioned space, repairing water damage, or rebuilding exterior trim adds time. Ask whether the quote includes leak testing, backflow protection, wall repair, permit work, and disposal of the old faucet.
Do not save money by hiding a questionable connection or skipping structural blocking. Water damage in a tiny wall can affect insulation, sheathing, flooring, and framing at once. Good access also supports the long service life discussed in how long tiny houses last. Review your policy details too, because freeze losses and unattended-property exclusions vary. Our tiny house insurance cost guide explains the broader coverage questions.
Watch for these warning signs
Investigate low flow, a loose flange, water behind the siding, dripping after shutoff, a noisy vacuum breaker, or moisture inside the service bay. Shut off the branch promptly if water appears in the wall. Freeze damage may remain hidden until the system thaws and pressure returns.
A frost-free faucet that leaks from the spout may need a washer, cartridge, stem, or seat repair. Leakage around the handle can point to packing or an O-ring. Water spraying from the vacuum breaker may indicate wear, debris, incorrect use, or a device that is not designed for continuous pressure. Use the maker’s repair parts and instructions.
If the handle turns but little water flows, check for a closed interior valve, frozen section, blocked screen, damaged backflow device, kinked PEX, or low source pressure. Never apply an open flame to frozen plumbing. Warm the area safely, keep the main shutoff accessible, and call a plumber if the pipe location or damage is uncertain.
At least twice a year, operate the shutoff, inspect supports, remove attachments, and check drainage. THOW owners should also inspect after travel. Replace cracked covers, loose screws, failed sealant, and corroded parts before winter. Small maintenance is easier than drying a wall cavity after a burst.
Frequently asked questions
Does every tiny house need a frost-free hose bib?
No. The need depends on climate, wall design, how the house is heated, and local requirements. A standard hose bib with an accessible interior shutoff and drain can work in some mild or seasonal installations. Where freezing is routine, a properly installed frost-free sillcock usually provides a safer and simpler daily setup.
Why did a frost-free faucet freeze and burst?
The usual causes are trapped water, an attached hose or closed nozzle, incorrect inward pitch, a valve seat left in cold space, or a slow leak that refilled the barrel. A frost-free label does not overcome poor installation. Disconnect attachments, verify outward drainage, and repair drips before freezing weather arrives.
Should a hose bib have its own interior shutoff?
An accessible branch shutoff is strongly useful and may be required by the adopted rules or system design. It lets you isolate a damaged faucet without turning off the entire tiny house. In freezing areas, a shutoff with a drain point also makes dependable winterization possible when the exterior outlet cannot protect itself.
Can an insulated faucet cover prevent freezing by itself?
No. A cover slows heat loss, but it does not create heat or remove trapped water. Use it as added protection after disconnecting the hose and following the correct drain-down procedure. If the pipe or valve seat remains in an unheated cavity, improve the installation instead of relying on a thicker cover.
What backflow protection does a tiny house hose bib need?
Many jurisdictions require an approved vacuum breaker or a faucet with integral backflow protection on hose-connected outlets. The exact device depends on the adopted plumbing code, water provider, and how the hose is used. Choose listed equipment, install it according to its instructions, and confirm local requirements before final inspection.