Most tiny houses work best with steady water pressure in the 40 to 60 psi range, but the correct setting is the lowest pressure that reliably serves every fixture and stays within all equipment ratings. Use a regulator on uncertain hookups, an accumulator with many pumps, and a thermal expansion tank on closed water-heater systems.
Table of Contents
What water pressure should a tiny house use?
A practical target for many tiny houses is about 45 to 55 psi, measured while no fixture is running, followed by a flow test at the shower or farthest faucet. That range is guidance, not a universal setting. The fixture, pump, water heater, piping system, adopted plumbing code, and local inspector control the final limit.
Static pressure is the reading with every faucet and appliance closed. Dynamic pressure is what remains while water is flowing. Both matter. A system can show 50 psi at rest and fall to an unsatisfying 25 psi in the shower because of a clogged screen, undersized hose, dirty filter, restrictive regulator, weak pump, or long supply run.
The 2021 International Plumbing Code requires a pressure-reducing valve when building water pressure exceeds 80 psi static, but code adoption and amendments vary by jurisdiction. Do not treat 80 psi as a desirable operating target. Many RV-style components and compact appliances have lower limits, and one current adjustable RV regulator listing advises against settings over 60 psi.
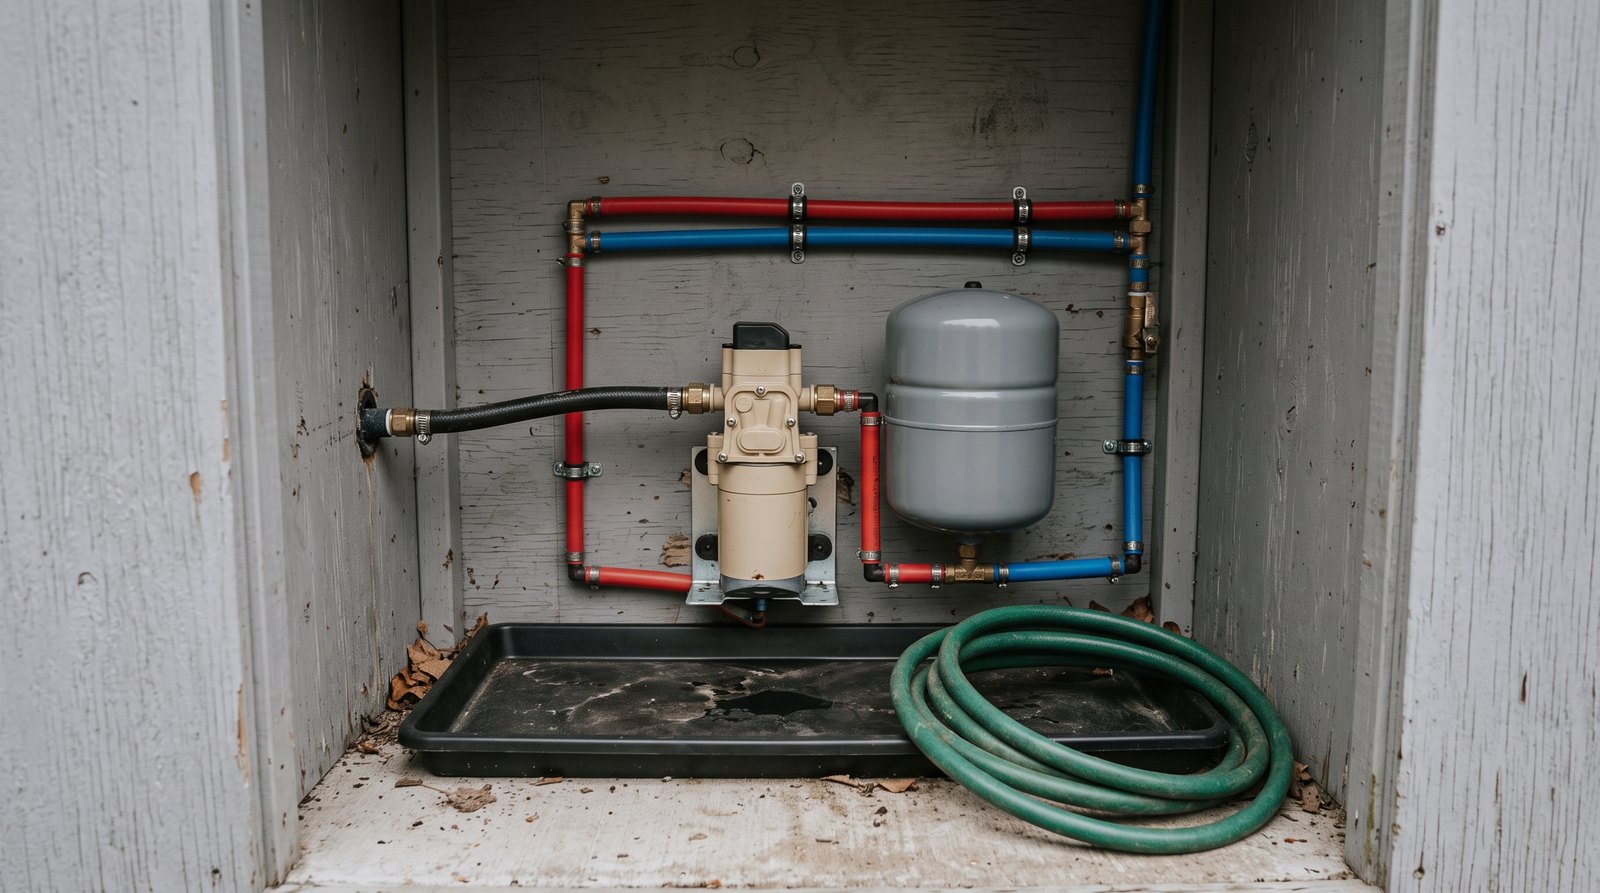
Quick answer by situation
The correct equipment depends on where the water comes from and what is causing the pressure change. A city hookup needs protection from unknown supply pressure. A demand pump needs smooth cycling. A storage water heater in a closed system needs room for heated water to expand. Some tiny houses need all three devices.
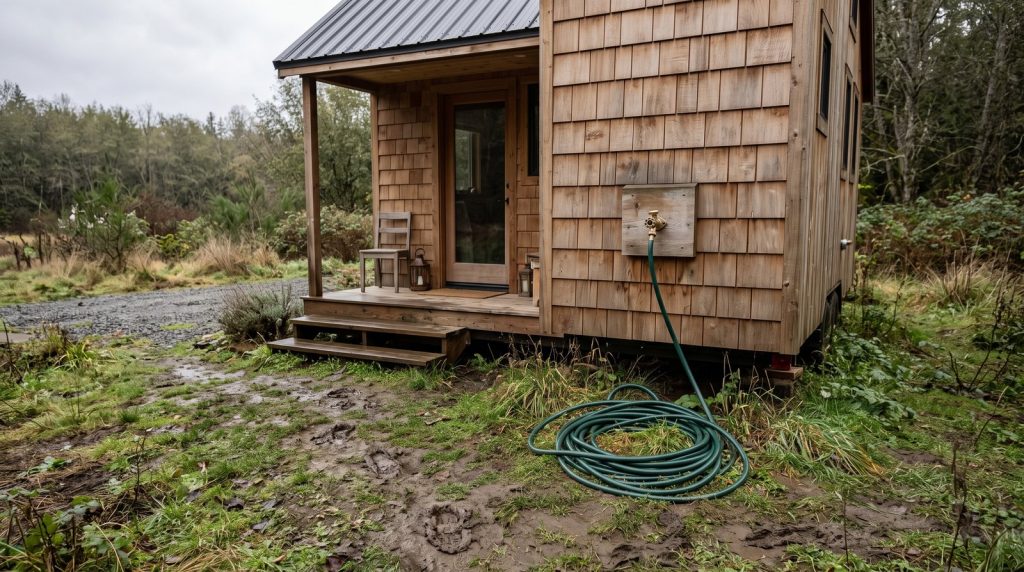
- Seasonal RV-style city hookup: Use a potable-water hose, an inlet pressure regulator sized for the connection, and a gauge. Confirm the tiny house inlet and fixture ratings.
- Permanent municipal connection: Use a listed whole-house pressure-reducing valve when required, with accessible shutoffs, a strainer if specified, and a downstream test point.
- Onboard tank and demand pump: Follow the pump manual. Add an accumulator if the pump chatters, pulses at low flow, or cycles too often.
- Storage water heater behind a check valve or regulator: Provide the thermal expansion control required by the adopted code and heater instructions.
- Pressure rises only after heating: Test the thermal expansion tank charge, size, location, and isolation valves rather than turning the main regulator down blindly.
- Pressure falls only while flowing: Look for a restricted hose, screen, filter, valve, regulator, or undersized pipe before increasing the setting.
How pressure regulators protect a tiny house
A pressure regulator reduces high or unstable inlet pressure to a controlled downstream setting. It belongs near the supply entrance, before vulnerable fixtures, and it must be rated for potable water, the expected inlet pressure, flow, temperature, and connection type. A regulator is not automatically a shutoff, check valve, filter, or backflow preventer.
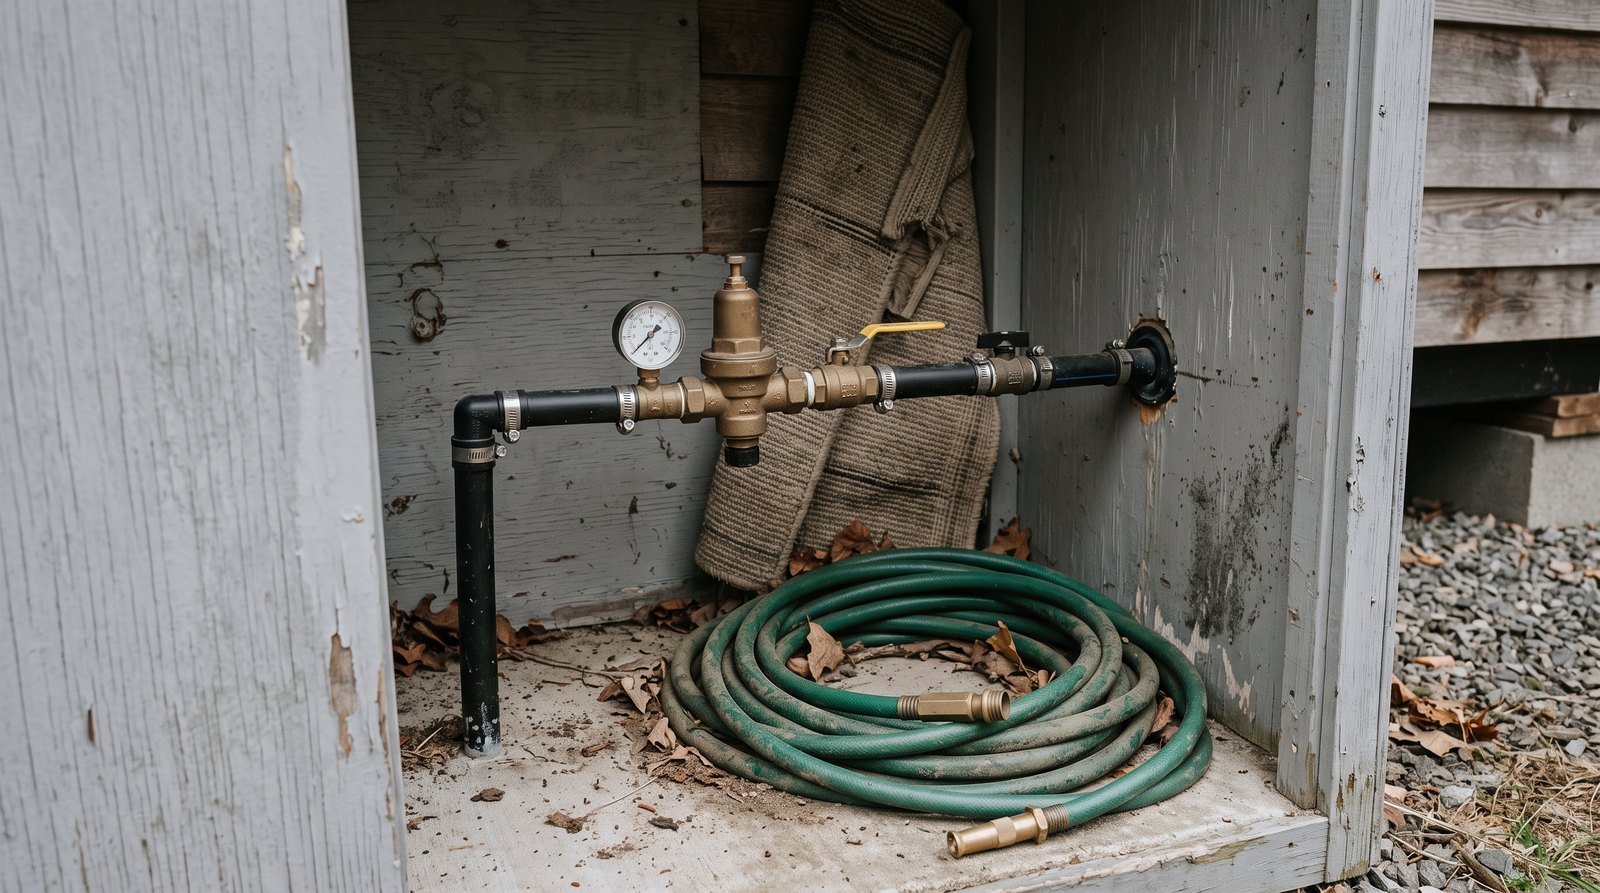
Portable hose-end regulators are convenient for temporary hookups. Basic fixed models can restrict flow, so an adjustable model with a gauge is often easier to diagnose. For a permanent foundation tiny house, a listed residential pressure-reducing valve with serviceable internals and unions may be more appropriate. Follow the adopted code and inspector requirements.
Install the valve in the direction of its flow arrow. Place a full-port shutoff where the valve can be isolated, and leave enough room to remove its strainer or cartridge. A gauge downstream makes adjustment and troubleshooting much easier. If the manufacturer permits it, a second gauge upstream can reveal supply swings and regulator pressure drop.
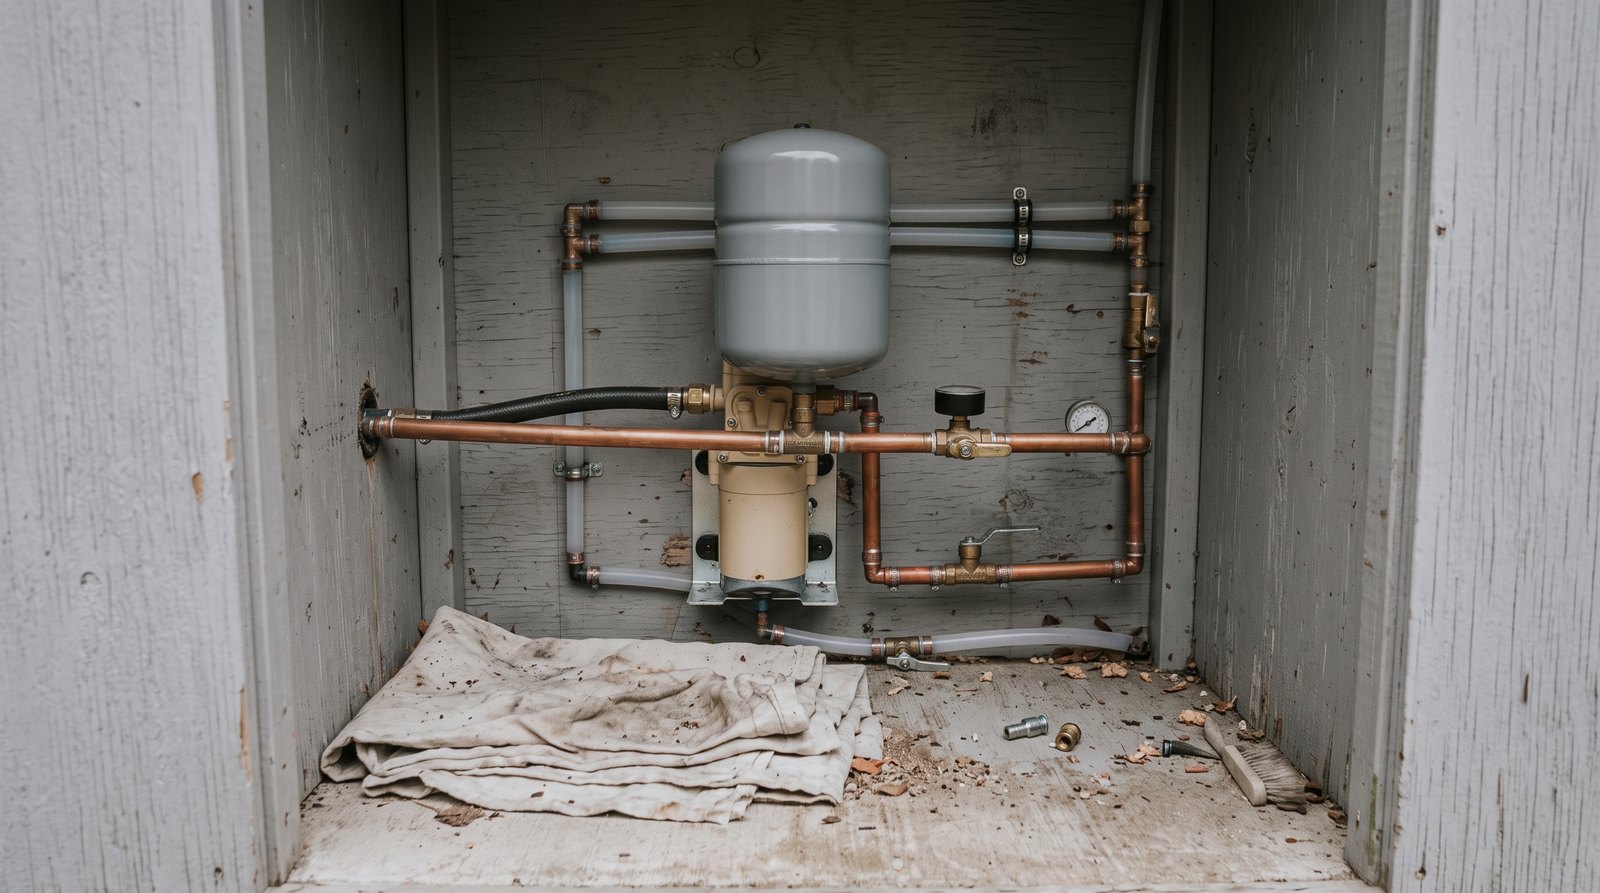
Accumulator tanks and thermal expansion tanks are different
An accumulator tank smooths a demand-pump system by storing a small amount of pressurized water, reducing pulsation and rapid pump cycling. A potable thermal expansion tank absorbs water-volume growth as a storage water heater warms a closed system. Similar-looking tanks serve different design conditions and should not be substituted without explicit manufacturer approval.
Place an accumulator on the pump discharge side, before the branches it serves, unless the pump maker shows another arrangement. Xylem’s Jabsco guidance explains that the air charge is set in relation to the pump cut-in pressure, and one current guide specifies 3 psi below cut-in. Use the exact value in the manual for your tank and pump.
For a thermal expansion tank, the 2021 International Plumbing Code calls for thermal expansion control when a storage water heater receives cold water through a check valve, pressure-reducing valve, or backflow preventer. It places that control on the heater cold-water supply downstream of those devices. Your locally adopted edition or amendment may differ.
A thermal tank normally needs its air charge matched to the cold static system pressure while the water side is depressurized, but the tank instructions control. If its bladder fails or its charge is wrong, pressure may spike during every heating cycle, the relief valve may drip, and faucet cartridges or supply hoses may see unnecessary stress.
Placement, access, and support
Put every pressure-control component where it can be inspected, isolated, drained, and replaced without dismantling cabinets. Keep gauges visible, protect potable parts from contamination, and support the pipe and tank independently. In a tiny house on wheels, add restraint for travel loads and flexible connections only where the product instructions permit them.
A sensible city-water sequence is supply connection, required backflow protection, shutoff, strainer if specified, regulator, downstream gauge, and house distribution. The actual order can change with the listed devices and local rules. Never add a check valve casually. Closing the system can create the need for thermal expansion control at a storage water heater.
A common onboard sequence is freshwater tank, inlet strainer, demand pump, accumulator, and distribution branches. The water heater connects according to its manual. Mount the pump on a solid surface with vibration isolation, keep its electrical protection accessible, and avoid tight pipe bends that load the ports.
Expansion tanks become heavy when waterlogged. Do not hang a larger tank from unsupported plastic pipe or a delicate heater fitting. Use the approved orientation, bracket, and connection method. Keep the water-heater temperature and pressure relief valve unobstructed, and never cap its discharge because it is dripping.
How to size and set the equipment
Size the regulator for connection size, expected inlet pressure, required flow, and acceptable pressure drop, not simply because its port matches the pipe. Size an accumulator around pump cut-in and cut-out pressures and desired cycling. Size a thermal expansion tank from heater volume, supply pressure, water temperature, and the maker’s chart.
For regulators, compare the flow curve at the pressure you actually need. A compact valve that holds 50 psi with one faucet may sag badly when the shower and kitchen sink run together. If the campground spigot, hose, or filter is restrictive, a larger regulator cannot create pressure or flow that never reaches it.
For an accumulator, more usable drawdown generally means fewer starts, but the tank must fit, remain serviceable, and be approved for potable water. Turn off the pump, open a faucet, relieve water pressure, and use an accurate low-pressure gauge before checking the air charge. Never pressurize beyond the tank rating.
For thermal expansion, do not choose a tank only by cabinet space. High incoming pressure, a larger heater, or a higher storage temperature can require more acceptance volume. Oversizing is usually less troublesome than undersizing, but support, precharge, potable-water approval, maximum working pressure, and the manufacturer’s sizing table still matter.
Troubleshooting high, low, and unstable pressure
Diagnose pressure by recording when the symptom occurs. High pressure all the time points toward the supply or regulator. Rising pressure after a heater cycle points toward trapped thermal expansion. Pulsation at low flow points toward a demand pump, accumulator charge, or bypass setting. Low dynamic pressure points toward restriction or insufficient supply.
Use a hose-thread pressure gauge at a test point that represents the house side of the regulator. Record cold static pressure, pressure during shower flow, pump cut-in and cut-out if applicable, and the highest reading after the water heater recovers. A gauge with a peak pointer can reveal brief overnight or heating-cycle spikes.
Check simple causes first: partially closed valves, kinked hoses, dirty inlet screens, clogged filters, frozen sections, weak pump voltage, and debris in aerators. Then isolate components methodically. Replacing the regulator will not fix a plugged filter, and adding an accumulator will not correct a leaking fixture or an undersized supply hose.
Watch for damp fittings, pump starts when no water is being used, a relief valve that drips, toilet fill-valve noise, hammer when a solenoid closes, or a pressure gauge that slowly climbs. Water damage can spread quickly in a small structure, so review coverage and exclusions in a tiny house insurance policy before a leak occurs.
Realistic 2026 equipment costs
Current retail prices put a basic hose-thread test gauge near $13 to $25, an adjustable RV-style regulator with a gauge near $40 to $70, and common 3/4-inch residential pressure-reducing valves around $65 to more than $300. Small accumulators commonly run about $40 to $120, while two-gallon thermal expansion tanks are roughly $35 to $85.
Professional labor varies too much by region and access to quote responsibly as one national number. Ask for a written scope that covers pressure testing, correct device sizing, pipe support, expansion control, permits if required, and cleanup. Paying for diagnosis first can cost less than replacing several good parts by guesswork.
Choose serviceable equipment instead of the cheapest sealed component. Unions and an accessible strainer cost more during installation but reduce future labor. Pressure-control parts can help fixtures and appliances last, but they are only one part of the maintenance plan described in how long tiny houses last.
Freeze protection, travel, and maintenance
Protect regulators, gauges, pump heads, small tanks, and exposed fittings from freezing because trapped water can split housings or distort diaphragms. Before travel, disconnect outside hoses, drain vulnerable components, secure tanks and piping, and inspect mounts. After arrival, repressurize slowly and check every joint before closing the utility compartment.
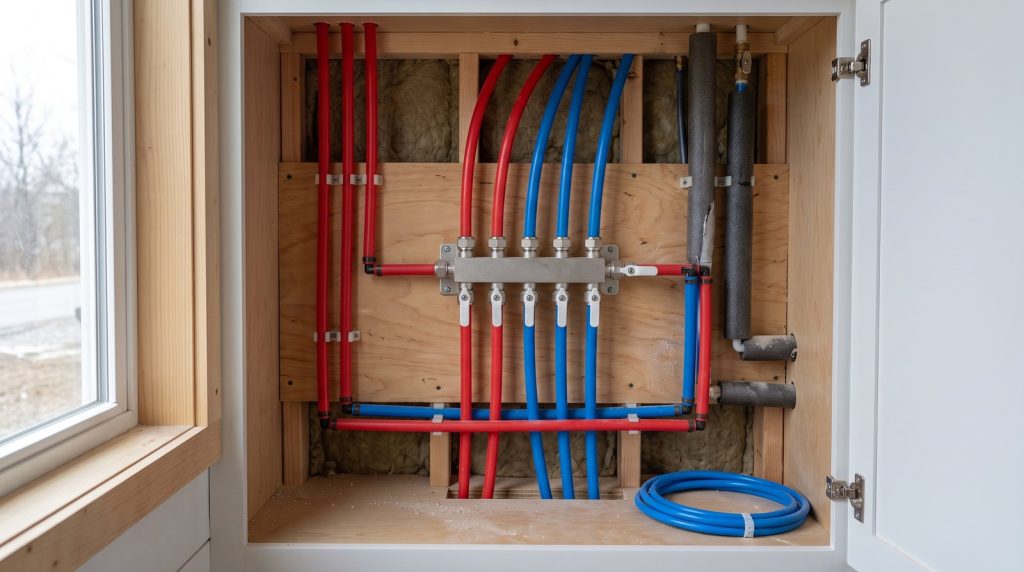
For a tiny house on wheels, use clamps and brackets that handle vibration without crushing PEX or rubbing through hoses. Leave service loops only where permitted, keep heavy tanks restrained in more than one direction, and check fittings after rough roads. Include plumbing checks in the plan for moving a tiny house.
Every six months, or at the interval in the manuals, compare the gauge reading with your baseline, clean screens, inspect for corrosion and abrasion, exercise shutoffs, and look for weeping relief valves. Check air precharge only after isolating and depressurizing the water side. Replace damaged, waterlogged, or out-of-spec components instead of repeatedly readjusting them.
Frequently asked questions
These answers cover the most common tiny house water pressure questions, but they cannot replace the listed instructions for the regulator, pump, tank, water heater, and fixtures. Local plumbing requirements also vary. For a permanent connection or repeated pressure spikes, have the installation reviewed by the local authority or a qualified plumber.
Is 60 psi too high for a tiny house?
Not necessarily, but 60 psi should be accepted only if every fixture, hose, pump, filter, water heater, and connection is rated for it. Many systems work comfortably at 45 to 55 psi. Use the lowest setting that provides good flow, and confirm both static and flowing pressure rather than trusting the regulator dial.
Do I need a regulator on an RV-style water hookup?
Use one whenever the supply pressure is unknown, variable, or higher than the lowest-rated component in the tiny house. An adjustable potable-water regulator with a gauge is easier to verify than a fixed device. Install it in the direction shown by its maker and retest whenever you change locations or supply hoses.
Can one tank work as both an accumulator and expansion tank?
Do not assume it can. Accumulators are selected to smooth pump operation, while thermal expansion tanks are selected for heated-water expansion in a closed potable system. Their listings, pressure ratings, diaphragms, precharge instructions, and sizing methods can differ. Use a product explicitly approved for the intended function and follow its installation manual.
Why does pressure rise when the water heater runs?
Heated water expands. If a check valve, backflow preventer, or pressure-reducing valve creates a closed system, that added volume cannot push back toward the supply. A correctly sized and charged thermal expansion tank gives it room. A failed bladder, wrong precharge, closed isolation valve, or undersized tank can allow pressure to spike.
How often should I check the regulator and tanks?
Inspect them at least every six months and before freezing weather or a long move, unless the manufacturer specifies a shorter interval. Compare pressures with your baseline, clean screens, check supports, and look for leaks. Test tank air charge only with the water side isolated and depressurized, using the exact procedure in the manual.