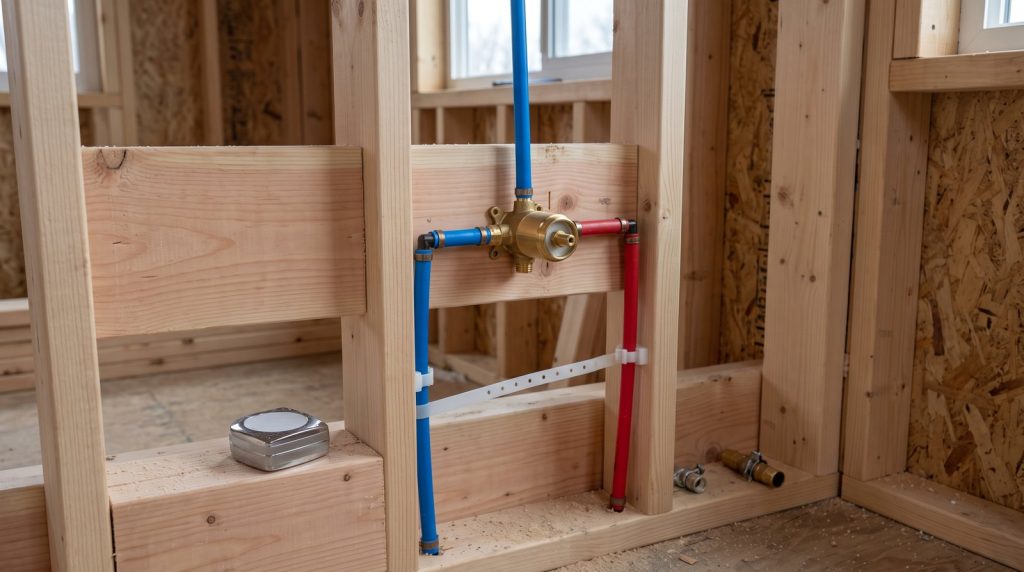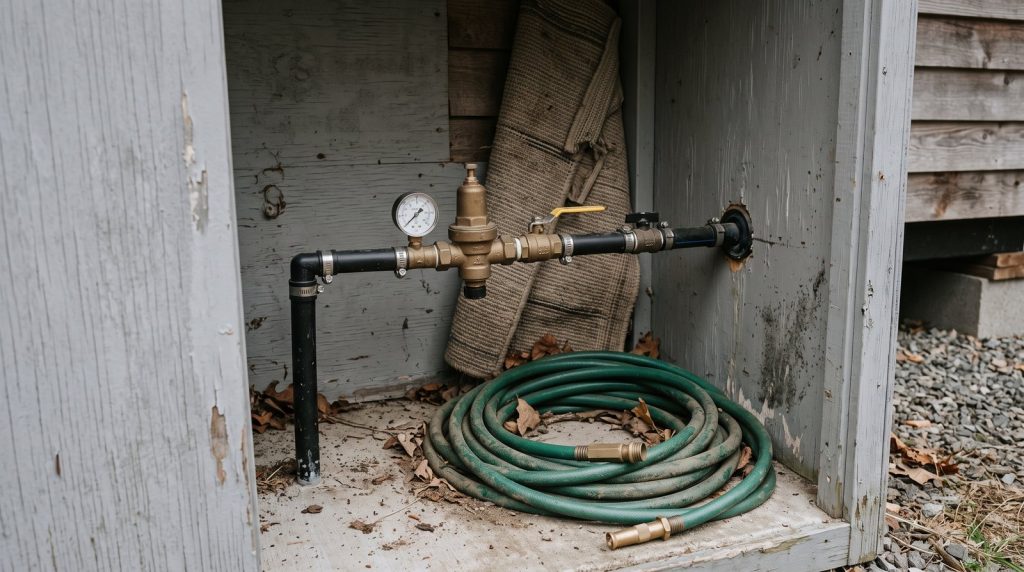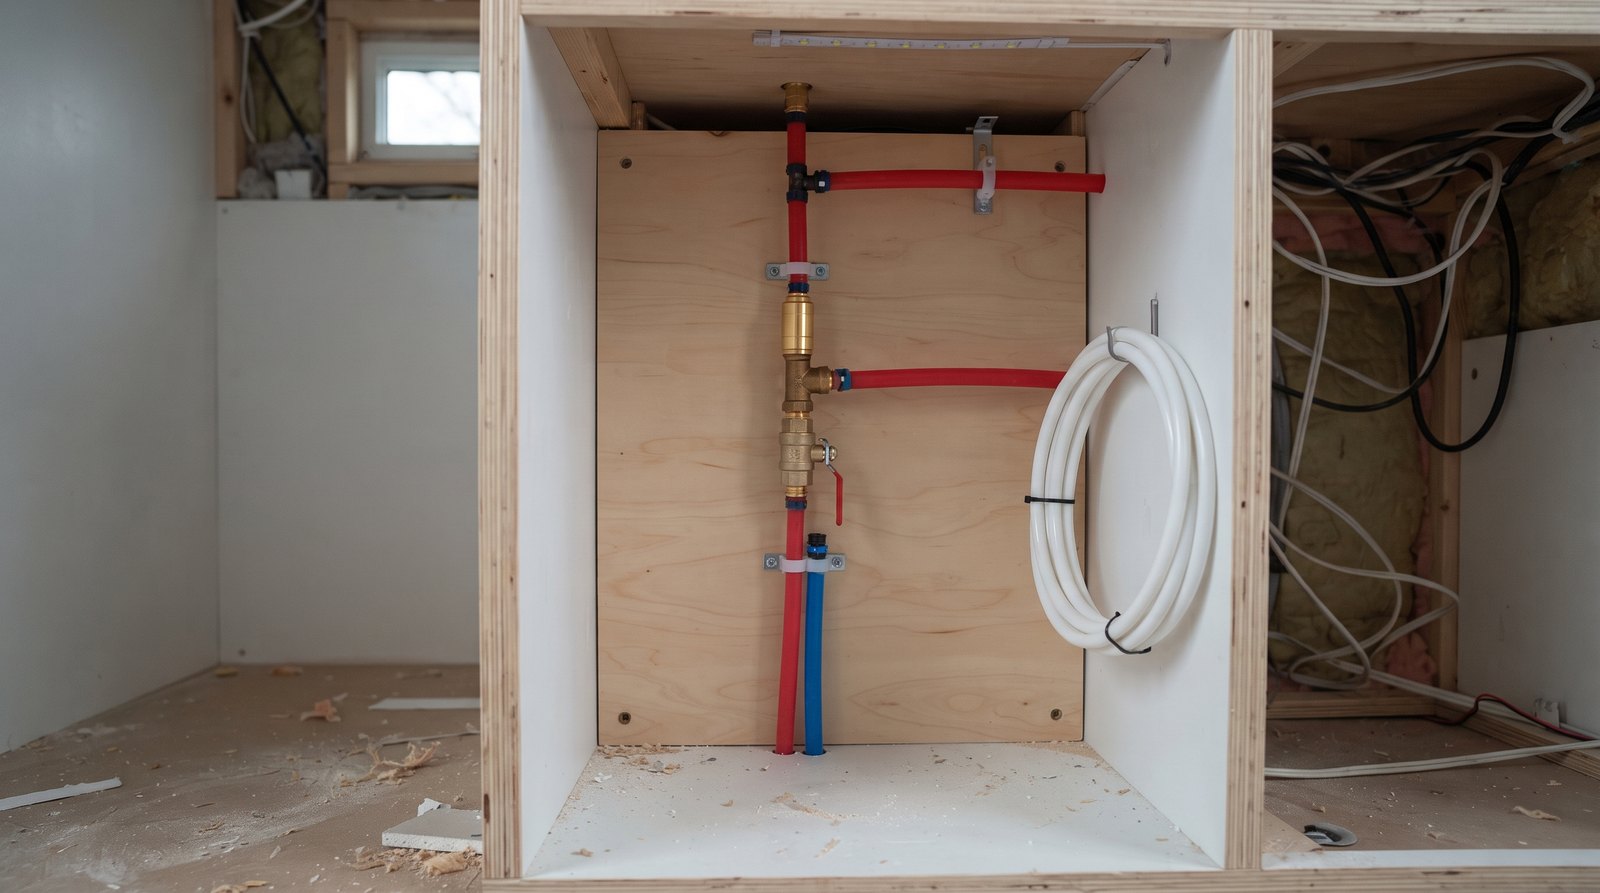
Tiny house water hammer is a pressure shock caused when moving water stops suddenly. Start by identifying the fast-closing valve, checking water pressure, and securing loose pipe. Install a listed arrestor near the problem valve when required. Pump-fed systems may also need an accumulator tank, correct pump settings, and better vibration isolation.
Table of Contents
What water hammer sounds like in a tiny house
Water hammer usually sounds like one hard bang, a rapid knock, or a brief shudder immediately after a valve closes. In a tiny house, the noise can seem severe because short pipe runs, lightweight framing, cabinet cavities, and metal trailer components transmit vibration through the entire structure.
The shock begins when water moving through a supply line loses velocity very quickly. A washing machine solenoid, dishwasher valve, ice maker valve, toilet fill valve, or single-handle faucet can stop flow much faster than a person slowly closing an older two-handle faucet.
Quick answer by situation
The right correction depends on when the noise occurs and how the tiny house receives water. A single bang at one appliance points toward a local arrestor. Repeated pump pulsing points toward pump controls or an accumulator. Banging in several places calls for pressure testing, pipe support, and a system-wide inspection.
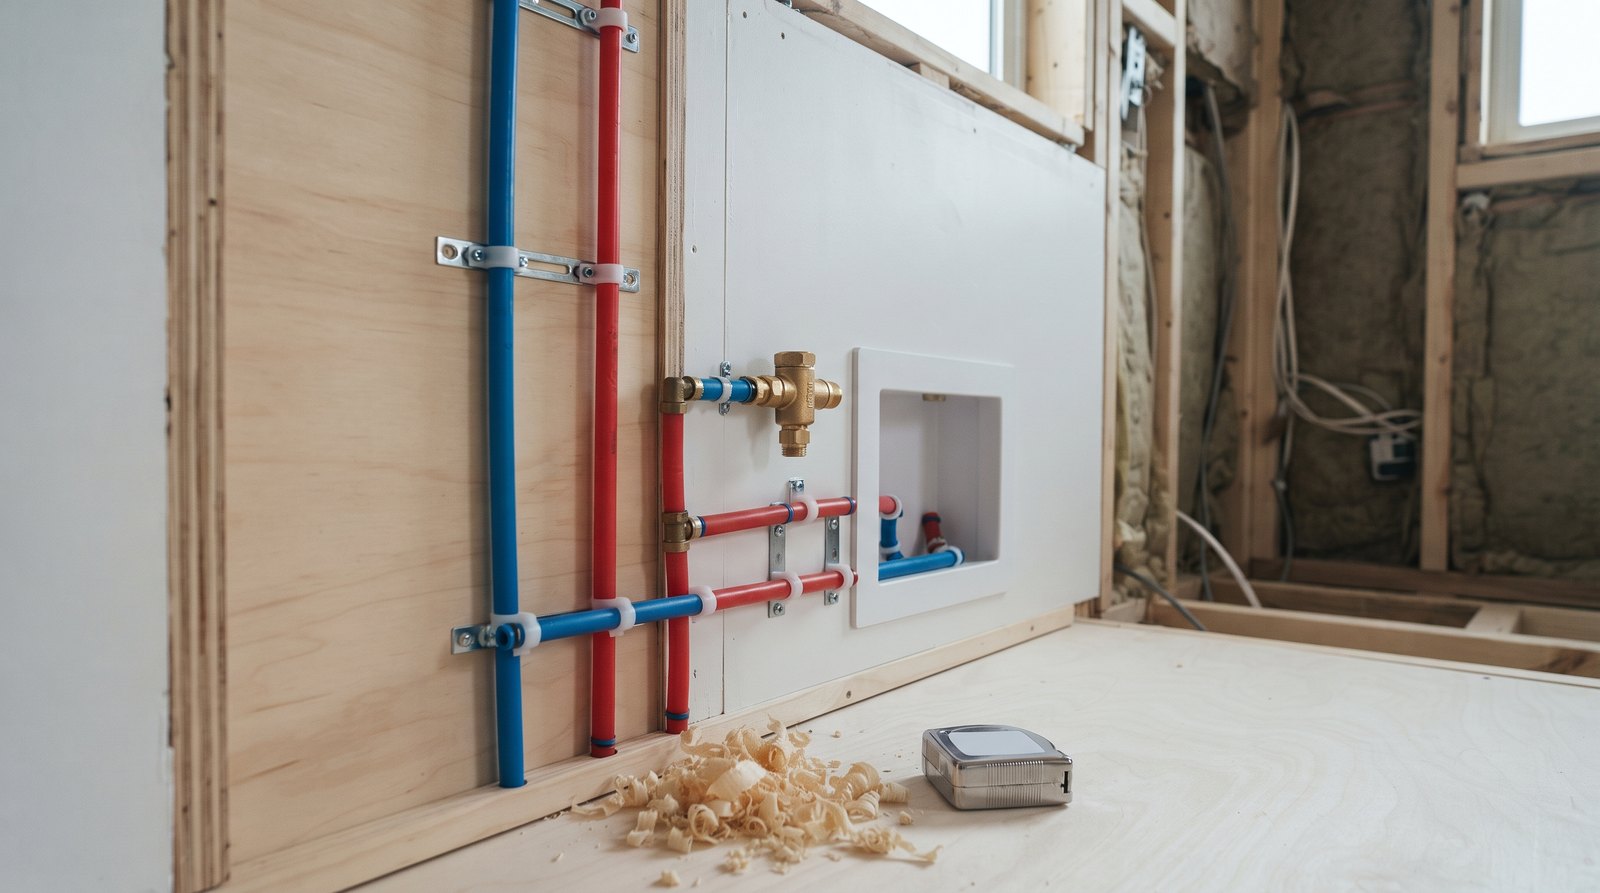
- Washer bangs when filling stops: Check both hoses and shutoffs, then fit approved washing-machine arrestors at the hot and cold valves if the product instructions allow.
- Dishwasher makes one sharp knock: Place the correctly sized arrestor as close as practical to its quick-closing valve, following the arrestor and appliance instructions.
- Loose PEX slaps inside a cabinet: Add smooth, correctly sized supports without crushing the tubing, and keep fittings from carrying pipe weight.
- Onboard pump pulses at low flow: Clean the inlet strainer, check for leaks and restrictions, verify pressure-switch operation, and consider a compatible accumulator tank.
- Several fixtures bang on a city hookup: Measure static and flowing pressure. Inspect the regulator, check valves, thermal expansion control, and pipe layout before adding multiple arrestors.
- Noise appeared after travel: Inspect clips, flexible connections, pump mounts, valve boxes, and cabinet penetrations for movement or abrasion.
How to diagnose the cause before buying parts
Diagnose tiny house water hammer by reproducing the noise one fixture at a time, noting the exact moment it occurs, and checking pressure with an accurate gauge. This simple sequence separates a quick-closing-valve shock from pump cycling, loose pipe, thermal movement, or a defective valve that needs a different repair.
First, switch off or isolate appliances and operate each fixture individually. If the bang occurs only when the washing machine stops filling, the source is probably local. If any faucet can trigger it, look upstream at high pressure, an unsupported main line, a check valve, or a regulator. If the sound continues after flow stops, open an access panel and listen for a pipe moving against framing.
Next, connect a pressure gauge at a suitable hose connection or test point. Record static pressure with every outlet closed, then watch the gauge while a fixture runs and closes. Many jurisdictions based on the International Plumbing Code require a pressure-reducing valve when building static pressure exceeds 80 psi, but the adopted code and local amendments control. A tiny house connected to a campground pedestal may see a very different pressure than it sees at home.
For a pump-fed system, check tank level, the pump inlet strainer, suction connections, and leaks before adjusting anything. A restricted strainer or air leak can create pulsation that sounds like hammer. Compare cut-in and cut-out behavior with the pump manual. Do not change pressure-switch settings simply to hide noise, because an incorrect setting can damage the pump or exceed the rating of another component.
Water hammer arrestors versus old-style air chambers
A listed piston or diaphragm arrestor is the dependable fix for shock from a quick-closing valve. An old capped pipe used as an air chamber can gradually fill with water and lose its cushion. Modern plumbing rules commonly call for arrestors that meet ASSE 1010 and are installed according to manufacturer instructions.
Place the arrestor near the valve that stops the flow. Appliance-specific models can screw onto washing-machine valves, while PEX, copper, CPVC, threaded, press, and compression versions fit branch piping. Some products may be installed in any orientation, but that permission comes from the exact product instructions, not from a general rule.
Do not choose an arrestor only by the pipe diameter. Residential appliance products are often sized for one fixture. A header serving several fixtures may require sizing by fixture units, separate hot and cold calculations, and placement near the end of each header. One manufacturer places a properly sized unit within 6 feet of the end of a header and treats runs longer than 20 feet in sections. Use the selected product’s current guide.
Pipe support matters as much as the arrestor
Secure pipe so the pressure wave cannot turn the plumbing into a moving lever. PEX needs room for normal expansion but should not hang in long loose loops. Copper should not strike framing or metal. In a THOW, every support must also resist vibration from towing without abrading the pipe.
Use clamps or supports made for the tubing size, with smooth edges and enough bearing area. Do not cinch a hard fastener so tightly that it deforms PEX. Uponor’s current guidance, for example, lists 32 inches as the maximum horizontal support spacing for bare PEX 1 inch and smaller, while also directing installers to follow local code and product-specific requirements. Other systems may differ.
Support valves, manifolds, arrestors, and heavy fittings independently when required. A valve box attached to a thin wall panel can flex even if the pipe is strapped. Add backing where necessary, keep lines away from sharp screw tips, and use sleeves or grommets at penetrations. Leave accessible joints visible long enough to check for weeping after the repair.
For a tiny house on wheels, inspect the plumbing after a move, especially around the pump, water heater, exterior inlet, and axle area. Travel can loosen screws, stretch a tight line, or let a hose rub on a cabinet edge. Those small changes can make a previously quiet system knock. This is one more item to add when budgeting the cost of moving a tiny house.
When a pump or accumulator tank is the real issue
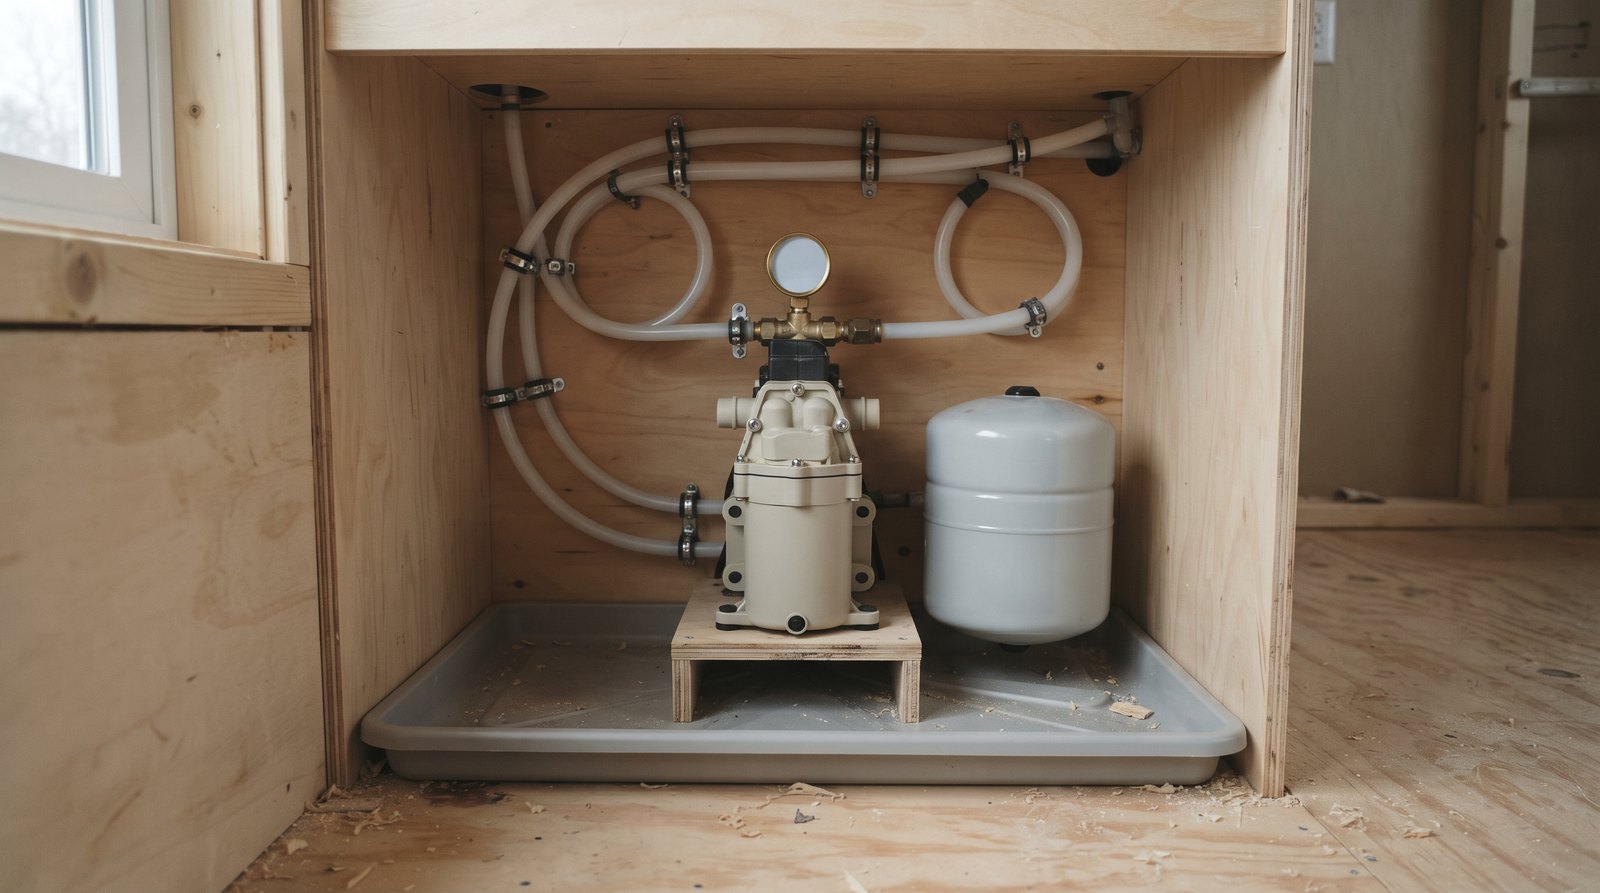
An accumulator tank is useful when an onboard demand pump pulses, starts for every small draw, or sends pressure surges through short piping. It stores a small amount of pressurized water and smooths flow. It does not replace a fixture arrestor when a fast solenoid valve still creates a local shock.
Select a potable-water accumulator compatible with the pump’s pressure range, flow, connections, and intended RV or building use. Install it where the pump or tank manufacturer specifies, often on the discharge side. Set its air precharge only with water pressure relieved and according to the manual. An incorrect precharge can reduce useful volume or make cycling worse.
Flexible reinforced hose near a diaphragm pump can reduce transmitted vibration when the pump manufacturer permits it. Mount the pump on its intended isolation feet, on a solid surface, and without rigid pipe forcing its ports out of alignment. Keep the inlet strainer accessible. A service compartment should also have a drip tray or leak alarm because a tiny leak can damage a large share of a small home’s floor.
City-water and pump systems can interact through check valves. A pressure regulator controls incoming pressure, while an accumulator or thermal expansion tank accepts stored volume for a specific purpose. They are not interchangeable. If a check valve creates a closed system at a water heater, have a qualified plumber evaluate thermal expansion separately from water hammer.
Installation, access, freezing, and travel details
Install every component where it can be inspected, protected from freezing, and secured for the way the tiny house is used. Shut off the supply, relieve pressure, catch residual water, use the correct joining method, and pressure-test the repair. Local code, listings, manufacturer instructions, and the inspector have final authority.
Match the fitting system exactly. PEX crimp, clamp, cold-expansion, and push-to-connect products have different preparation and tool requirements. Copper work near an arrestor may have limits on heat. Threaded fittings may specify where sealant belongs and where a wrench may be applied. Never twist the arrestor body to tighten a connection unless its instructions allow it.
Keep arrestors and valves out of an exterior wall cavity when freezing is possible, unless the assembly is specifically designed and protected for that location. Drainable plumbing should actually slope to its drain points. A trapped pocket can freeze even after the main tank is empty. Before winter storage, follow the pump, water heater, appliance, and plumbing-system procedures rather than assuming compressed air reaches every branch.
After towing, restore water slowly and inspect under pressure before closing panels. Look for wet fittings, shifted supports, kinked hoses, and contact between pipe and wiring. Photograph the finished service compartment so future movement is easier to spot. Preventing hidden leaks helps the house last longer, along with the maintenance items in our guide to how long tiny houses last.
Realistic tiny house water hammer costs in 2026
A simple accessible repair can cost under $100 in parts, while a regulator, concealed piping repair, or pump-system correction can cost several hundred dollars or more. Price the diagnosis first. Buying three arrestors before checking pressure and supports can cost more than fixing the actual cause once.
- Washing-machine arrestors: Allow roughly $15 to $30 each for common screw-on units, or about $35 to $80 for a pair plus small supplies.
- Inline residential arrestor: Budget about $20 to $60 for the part, with fittings and access work added. A plumber visit can put an uncomplicated installed total around $200 to $450.
- Pipe support repair: Clips, backing, sleeves, and fasteners may cost $10 to $60. Opening and restoring a finished wall can cost much more than the supports.
- Small pump accumulator: Current RV and marine retail examples run roughly $40 to $120 for common compact tanks, before fittings and labor.
- Pressure regulator: Common 3/4-inch retail examples range from about $65 to more than $230. Access, shutoff condition, unions, and local labor can move the installed price far higher.
These are planning ranges, not quotes. Connection type, region, permit rules, freeze damage, cabinet removal, and emergency scheduling all affect the total. Document repairs and keep receipts. Water losses and plumbing exclusions vary by policy, so review the practical details in our tiny house insurance cost guide.
When to call a plumber
Call a licensed plumber when pressure is excessive, banging affects several branches, piping is concealed, a regulator or check valve is involved, or the repair requires a joining method you cannot test confidently. Also get help when leaks, corrosion, repeated pump faults, or water-heater expansion appear with the noise.
Stop using the affected fixture if the shock is violent, a pipe moves visibly, a valve leaks, or a fitting has begun to separate. Shut off the water if necessary. In a THOW, inspect both building plumbing and RV-style equipment because responsibility may cross between a plumber, the tiny-house builder, and the pump or appliance manufacturer.
Frequently asked questions
Tiny house water hammer is usually fixable once the actual trigger is separated from loose piping and pump pulsation. The most useful answers depend on pressure, pipe material, fixture type, and whether the house uses municipal water, a campground connection, or an onboard tank and demand pump.
Can PEX pipes still get water hammer?
Yes. PEX may absorb and transmit shock differently from copper, but a fast-closing valve can still create a pressure wave. Loose PEX can also slap framing and amplify the noise. Check pressure, support spacing, valve timing, and arrestor placement rather than assuming flexible tubing prevents water hammer.
Do I need an arrestor on both washing-machine lines?
Often, yes, because modern washers can close hot and cold solenoid valves quickly at different points in a cycle. Appliance-style arrestors are commonly installed at both supply valves. Confirm the connection type, available clearance, pressure rating, appliance instructions, and local plumbing requirements before installing them.
Will an accumulator tank stop all tiny house water hammer?
No. An accumulator can smooth demand-pump pulsation, reduce cycling, and provide a small reserve of pressurized water. It may lessen some surges, but a quick-closing appliance valve can still need a correctly sized local arrestor. Diagnose the source instead of treating the two devices as interchangeable.
Can high water pressure cause banging pipes?
High pressure can make a pressure shock more severe and expose weak supports or valves. Measure pressure instead of guessing. If it exceeds the limit set by the adopted code or the ratings and instructions for your equipment, have the regulator and system evaluated before adding arrestors as a stand-alone fix.
Should a water hammer arrestor remain accessible?
Access requirements depend on the arrestor listing, manufacturer instructions, installation method, adopted code, and local inspector. Some listed products permit concealed installation without an access panel, while other fittings or local rules may require access. In a tiny house, accessible placement is still valuable for inspection after freezing or travel.