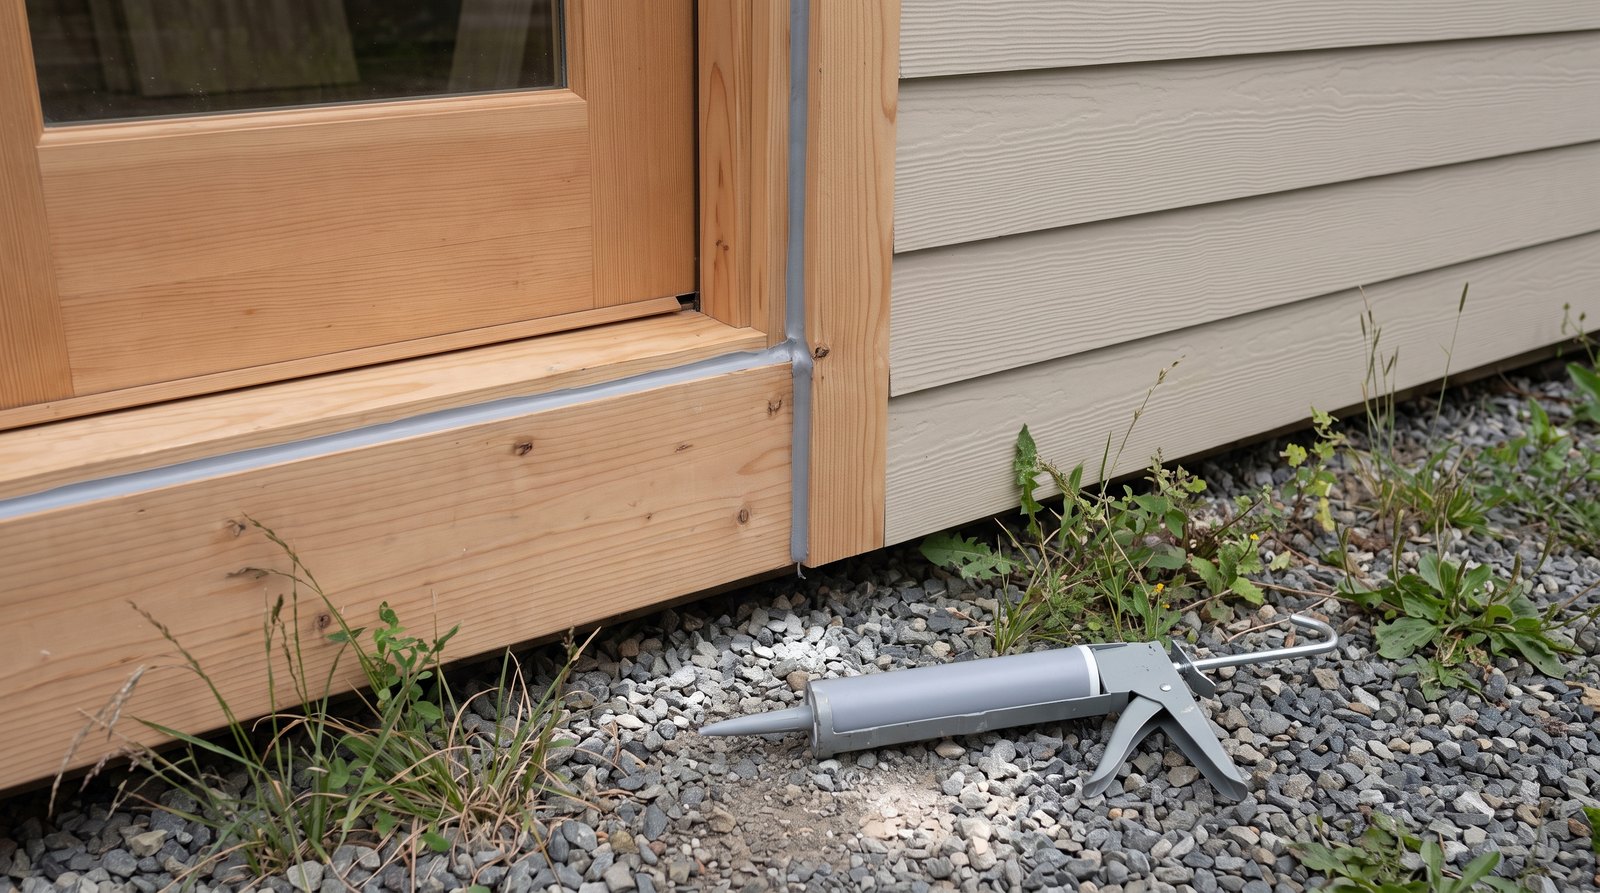
Use paintable acrylic or elastomeric sealant for dry interior trim, 100% silicone for wet kitchen and bath joints, and a compatible polyurethane or hybrid sealant for moving exterior joints. Tiny house caulking works only when the surface is clean, the joint is correctly sized, and flashing still handles bulk water.
Table of Contents
Which sealant works best in a tiny house?
The best tiny house sealant depends on water exposure, movement, paint, and the two materials being joined. No single tube belongs everywhere. Read the label and current technical data sheet for approved substrates, application temperature, paintability, movement rating, cure conditions, and whether primer is required before buying.
Acrylic latex caulk is the easiest choice for low-movement interior gaps at baseboards, painted trim, wall corners, and cabinet edges. It tools smoothly, cleans up with water while wet, and accepts paint. Basic 10-ounce tubes sold in 2026 often cost about $4 to $6. It is less forgiving where joints see standing water, strong sunlight, repeated vibration, or large seasonal movement.
Elastomeric acrylic sealant is a tougher, more flexible relative of painter’s caulk. Many products are rated for windows, doors, siding, trim, pipes, and vents, and some meet ASTM C920 movement classifications. It remains paintable and is usually easier to tool than polyurethane. This is often the practical middle choice for a stationary tiny house exterior, provided the exact product lists every surface in the joint.
100% silicone is a strong choice around sinks, shower pans, backsplashes, metal fixtures, and other regularly wet surfaces. It stays flexible and waterproof, but conventional silicone is not paintable. New silicone also bonds poorly to residue left by old silicone, so removal and cleaning matter. Buy a kitchen and bath formula where mold resistance and frequent cleaning are priorities.
Polyurethane sealant bonds tenaciously and handles exterior movement well, making it useful for selected metal, masonry, wood, and flashing joints. It can be harder to gun and tool, cleanup may require the solvent named by the manufacturer, and curing can be slow in cool conditions. Confirm UV exposure, paint timing, and material compatibility instead of treating every polyurethane as interchangeable.
Hybrid polymer sealants, often called advanced polymer or SMP products, combine strong adhesion and movement capacity with easier application. Many are paintable and tolerate a wider range of exterior conditions than basic latex. They cost more, commonly about $9 to $14 per tube in 2026, but one compatible product can simplify mixed-material joints on siding, doors, and windows.

Quick answer by situation
Match the product to the joint, not to a broad claim on the front of the cartridge. Start with water exposure and movement, then check whether the finished joint must be painted. The following choices are useful starting points, but the product data sheet and window, siding, roof, or fixture manufacturer have the final say.
- Painted interior trim and baseboards: Use paintable acrylic latex caulk for small, stable gaps.
- Exterior siding and trim joints: Choose an exterior elastomeric acrylic, polyurethane, or hybrid listed for both materials.
- Window and door perimeters: Use a compatible exterior sealant, while preserving sill drainage and required weeps.
- Shower, sink, and backsplash joints: Use kitchen and bath 100% silicone unless the joint must be painted.
- Roof penetrations: Use the roof or penetration manufacturer’s specified flashing and sealant system.
- Gaps deeper than about 1/2 inch: Install correctly sized backer rod rather than filling the cavity with sealant.
- A tiny house on wheels: Favor a rated high-movement product and inspect it after every long move.
How should you seal windows, doors, siding, and trim?
Seal exterior joints that the assembly manufacturer identifies, but do not block designed drainage paths. Window and door perimeters need a flexible joint between compatible surfaces, while siding needs open clearances, flashing, and weeps in the places its installation instructions require. More caulk is not automatically more protection.
At a window, inspect the head, jambs, sill, trim, siding termination, and interior air seal as separate details. A bead between trim and siding may stop wind-driven rain at that face, but the rough opening should still have properly lapped flashing or a pan that sends incidental water outside. Do not seal a bottom window flange or weep opening unless the window instructions explicitly require it.
Wood, fiber cement, vinyl, aluminum, and PVC trim expand differently. A sealant that adheres to painted wood may not be approved for vinyl or a powder-coated metal frame. Check both substrate lists and perform a small adhesion test when the manufacturer recommends one. On stained or clear-finished wood, test for discoloration where it will not show.

What should you use on roofs and penetrations?
Roof penetrations need purpose-built flashing first and a compatible roof sealant only where the assembly calls for it. Plumbing vents, flues, skylights, solar mounts, and cable entries move and age differently. Match the sealant to the roofing, flashing metal, membrane, and service temperature, and never cover a failed flashing detail with a large mound.
Asphalt shingles, standing-seam metal, EPDM, TPO, and liquid-applied roofs do not share one universal sealant. Some silicones can interfere with future coatings, some petroleum-based products can damage membranes, and some dissimilar metals need separation. Use the roof and accessory manufacturers’ written details, especially around stove pipes and other hot penetrations. High-temperature systems require products specifically rated for that use.
A neat surface bead may slow a leak without correcting its path. If the upper edge of a flashing is exposed to flowing water, if a boot is split, or if fasteners have loosened, remove roofing as needed and rebuild the detail. Flashings should shed water downslope in overlapping layers. Sealant protects selected laps and fasteners, but gravity and drainage do most of the work.
Why do backer rod and flashing matter?
Backer rod gives a moving joint the right sealant shape, while flashing provides a drainage route behind the visible bead. In a properly designed joint, sealant bonds to the two opposing sides and remains thinner through the center. That shape stretches more predictably than a deep plug bonded on three surfaces.
For many building joints, manufacturers use a width-to-depth ratio near 2:1, with common sealant depths between 1/4 inch and 1/2 inch. That is guidance, not a universal dimension. Follow the specific product data sheet. Closed-cell backer rod is commonly selected slightly larger than the joint so it stays compressed. Push it in with a blunt tool and do not puncture it.
Three-sided adhesion makes the cured bead fight movement at its base as well as its sides. Backer rod or approved bond-breaker tape prevents that condition and controls how much expensive sealant the joint consumes.
Flashing is the backup that allows water to exit when an exposed seal eventually ages. EPA moisture guidance emphasizes continuous drainage planes, window pan and jamb flashings, and properly detailed penetrations. That is why caulk cannot replace head flashing, sill pans, roof boots, kick-out flashing, or correctly lapped weather-resistive barriers. A maintainable bead should supplement that system.
How do you prepare and apply sealant correctly?
Remove failed material, clean and dry the joint, mask if necessary, install backer rod, apply one continuous bead, then tool it within the product’s working time. Most failures begin before the trigger is pulled. Adhesion depends on sound surfaces, correct temperature, suitable primer, and enough cure time before rain, painting, cleaning, or travel.
Cut out old caulk instead of covering it. Use a plastic or metal scraper appropriate for the surface, then remove dust, oils, soap film, mildew, and loose paint. Silicone residue may need a manufacturer-approved remover and repeated cleaning. Let porous materials dry fully. If wood is soft, metal is badly corroded, or sheathing is wet, repair the underlying damage before resealing.
Cut the nozzle slightly narrower than the joint and puncture the inner seal. Hold the gun near a 45-degree angle and move steadily enough to press material against both sides without trapping air. Tool the bead once, using the tool and method approved for the chemistry. Bare fingers and improvised soapy water can contaminate some products or expose skin to uncured chemicals.
Weather changes the schedule. One common exterior acrylic data sheet calls for application above 40 degrees Fahrenheit and no rain or freezing weather for 24 hours. Other products allow different conditions. Fast water-ready or paint-ready claims may apply only to a specific bead size, temperature, and humidity. Read the label rather than relying on a generic 24-hour rule.
How often should a tiny house on wheels be inspected?
Inspect exposed sealant at least twice a year and after long trips, storms, freeze-thaw cycles, or any impact. A THOW adds frame flex, road vibration, wind pressure, and dust to normal seasonal movement. Early separation is cheaper to repair than hidden wet insulation, stained sheathing, or a rotten rough opening.
Walk the exterior in a consistent order: roof penetrations, upper trim, windows, doors, corner boards, utility entries, wheel-well areas, and lower edges. Look for cracks, bubbles, brittle surfaces, missing sections, staining, or an edge lifting from one substrate. From inside, check for musty odors, soft trim, water marks, and drafts during windy weather.
Before towing, inspect any removable chimney, mini-split line cover, solar cable entry, exterior light, and appliance vent. Movement in the accessory can tear an otherwise good bead. After arrival, repeat the inspection before skirting hides the underside. For a fuller ownership schedule, see our guide to how long tiny houses last and what determines their service life.
Sealant also intersects with insurability. Keep photos of original flashing, maintenance, and completed repairs, especially after a leak. Policies and claim rules differ, so review exclusions before doing major work. Our tiny house insurance cost guide explains common coverage issues and questions to ask an agent.
How much does tiny house caulking cost in 2026?
A small DIY repair usually costs $15 to $60, while a broader exterior reseal can require $75 to $250 in materials and tools. Professional caulking commonly runs about $1.25 to $4 per linear foot in 2026, but minimum service charges, old sealant removal, roof access, and water-damage repairs can control the total.
Basic acrylic latex is about $4 to $6 per 10-ounce cartridge at major retailers. Exterior polyurethane, 100% silicone, and advanced hybrid products commonly run about $9 to $14 per tube. Add $8 to $30 for a usable caulk gun, plus scrapers, cleaning supplies, masking tape, backer rod, primer, and safe access equipment.
A tiny house may use fewer linear feet than a conventional home, but short runs do not always mean a cheap professional visit. A contractor still has travel, setup, removal, cleanup, and cure scheduling. Current national cost guides place many ordinary professional caulking projects around $105 to $290 and whole-home perimeter work around $200 to $500. Roof diagnosis or damaged flashing is a separate repair.
Frequently asked questions
Tiny house owners usually need clear answers about product overlap, exterior longevity, paint, cold-weather work, and leak repair. The short answers below cover those recurring decisions. Always defer to the current technical data sheet and the assembly manufacturer’s instructions when their requirements are more specific than general caulking practice.
Can I put new caulk over old caulk?
Usually, no. New sealant needs a clean, sound bonding surface, and old material may be loose, dirty, chalky, or chemically incompatible. Cut out the failed bead, remove residue using a surface-safe method, clean the joint, let it dry, and confirm that the replacement product adheres to both substrates.
How long does exterior caulk last on a tiny house?
There is no reliable universal lifespan. Sun, water, joint movement, substrate preparation, bead design, product chemistry, and highway travel all matter. Inspect at least twice yearly and after long moves or severe weather. Replace a bead when it cracks, hardens, separates at an edge, or allows water behind the assembly.
Should I use silicone around tiny house windows?
Use silicone only if the window, siding, trim, and finish are compatible and the joint does not need conventional paint. A paintable exterior hybrid or elastomeric sealant is often easier to finish. Whichever chemistry you choose, preserve window weeps and sill drainage, and do not use the bead as a substitute for flashing.
Can I apply caulk in cold or wet weather?
Only when the specific product permits those conditions. Many acrylic products require surfaces above 40 degrees Fahrenheit and dry weather during early curing, while some specialty sealants allow colder or damp applications. Frost, standing water, and saturated porous materials still undermine adhesion. Check temperature, rain, and cure limits on the current data sheet.
Will caulk stop an active tiny house roof leak?
It may slow water temporarily, but an active leak needs its path identified. Split boots, loose fasteners, poorly lapped flashing, membrane damage, and failed roof seams require the correct repair. Sealant should complete an approved detail, not bury it. Use safe access and call a roofing professional when the source is uncertain.