A tiny house shower pan should be fully supported, sized from finished surfaces, matched to its drain and waterproofing system, and tested before finish work hides the connections. For a house on wheels, also plan for vibration, freezing and service access. A low curb is usually simpler and safer than a true curbless build.
Table of Contents
What size should a tiny house shower pan be?
Most tiny house bathrooms work best with a finished shower footprint of at least 32 by 32 inches, while 36 by 32 or 36 by 36 inches feels noticeably easier to use. The legal minimum depends on the code adopted where the home is built or placed, so measure after wall finishes and confirm locally.
Many residential plumbing codes based on the International Residential Code use a minimum interior area of 900 square inches and a minimum finished dimension of 30 inches. That is a code baseline, not a comfort target. A 30 by 30 inch compartment can feel cramped once a control valve, curtain and elbows enter the space.
Measure the clear finished interior, not the distance between studs. Tile, backer board, wall panels and corner trim all reduce usable space. Also check the entry width, toilet clearance and the room needed for a door or curtain. A shower that fits on a floor plan can still block a vanity drawer or force the user against a cold exterior wall.
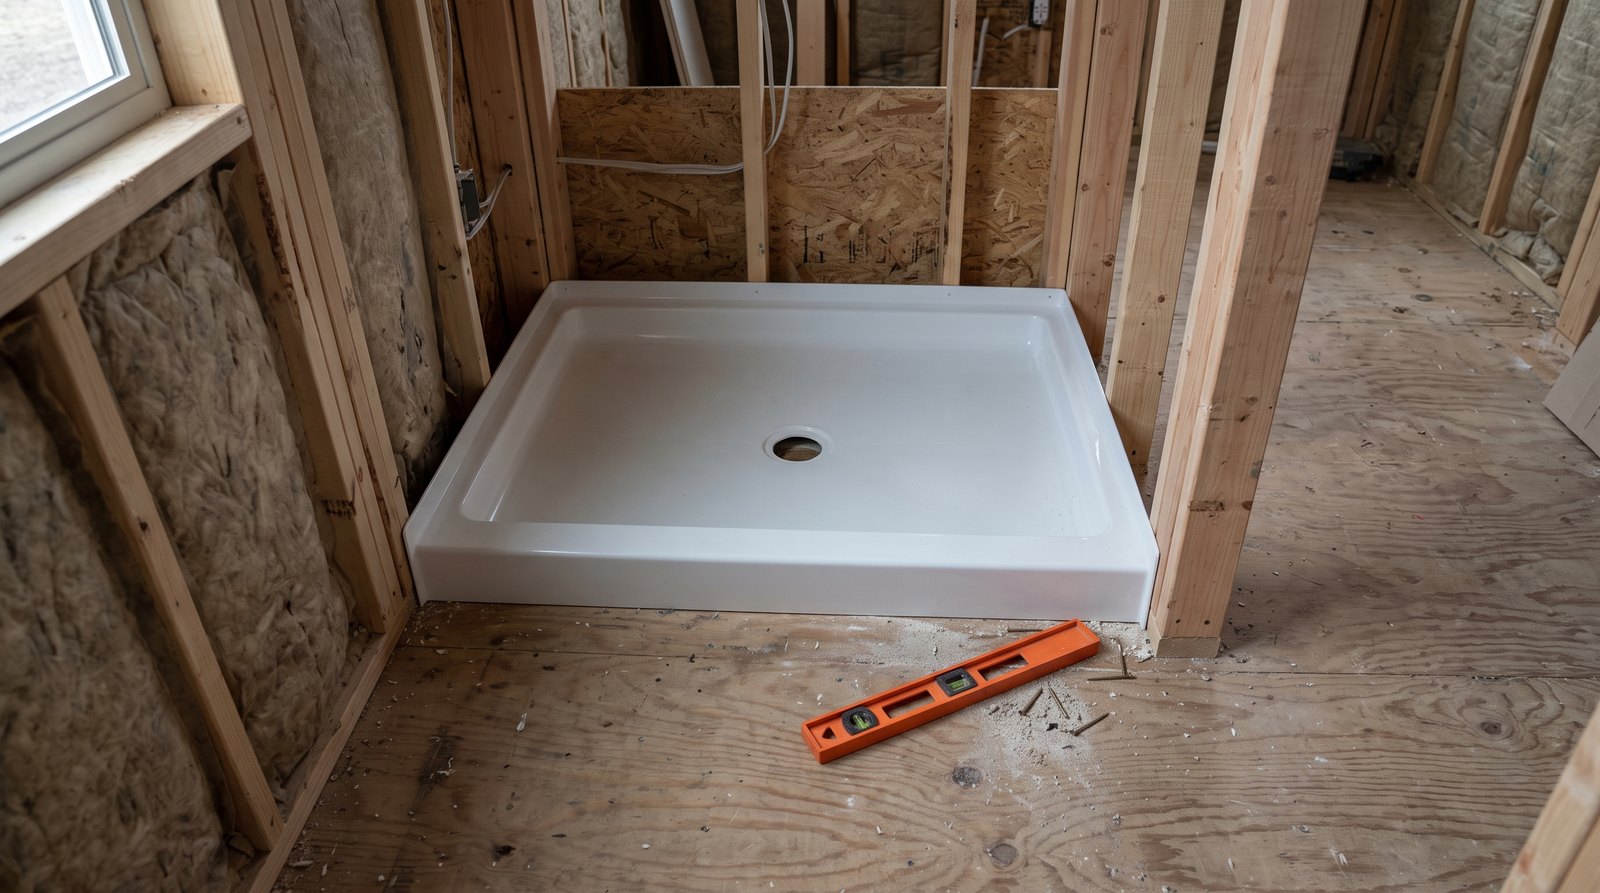
Quick answer by situation
The right receptor depends on how the tiny house is built, moved and maintained. A one-piece pan is usually the lowest-risk choice for a compact build, while a bonded waterproof tile system offers more layout freedom. Curbless work needs the most structural planning because the slope must fit below or within the surrounding floor.
- Fast, practical build: Choose a listed acrylic or composite pan with an integral flange and a drain location that matches the framing.
- Custom odd-shaped bathroom: Use a complete bonded waterproofing system or a properly built mortar receptor, not a mix of unrelated parts.
- Wet bath: Treat the entire exposed floor and wall transition as one waterproof assembly, with a planned door threshold and dry storage strategy.
- House on wheels: Favor a light pan, solid bedding, flexible sealant where specified and accessible drain connections.
- Accessible entry: Design the recess, slope and water containment before framing. A low curb is not automatically a compliant curbless shower.
- Cold climate: Keep the trap and drain piping inside the protected thermal envelope where possible, and provide a winterizing plan.
Prefabricated pan or custom tiled receptor?
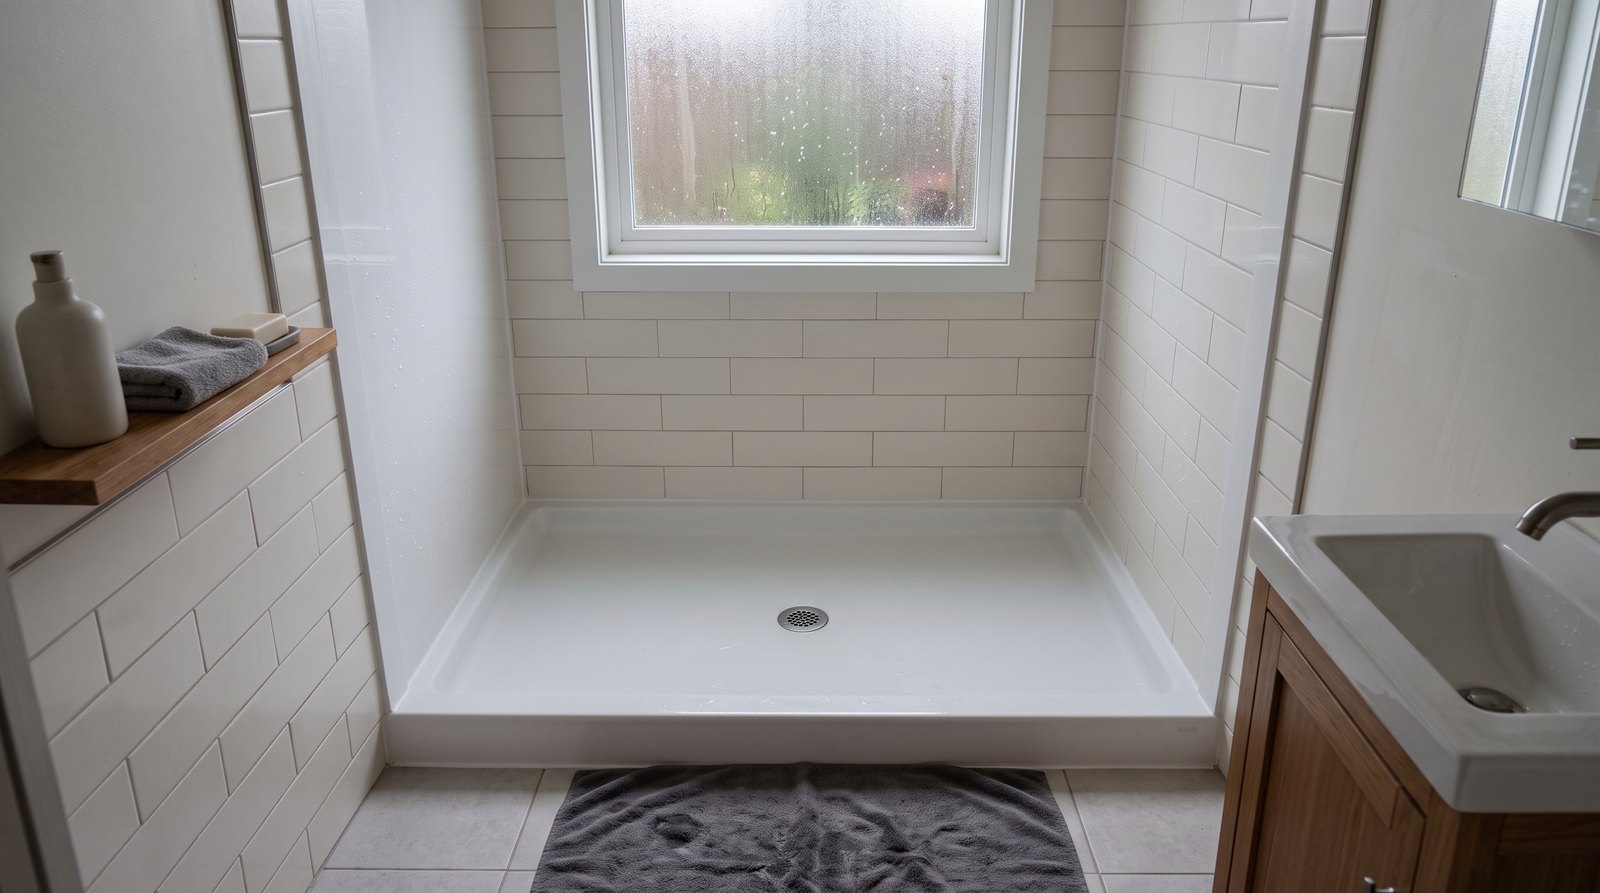
A prefabricated pan is lighter, faster and less dependent on tile workmanship, which makes it the default recommendation for many tiny houses. A custom tiled receptor earns its extra cost when an unusual footprint, linear drain or curbless transition is essential. Either choice succeeds only when every component belongs to a compatible, listed system.
Acrylic, fiberglass-reinforced and solid composite bases arrive with the slope already formed. They reduce the number of field-made waterproof seams, and many include an integral wall flange. Their main limitations are fixed drain locations, fixed dimensions and possible flex if the base is not supported exactly as the manufacturer requires.
Do not assume a pan can bridge framing gaps because it feels rigid in the store. Many bases require a smooth, structurally sound subfloor plus mortar, adhesive or another specified bedding material. Unsupported movement can open the drain seal, fatigue a flange and create squeaks. Follow the pan instructions instead of using expanding foam or construction adhesive as a universal substitute.
A tiled receptor can use a mortar bed, a presloped foam tray or another approved base. Keep the drain, membrane, corners, curb and sealants within one documented system. Current bonded-membrane instructions commonly call for full mortar support and carefully overlapped or banded transitions. Tile and grout are finish surfaces, not the primary waterproofing layer.
Tile also adds weight. Include the receptor, mortar, backer, wall tile, glass and stored water in the structural calculation. This matters most in a tiny house on wheels, where axle capacity and weight distribution are already tight.
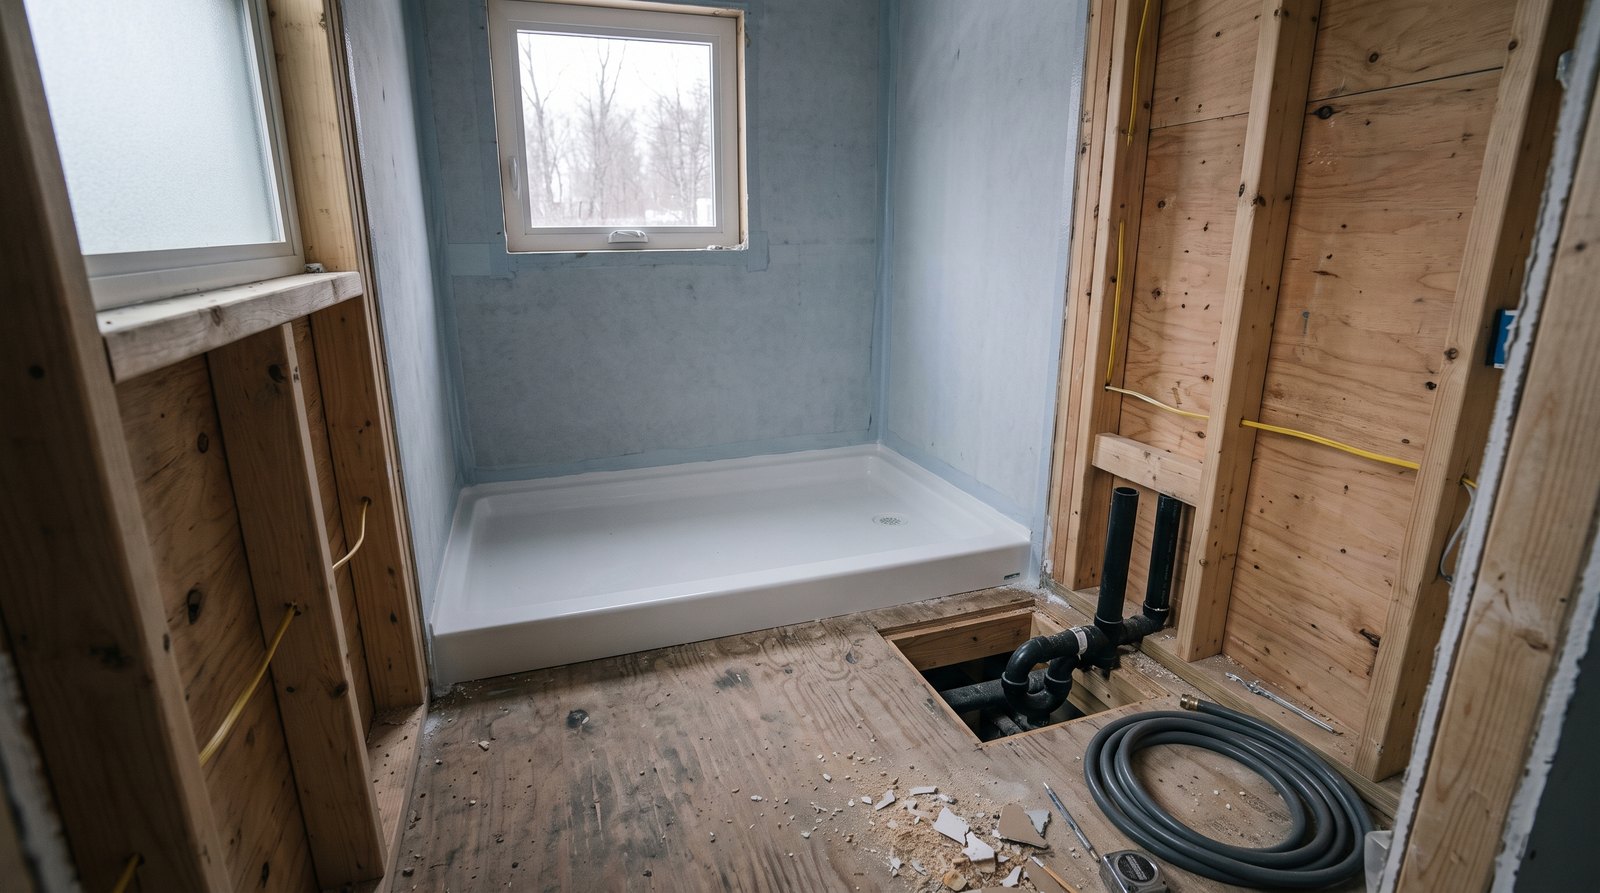
How high should the curb be?
Use the lowest curb that safely contains water and still satisfies the selected receptor system and local requirements. In many tiny bathrooms, a finished curb around 2 to 4 inches above the bathroom floor balances entry comfort and splash control. The code measurement may be tied to the drain, not simply to the outside floor.
Residential code language commonly limits a finished shower threshold to a range measured above the drain, with exceptions for approved accessibility designs. Local amendments can differ. Ask the inspector how the rule applies to a tiny home, a site-built wet room or a vehicle-classified unit before framing the recess.
A low threshold works well with a curtain that hangs inside the pan. Pivot doors need outward swing clearance, and bypass doors need enough curb width for their track. Fixed glass demands blocking and careful water testing. Heavy glass can be a poor match for a frequently moved home unless its support and travel restraint are engineered for that use.
A true curbless shower is not a standard pan with the front lip cut off. It requires a recessed floor or raised surrounding floor, a continuous waterproof layer, enough slope to the drain and a plan for water that escapes the immediate spray zone. A linear drain can simplify a one-plane slope, but it adds cost and does not remove the need for waterproof transitions.
Support, slope, drains and waterproofing
The receptor must sit on a stiff, flat base, drain without ponding and connect to the wall waterproofing without gaps. For a custom mortar receptor, a common documented slope is 1/4 inch per foot toward the drain. Prefabricated pans already contain their design slope and should be installed level at the rim.
Check joist layout before committing to a center or offset drain. A drain body cannot occupy the same space as a joist, trailer crossmember or steel chassis member. Moving one structural member after the pan arrives can be far more expensive than ordering the correct drain location. Leave enough room to assemble the trap without a chain of tight elbows.
The wall flange must land behind the approved wall waterproofing or panels in the sequence shown by the manufacturer. Do not drive fasteners through the pan below the permitted fastening line. At corners, use the system’s molded pieces, folds or banding method. Mixing a liquid coating, sheet membrane and random sealant can create a transition that no manufacturer supports.
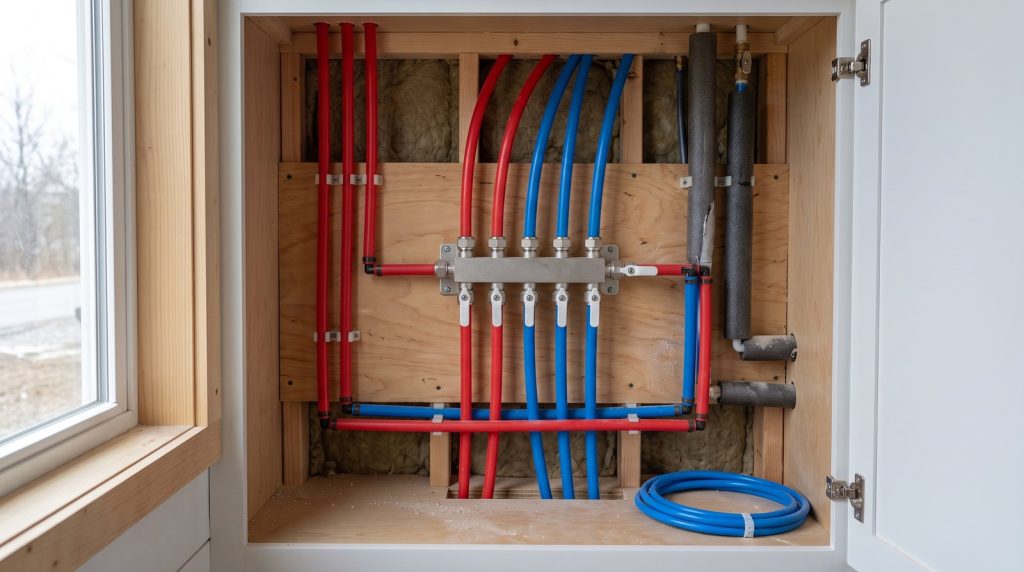
Plan an access route to the drain whenever the floor structure permits it. A removable panel beneath a raised bathroom, from an adjacent cabinet or through the trailer belly can turn a future seal replacement into a short repair. For more service planning, see the guide to how long tiny houses last and which details affect their useful life.
Travel vibration and freeze protection
A shower in a movable tiny house needs the same water control as a fixed home plus resistance to flex, vibration and seasonal shutdown. Secure the base and piping exactly as specified, support the trap independently where appropriate, and inspect every connection after a long move. A pan that feels solid while parked can still move on rough roads.
Winter damage often begins below the visible pan. Water can remain in the trap, supply valves, shower hose and low points. If the house will be unheated, follow a complete plumbing winterization procedure that is compatible with the water system and local climate. Heat tape is not a substitute for keeping listed components within their temperature limits.
After travel or a freeze event, look for a damp subfloor edge, loose drain, cracked sealant, soft flooring and a musty smell. Small leaks can remain hidden in a compact floor cavity. Moisture monitoring and prompt repairs also help control the conditions discussed in the guide to tiny house insurance costs, where construction type and risk details affect coverage.
Realistic costs in 2026
Budget about $250 to $700 for many compact prefabricated pans, plus the drain, bedding, wall system and labor. Complete bonded tile-shower kits often start near $500 to $1,000 before tile. A professionally built custom receptor can push the complete shower floor and waterproofing portion into several thousand dollars, especially with structural changes.
For planning, allow $150 to $500 for the drain, bedding materials, fasteners, sealants and small waterproofing parts around a prefabricated base. Wall panels or tile are additional. A custom tile receptor may require $900 to $2,500 in pan, drain, membrane, mortar and finish materials before professional labor, depending on size and system.
Labor rises quickly when the drain must move, a floor needs recessing or blocking must be added for glass. Repairs cost more than careful preparation, so include a flood test, access panel and replacement sealants in the original budget. Get written quotes that separate framing, plumbing, waterproofing, tile and enclosure work.
Installation and leak-testing checklist
Dry-fit the pan and drain before applying mortar, adhesive or membrane, then verify support, level, clearance and access. Complete the waterproof assembly exactly as its instructions require and perform the specified water test before covering connections. If the local inspector requires a test or inspection, schedule it before tile or wall panels hide the work.
- Confirm the listed receptor, drain and wall system are compatible.
- Measure finished dimensions and doorway clearance, not rough framing alone.
- Verify that joists, trailer steel and the trap all clear the drain location.
- Level and stiffen the subfloor, then add the specified bedding or mortar.
- Maintain the required slope without creating a low spot at the perimeter.
- Seal wall flanges, corners, penetrations and the curb with approved components.
- Plug the drain below the waterproof connection and mark the water level.
- Wait for the system’s required cure time, then hold the test for the specified duration.
- Inspect below and around the pan, then document the successful test with photos.
- After a THOW move, recheck the drain, enclosure restraints and visible seals.
Water-test timing varies by system. One current bonded-membrane manufacturer describes 24 hours as a typical test and recommends allowing at least 24 hours of cure before testing under normal room conditions. A traditional liner manufacturer specifies its own shorter minimum test period. Follow the exact product instructions and any longer local inspection requirement.
Frequently asked questions
These answers cover the decisions that cause the most trouble in compact showers: minimum size, support, curb height, travel durability and leak testing. They are planning guidance, not a substitute for the receptor instructions or the code adopted by the city or county where a foundation home is permitted or a THOW is placed.
What is the smallest practical shower pan for a tiny house?
A 32 by 32 inch finished pan is a practical lower target for many adults, although a code minimum may differ. A 36-inch dimension improves elbow room and curtain control. Measure after all wall finishes, and confirm the adopted plumbing requirements because nominal pan size does not guarantee the required finished interior clearance.
Does a prefabricated shower pan need mortar underneath?
Some do, some use another bedding material and some are designed for direct support on a prepared floor. Follow the exact model’s instructions. Mortar can eliminate flex when specified, but the wrong material or placement can interfere with the drain, distort the base or void the warranty. Never assume expanding foam is acceptable.
Is a curbless shower a good idea in a tiny house?
It can work, but it requires early structural design, enough slope and a larger waterproofed area than a simple low-curb pan. In a THOW, floor depth and chassis members can make recessing difficult. Use a complete curbless system and confirm accessibility, threshold and inspection rules before cutting joists or altering trailer steel.
How do I keep a shower pan from leaking during travel?
Start with a stiff subfloor, full support, an approved drain connection and properly secured piping. Restrain the enclosure and loose parts before towing, then inspect the drain and seals after long or rough moves. Flexible sealant only helps where the system calls for it. It cannot compensate for an unsupported pan or pipe.
How long should a shower pan water test last?
Use the duration required by the waterproofing manufacturer and local inspector. A 24-hour hold is typical for some bonded-membrane systems, while other liner instructions specify a different minimum. Allow all adhesives and mortar to cure first, plug below the drain connection, mark the water line and inspect surrounding areas for moisture.