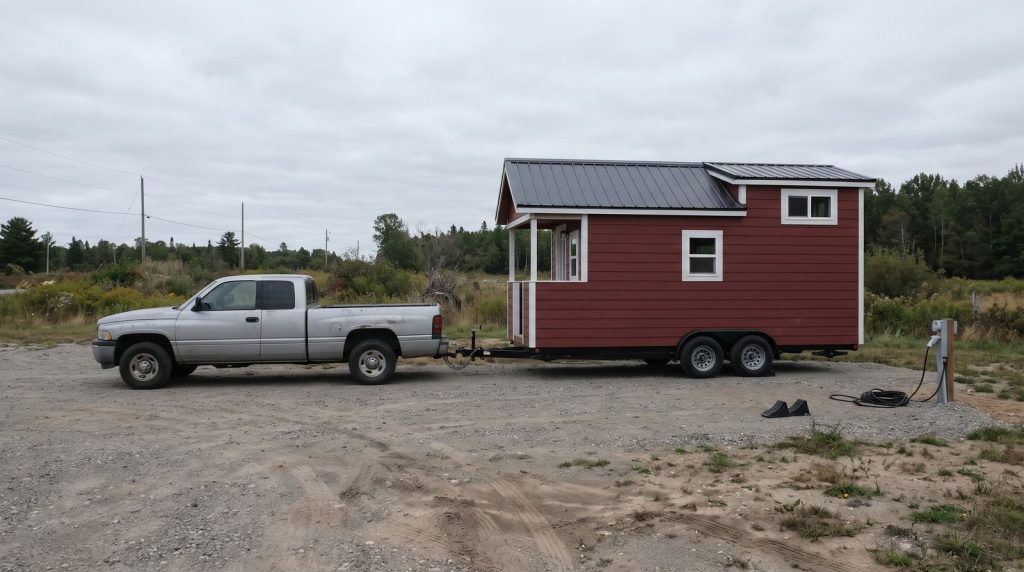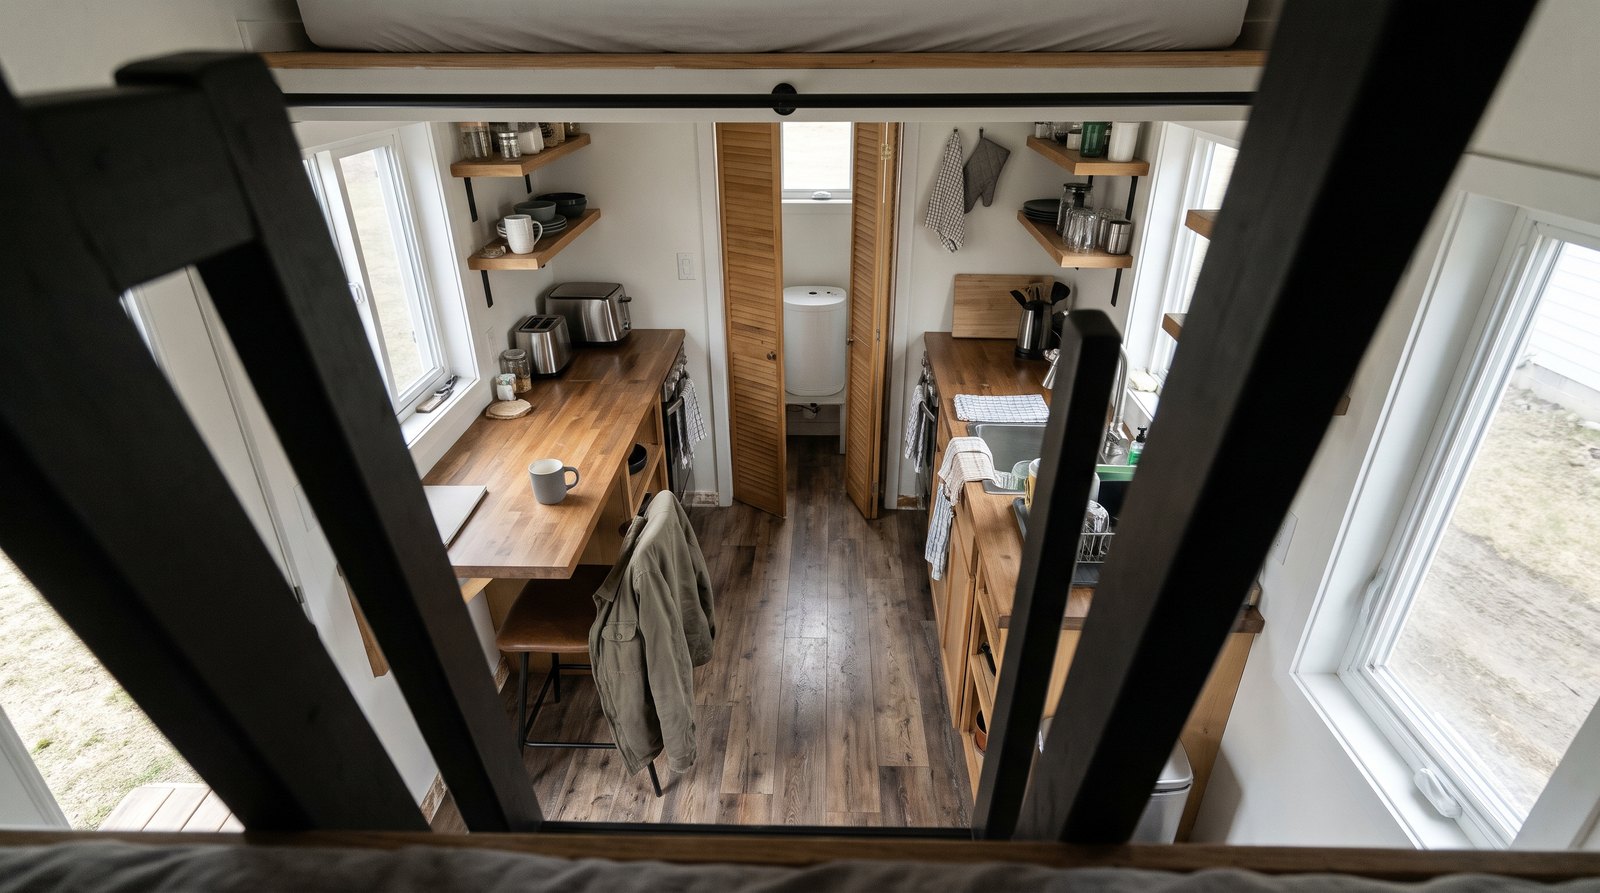
A tiny house thermal expansion tank gives heated water room to expand when a check valve or similar device closes the plumbing system. Choose it by water-heater capacity, temperatures, and pressure, then follow the equipment instructions for placement and precharge. Small floor area does not eliminate the need for expansion control.
Table of Contents
When does a tiny house need expansion control?
A tiny house needs suitable expansion control when heating water inside a closed plumbing system would otherwise raise pressure beyond acceptable limits. The deciding factors are the water-heater instructions and the actual piping arrangement. A municipal hookup, pump, or regulator deserves inspection before anyone assumes expanded water can flow backward.
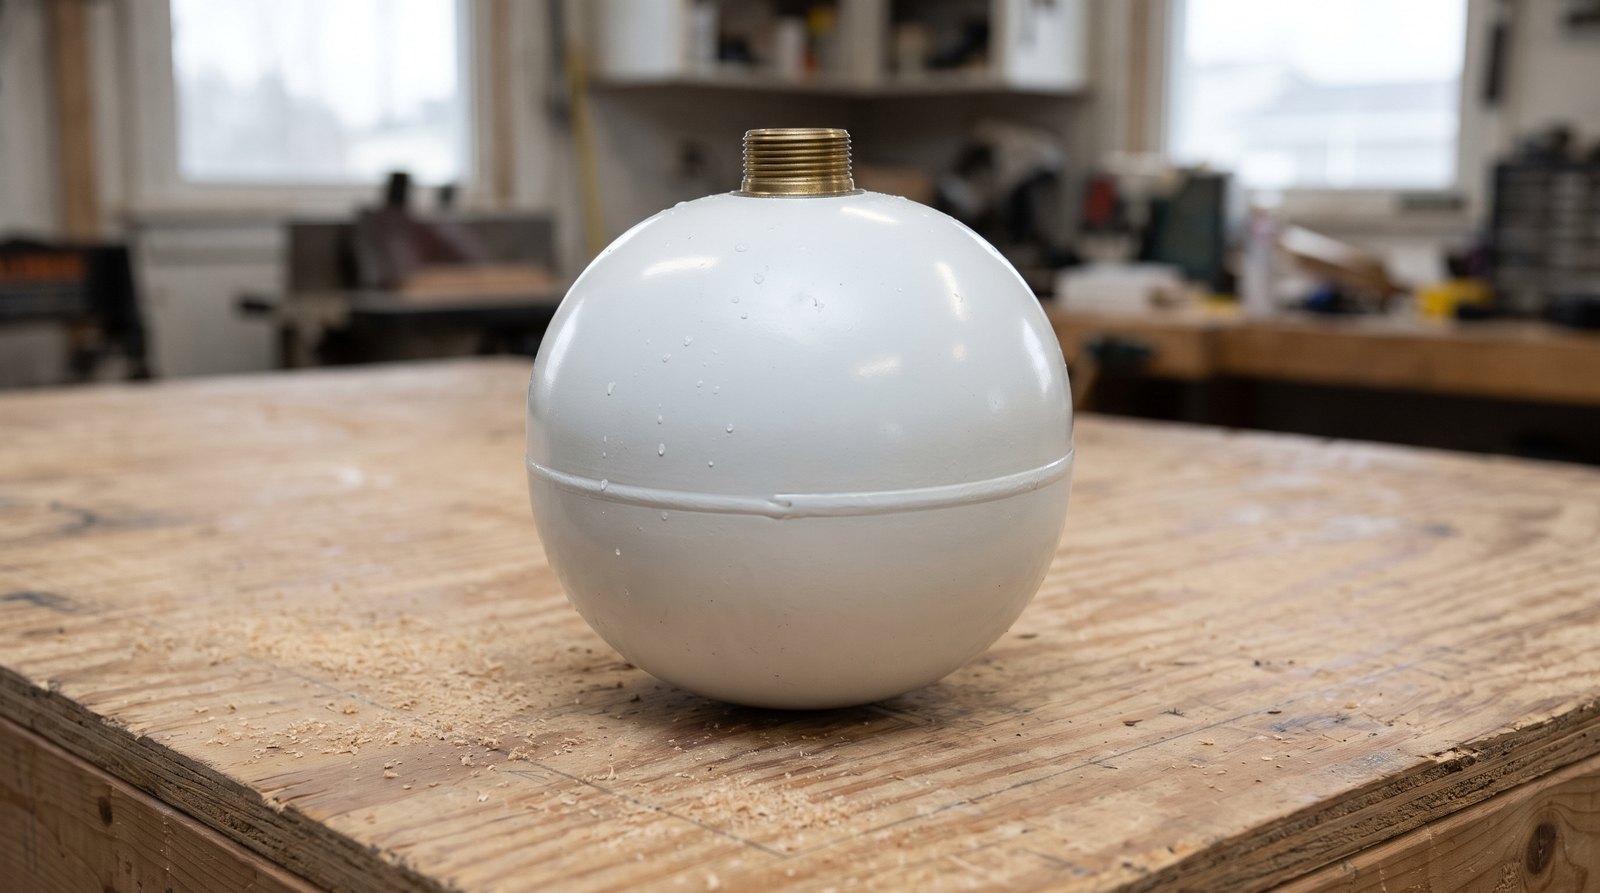
Water occupies more space as it heats. In a closed system, a diaphragm expansion tank provides an air cushion that compresses as expanded water enters. The Watts PLT product information describes this purpose for potable hot-water systems. A pressure regulator controls incoming pressure; it does not automatically solve pressure increases generated downstream.
Ask the installer to trace the cold-water supply, including check valves hidden inside other equipment. Confirm the applicable requirements with your city or county and the person inspecting the installation. A foundation house and a house on wheels can have different approval paths.
Quick answer by situation:
- Storage heater on a closed supply: have expansion protection sized and installed for that system.
- Onboard pump and fresh-water tank: identify the pump check valve and assess the pressurized plumbing separately.
- Tankless heater: read its specific instructions, especially when recirculation is present.
- Relief valve dripping after heating: arrange diagnosis instead of repeatedly replacing the valve.
Size the tank around the heater and pressure
Select a potable-water expansion tank using the manufacturer’s sizing method, with the heater volume, incoming water temperature, final temperature, and pressure limits available. Nominal tank volume is different from usable acceptance volume. Buying the smallest tank that fits a cabinet can leave the system without enough expansion capacity.
The Amtrol sizing card, for example, lists a 2-gallon ST-5 tank with a maximum acceptance volume of 0.9 gallon. Those are different specifications, and actual suitability still depends on the sizing conditions. A two-gallon shell does not mean two gallons of expansion storage at every pressure.
Bring the heater model number to the supplier. Include any additional hot-water storage and explain whether the home uses municipal pressure, a well, or an onboard pump. Describe planned changes, such as replacing a small heater with a larger one, before ordering equipment.
Check the assumptions beneath a sizing chart. The Watts PLT selection sheet states a temperature-rise limit for its quick-reference table. A chart based on different conditions is not proof that a tank suits your installation. Have the manufacturer or plumber resolve cases outside the published range.
Plan placement, support, and service access together
Locate the expansion tank on the cold-water side where it remains connected to the water trapped with the heater. Follow the model’s mounting instructions and provide the required support. In a tiny house, also leave enough room to inspect the air valve, see leaks, and replace the tank later.
Amtrol’s thermal expansion FAQs place the tank after a check or backflow valve and before the heater. Putting it on the other side of that barrier defeats its purpose. Have the installer review any service isolation valves so normal operation cannot leave the heater separated from its expansion protection.
A tight cabinet needs a service plan before it needs shelves. Measure the access opening as well as the empty cavity. A tank may fit behind a drawer yet be impossible to remove without dismantling the kitchen. Keep household storage from covering connections or pressing against the plumbing.
The Watts PLT installation instructions illustrate support for horizontal mounting and call for drainage provisions. Use the instructions for the exact tank purchased, not a photograph of somebody else’s installation. Plan where a leak would go before placing the assembly above finished wood or electrical equipment.

Precharge and pump accumulators serve different jobs
Expansion-tank precharge is the air pressure established before the tank accepts water. Follow the tank’s instructions and the measured cold-water supply pressure. A pump accumulator uses its own setup procedure to smooth pump operation, so its pressure setting and capacity should not be copied to a thermal expansion tank.
Current Amtrol installation instructions specify matching precharge to cold-water supply pressure with the tank empty of water. Checking the air valve while the water side remains pressurized does not establish the unloaded precharge. Have a qualified installer handle setup and document the readings.
By comparison, the Jabsco 1-liter accumulator instructions describe reducing pump cycling and recommend a setting relative to pump cut-in pressure. That is a different operating goal. An existing accumulator should count toward expansion protection only after its rating, capacity, and connection have been verified for the application.
Record the tank model, supply pressure, and commissioning date with the house documents. If the home moves to a different water supply, ask whether the pressure setting and sizing remain appropriate. Do the same after changing a regulator or pump. A factory air charge is a starting specification, not proof of correct setup.
Use symptoms to guide a pressure diagnosis
Pressure that rises during a heating cycle can point toward inadequate expansion control, but a dripping relief valve alone does not establish the cause. Have the cold supply, regulator, expansion tank, and heater checked as a system. Record when symptoms happen instead of adjusting components until the dripping stops.
A. O. Smith’s thermal expansion bulletin identifies clues including relief-valve drips during recovery and an initial surge when a faucet opens. Note whether these occur after a shower, after an overnight heating cycle, or immediately after connecting a new supply. That timeline helps the technician choose useful measurements.
Ask for pressure readings under both cold and heating conditions, taken at an appropriate test point. A single normal reading after opening a faucet can miss an intermittent problem. Keep a brief record of the symptom, the time, and any recent plumbing changes.
Do not plug, cap, or obstruct a temperature-and-pressure relief valve or its discharge. Expansion protection does not replace that safety device. A. O. Smith’s water-heater troubleshooting guidance lists several possible causes of relief discharge, including overheating and an improperly seated valve. Persistent discharge needs professional attention, even if an expansion tank is already installed.
Account for freezing, travel, and tankless equipment
A tiny house expansion system needs protection through its actual operating conditions, including winter shutdowns and road travel. Keep the tank within its temperature limits and obtain an appropriate support arrangement. Tankless equipment also needs a model-specific review, because adding recirculation can change the system’s expansion-control requirements.
The July 2025 Amtrol instructions prohibit freezing exposure and explain that proper support reduces vibration and shock effects. For a house on wheels, ask the builder and tank manufacturer whether the proposed installation is suitable for travel. A stationary-home mounting example is not a transport specification.
Include the expansion tank in the written winterization plan. Identify any trapped-water areas and follow the equipment instructions for shutdown and recommissioning. Do not assume that draining the fresh-water reservoir empties every pressurized component. Keep the plan where a future owner or service technician can find it.
Tankless does not mean expansion-free. The Rheem IKONIC manual calls for an expansion tank with recirculation loops. Apply that instruction to the covered equipment rather than generalizing it to every heater. Include plumbing inspection and recommissioning in your tiny house moving budget, along with transportation.
Budget for the complete installation
The tank itself may cost tens of dollars, while the installed price also depends on access, fittings, support, and required corrections. Request an itemized local quote instead of treating a retail tank price as the project cost. A straightforward replacement and a new installation inside a finished cabinet are different jobs.
Retail listings checked for this guide show an Everbilt 2-gallon tank at $34.42. Home Depot’s expansion-tank listings also show an Amtrol ST-5 at $67.02 and an ST-12 at $103.41. These are product-price examples checked in November 2026, before local tax, delivery, and installation, rather than recommendations or guaranteed prices.
Ask the quote to identify the selected model, mounting work, plumbing alterations, testing, and any required permit or inspection. Clarify whether a regulator problem, damaged relief valve, or cabinet modification would be additional work. That makes competing estimates easier to compare.
Include access in the purchase decision. A cheaper tank hidden behind permanent cabinetry can create a more expensive future service call. During a new build, ask for a removable panel and a clear maintenance area before finishes go in. Those requests are easier to price while the plumbing remains exposed.
Keep an inspection record and replace failed equipment
Make expansion protection part of routine plumbing maintenance rather than waiting for a puddle. Keep installation records, inspect the surrounding cabinet for moisture, and arrange the service interval specified by the manufacturer. Replacement timing should follow condition and documented inspection findings, not a universal age limit borrowed from another tank.
Amtrol’s current instructions call for yearly professional system checks, with greater frequency as equipment ages. They also direct replacement rather than repressurization when the tank is corroded, damaged, or structurally compromised. Do not treat adding air as a cure for every pressure complaint.
Keep a small service file containing the invoice, model number, manual, pressure readings, and photographs of the completed plumbing. Add notes after a freeze event, leak, heater replacement, or relocation. Ask the technician to record what changed and why, so the next visit starts with facts instead of guesses.
Between visits, keep the access area clear and investigate new moisture promptly. Make the water shutoff location easy to find. These habits belong alongside the broader moisture checks in our guide to how long tiny houses last. A compact home benefits from service access just as much as a larger one.
Frequently asked questions
The most useful answers come from identifying the heater, supply arrangement, and tank model before choosing equipment. Tiny houses can combine residential and mobile-water components, which makes assumptions risky. Use these answers to prepare questions for your installer and confirm the requirements in the manuals supplied with your own equipment.
Does every tiny house need a thermal expansion tank?
No. The need depends on the heater, plumbing arrangement, applicable requirements, and approved expansion-control method. A closed supply serving a storage heater needs particular attention. Have the installer identify one-way devices and check the heater instructions before deciding that a tank is unnecessary simply because the home is small.
Can a pump accumulator replace an expansion tank?
Do not assume it can. A pump accumulator is selected primarily to manage pump cycling and flow, while thermal expansion protection must accommodate heated water under the system’s operating conditions. Its suitability depends on ratings, usable capacity, and location. Have the manufacturer or installer confirm the proposed use.
Is a two-gallon expansion tank enough?
It may be, but the nominal size alone cannot answer that question. The water-heater volume, temperature change, supply pressure, and allowed pressure rise determine the selection. Use the specific manufacturer’s sizing chart or calculation and check its assumptions. A larger heater or changed pressure can require a different choice.
Should the tank be installed before the check valve?
The expansion tank generally belongs on the heater side of the check or backflow valve, connected to the cold-water supply serving the heater. Otherwise, the valve can block expanding water from reaching it. Follow the manufacturer’s piping diagram and have any service isolation arrangement reviewed before the system operates.
Does a dripping relief valve mean the expansion tank failed?
It is one possibility, not a complete diagnosis. Excess incoming pressure, overheating, a valve problem, or inadequate expansion capacity can also cause discharge. Record when the drip occurs and arrange professional checks. Never cap the outlet or disable the relief valve to stop water from reaching the floor.