Tiny house plumbing access panels should sit directly in front of every valve, trap, filter, pump, heater connection, or other component that may need inspection or repair. Make each opening large enough for tools and both hands, keep it reachable after furniture is installed, and preserve any required air, moisture, or fire barrier.
Table of Contents
Where tiny house plumbing access panels matter most
Prioritize components that move, clog, leak, need adjustment, or have a service interval. The most useful locations are behind shower controls, below sinks, near water pumps and filters, at water-heater connections, and in front of required drain cleanouts. A removable panel is inexpensive insurance against destructive repairs later.
Start with a plumbing map before wall finishes go up. Mark every shutoff valve, union, trap, cleanout, pump strainer, pressure regulator, filter housing, check valve, winterizing connection, and water-heater service point. Then ask a practical question: could someone see the part, reach its fastener, remove it, and reconnect it without cutting a wall?
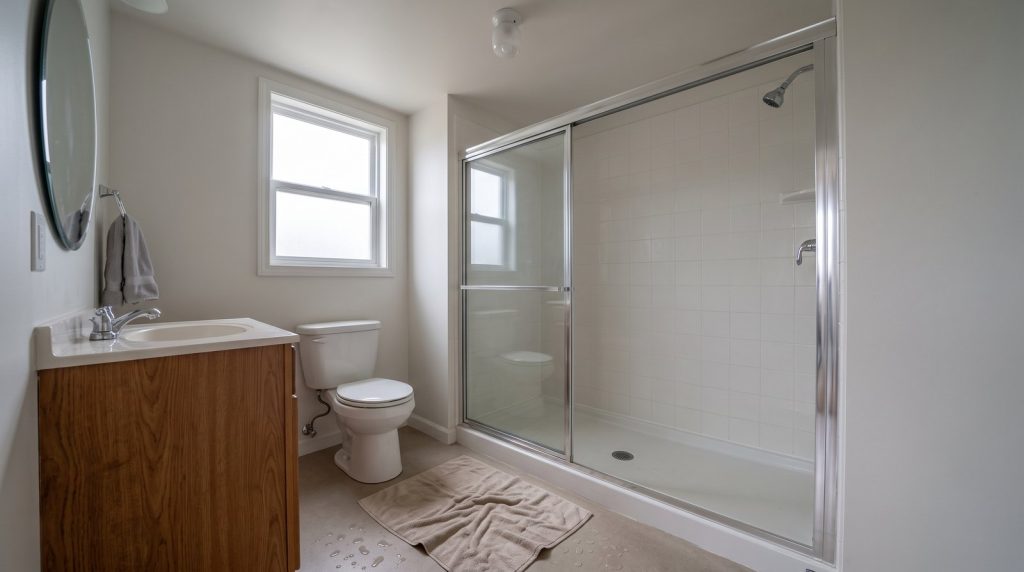
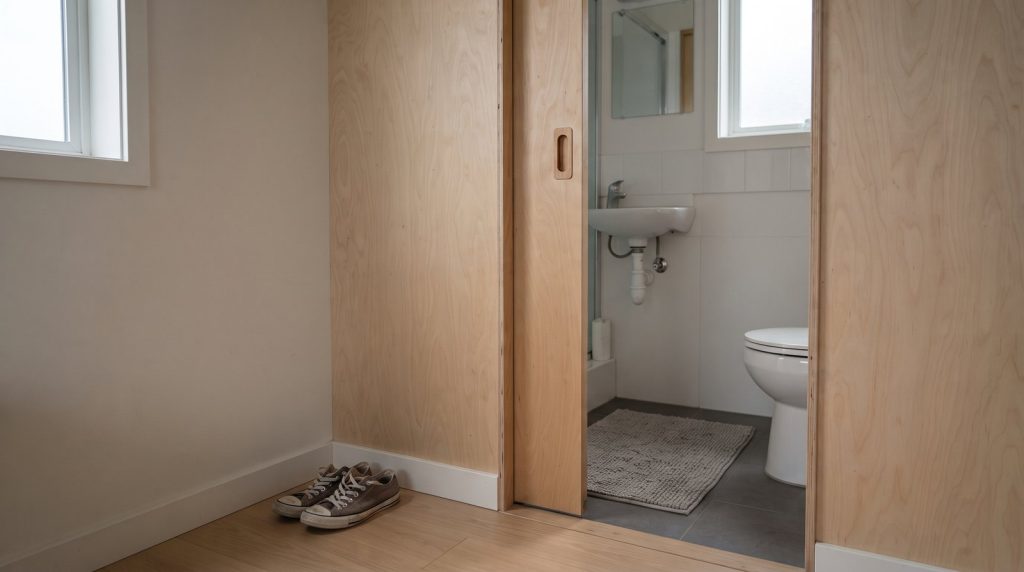
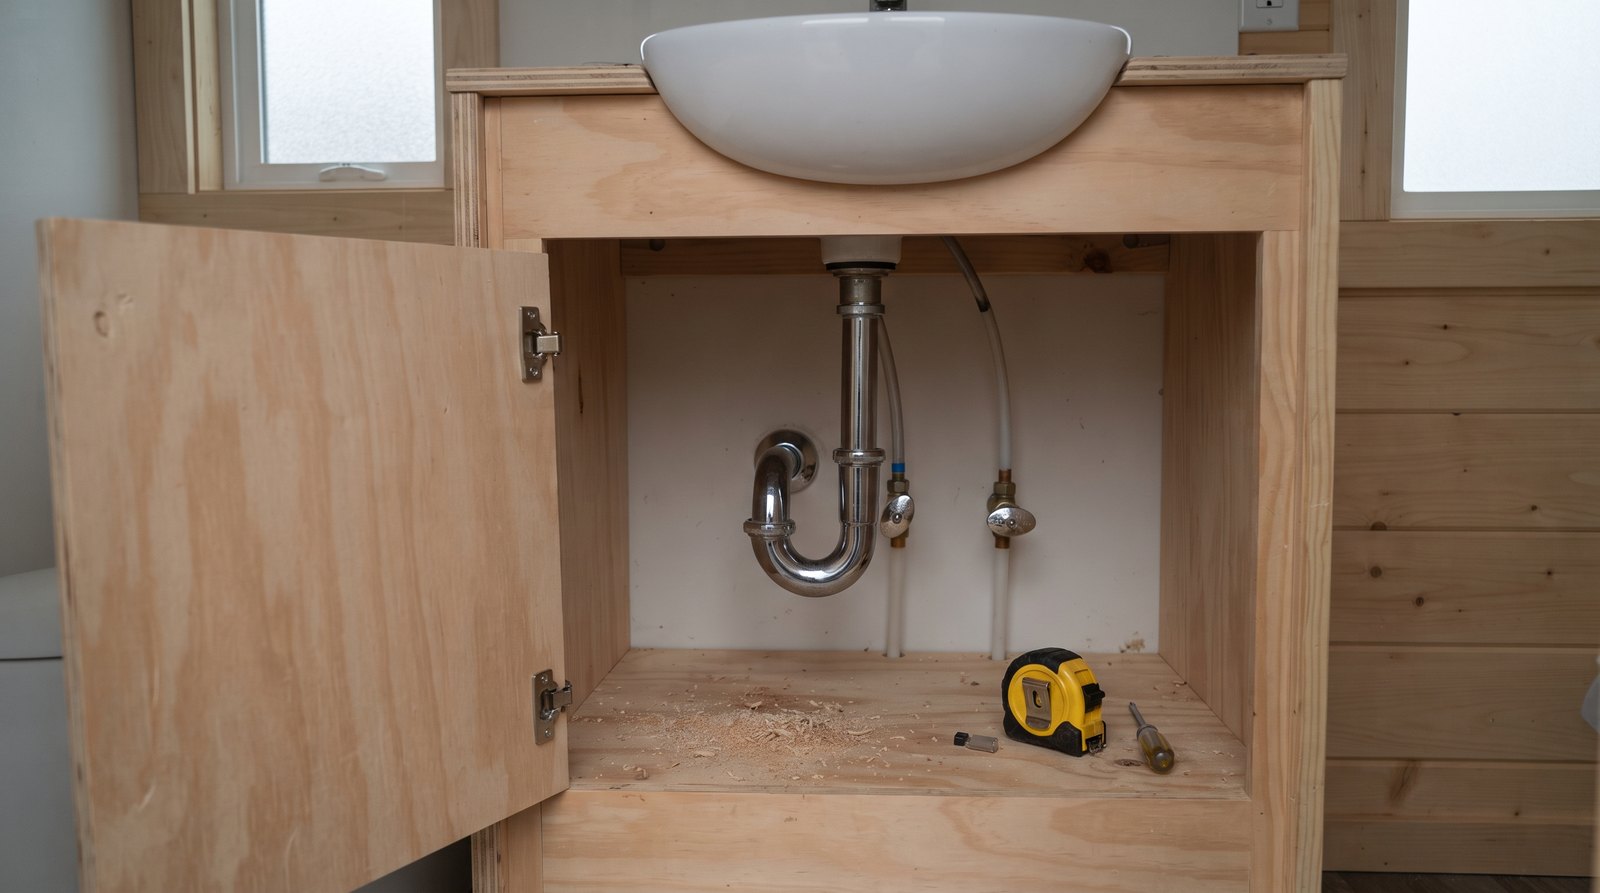
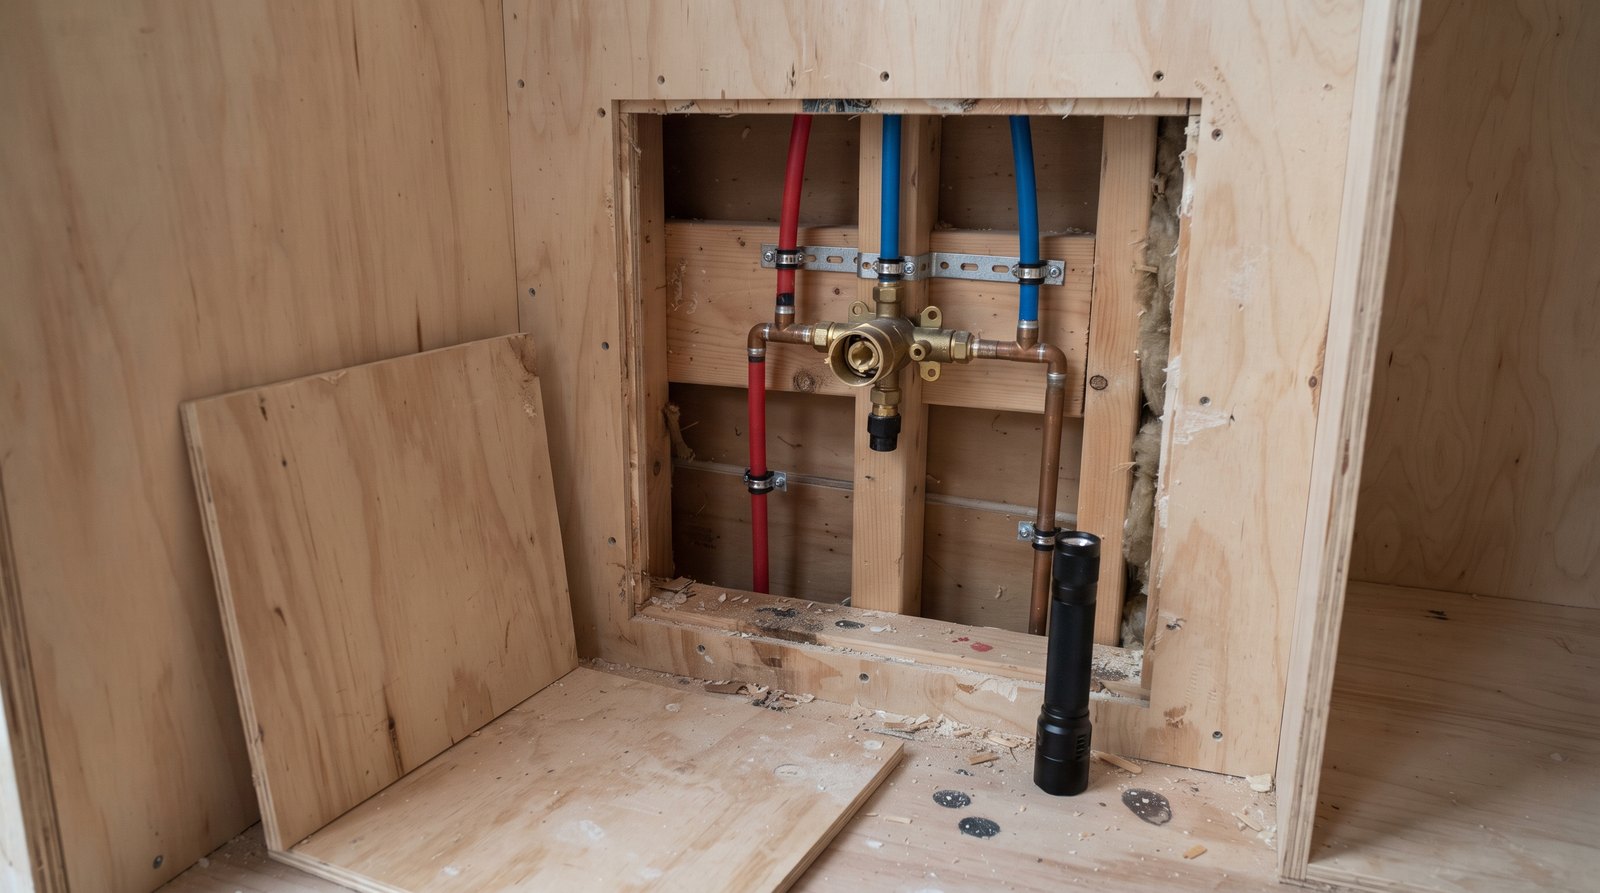
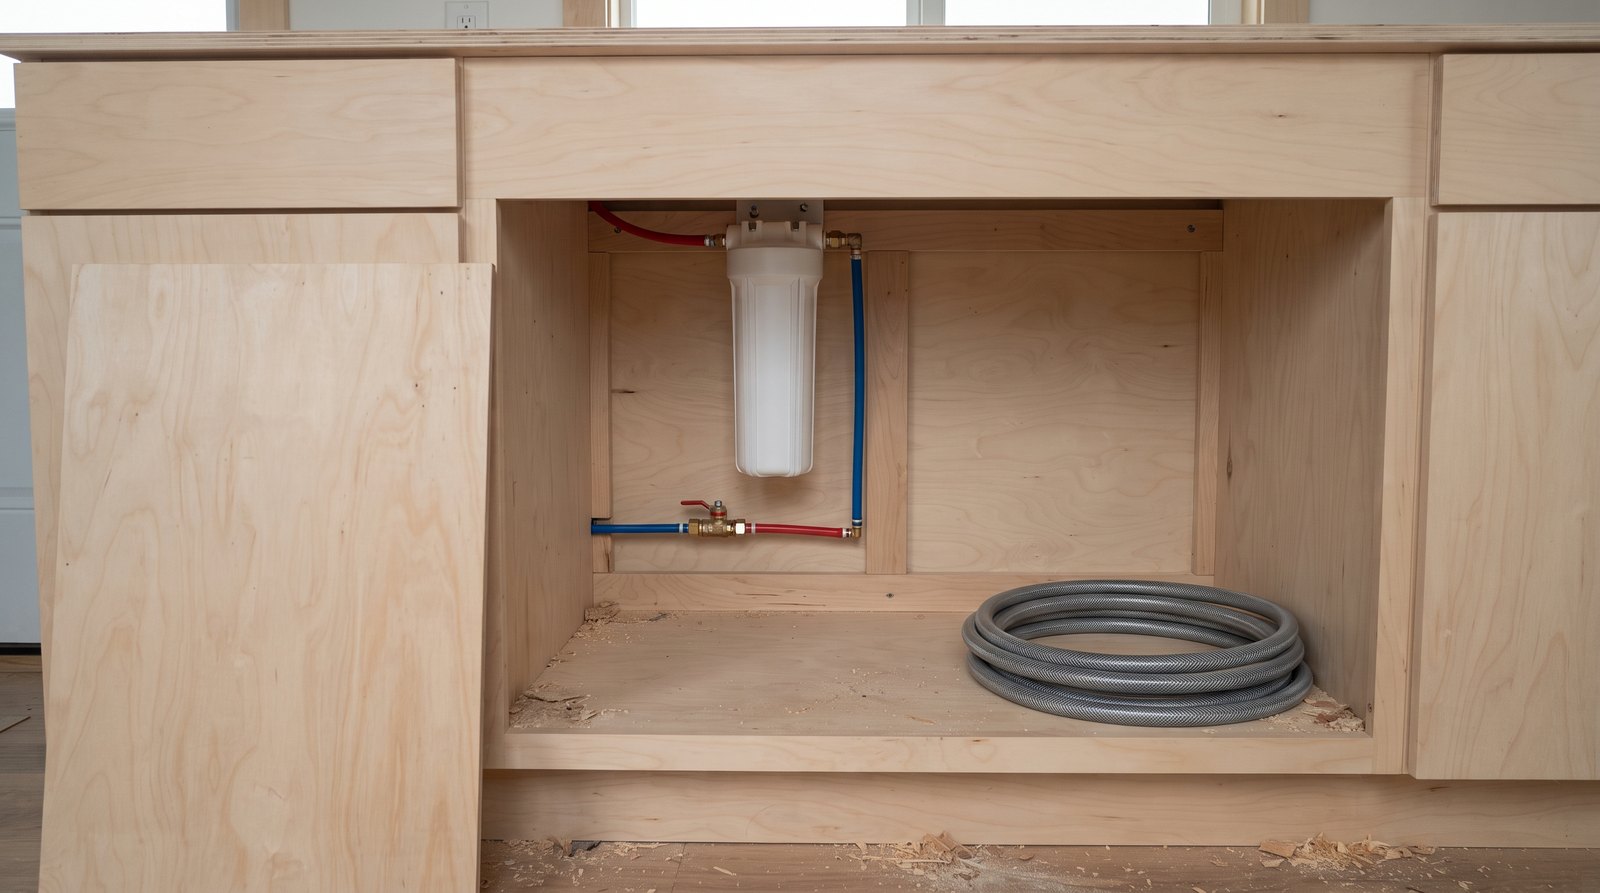
Under-sink plumbing is often already accessible through a cabinet door, but a tight vanity can still block the trap or shutoffs. A rear or side panel can create a straighter tool path. For a shower mixing valve, place the opening on the dry side of the wall whenever possible. A closet, hallway cabinet, or removable built-in panel is usually easier to seal and maintain than an opening inside the wet area.
Do not assume every concealed fitting needs a panel. Some listed pipe connections may be concealed when installed exactly as their system permits. For example, the current Uponor PEX design and installation manual says its ProPEX connections can be placed behind wall coverings, while mechanical or operating components still need access. The pipe system, fitting type, product listing, and locally adopted code control.
- Quick answer by situation:
- Shower valve: Put a panel directly behind the valve on a dry interior wall, sized for the cartridge, stops, and connection work.
- Sink or vanity: Keep the trap and shutoffs visible through the cabinet, or add a side or rear opening if the cabinet frame blocks tools.
- Water pump or filter: Allow room to remove the strainer bowl or filter housing downward without moving the whole cabinet.
- Water heater: Preserve every manufacturer service clearance and make drain, relief, shutoff, and connection points reachable.
- THOW utility chase: Use positively secured panels that cannot shake loose in transit, and check them after every move.
How large should a plumbing access panel be?
Size the opening around the job, not just the visible component. The panel should expose fasteners, connection points, service stops, and the path needed to remove the largest replaceable part. A neat six-inch door may reveal a valve, yet still be useless if a cartridge tool or wrench cannot approach it squarely.
Mock up the opening before closing the wall. Hold the trim, cabinet, shelf, or appliance in its final position. Reach through the proposed opening with the actual wrench, filter wrench, screwdriver, or basin tool. Check whether the serviced component must move sideways, forward, or downward. A filter bowl often needs several inches below it, while a pump may need room to slide out with hoses attached.
Code requirements can establish a minimum for a particular condition. The 2024 International Plumbing Code, for example, calls for access to concealed slip-joint connections through an access panel or utility space at least 12 inches in its smallest dimension, or another approved arrangement. That does not automatically govern every tiny house or every connection. Your jurisdiction may use a different code edition, amend it, or classify a movable tiny house differently.
Shower-valve instructions can be more specific than a general rule. Some manufacturers recommend rear access, and certain digital or multi-outlet systems call for defined panel dimensions and orientations. Read the exact installation sheet before framing. The panel should also expose integral service stops if the valve includes them, so routine cartridge work does not require shutting down the entire home.
Choose a panel, frame, and fasteners that stay serviceable
Use a panel system suited to the finish and frequency of access. Hinged plastic or metal doors work well for regular service. A painted plywood panel with screws and finish washers can disappear into cabinetry. Magnetic or friction-fit covers are convenient in stationary homes, but a towable tiny house usually needs a positive latch or screws.
For drywall, a purpose-made flange panel gives a clean perimeter and avoids crumbling edges. In wood paneling or cabinet work, frame the opening with solid blocking so repeated screw removal does not chew up thin finish material. Threaded inserts, captive nuts, or durable cabinet latches are worth considering when a pump strainer or filter needs frequent attention.
A removable panel should come off without damaging caulk, paint, wallpaper, or adjacent trim. Do not bridge the seam with brittle joint compound. Use a deliberate shadow line, thin applied trim, or a paintable door designed for the wall finish. Label the back of the panel rather than its visible face, noting the component, shutoff direction, filter size, or winterizing sequence.
Keep fasteners away from pipes and wires. Before driving any screw, verify the framing and service route behind it. Use short fasteners where the wall cavity is shallow, and install nail plates or other protection where required. A screw that holds the panel securely but punctures a supply line defeats the whole purpose.
Protect air, moisture, and fire-control layers
An access opening must not become a permanent leak in the building enclosure. When a panel interrupts an exterior-wall, floor, ceiling, or utility-chase air barrier, use compatible gaskets, blocking, and sealants around the framed opening. In a rated assembly, use a listed solution approved for that exact wall or ceiling condition.
The U.S. Department of Energy advises air-sealing plumbing penetrations through walls, ceilings, and floors because gaps can move conditioned air and moisture into cavities. A removable door in an air-control layer can use compressible weatherstripping and mechanical fasteners that pull it evenly against the gasket. Seal the fixed frame to the surrounding air barrier, but do not glue the service door shut.
Keep water management separate from service access. Behind a shower, the wet-side waterproofing system must remain continuous according to its instructions. Whenever possible, locate the panel on the opposite, dry side. Do not cut a tile backer, membrane, pan, or shower enclosure merely to create convenient access unless the complete waterproofing system specifically supports that detail.
Fire-resistance is another special case. A standard plastic panel is not a substitute for a listed fire-rated access door. If the wall or ceiling separates a garage, dwelling unit, protected shaft, mechanical space, or another regulated area, identify the assembly before cutting. The panel, frame, fasteners, latching, orientation, and installation method may all matter. Confirm the proposed product and detail with the building official.
Plan for furniture, travel vibration, and future changes
A panel is useful only when the finished tiny house leaves it reachable. Draw furniture, appliances, shelves, stairs, and storage bins on the plumbing plan before choosing the opening. In a tiny house on wheels, add travel restraint, abrasion protection, and a post-move inspection routine for panels and the components behind them.
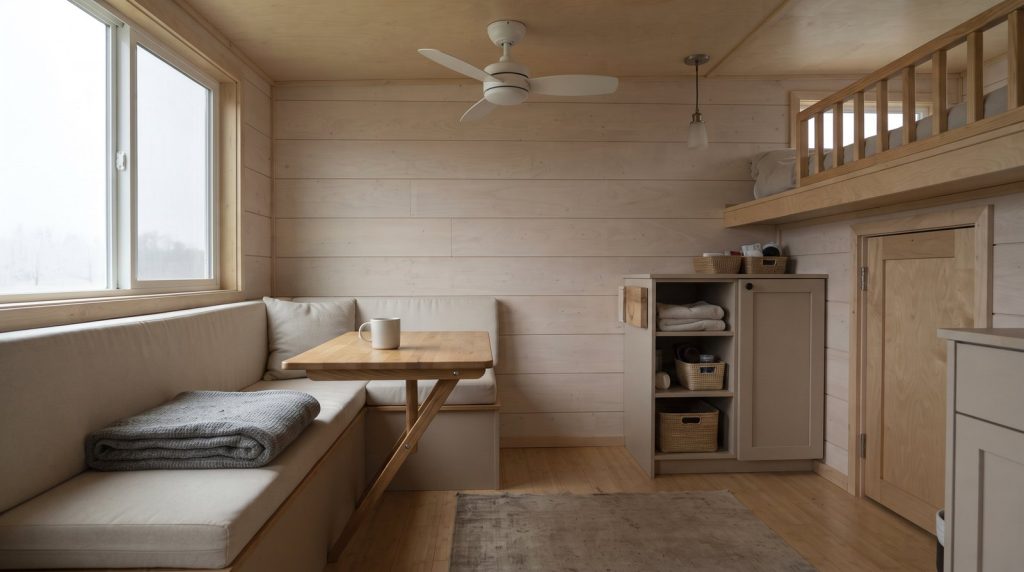
Built-ins cause many access failures. A shower valve may be reachable during framing, then disappear behind a wardrobe. A pump may sit under a bench whose cushion lifts, but the plywood seat may still block removal. Make a service sequence on paper: remove cushion, release latch, lift panel, close valve, place drain pan, and extract component. If any step needs demolition, redesign it.
For a THOW, secure every access cover with screws, a positive cabinet latch, or another travel-rated restraint. Magnets alone can release on rough roads. Provide strain relief and support for pipes near pumps, filters, and heaters so the panel does not become the only thing preventing movement. After towing, check for rubbing, loose fittings, dampness, and displaced insulation before restoring full water pressure.
Access planning also supports long-term ownership. Systems will change, replacement parts will have different shapes, and a future technician will not know what sits behind each wall. Photograph open cavities before closing them, measure each component from fixed reference points, and store the plumbing map with appliance manuals. Thoughtful service access is one reason a well-built home can achieve the durability discussed in how long tiny houses last.
Retrofit steps and realistic 2026 costs
A simple retrofit usually means locating the component, checking for hidden utilities, cutting a controlled opening, adding blocking, installing the door, and restoring the enclosure layer. Basic panels are inexpensive, but labor, tile, waterproofing, cabinetry, or a rated assembly can make the finished job cost much more than the door itself.
Begin with the fixture manufacturer diagram, construction photos, a stud finder that can detect live wiring, and cautious inspection holes. Shut off water and power where relevant. Cut shallow passes so a tool cannot reach the pipe cavity at full depth. Once the opening is visible, add framing without stressing pipes, then test the panel through several removal cycles.
Current retail examples show why material alone is a small part of the budget. Basic 14 by 14-inch plastic panels are commonly listed around $14 to $27, while painted metal versions are often roughly $32 to $84. Fire-rated or exterior models can run from about $97 to $200 before installation. Prices vary by size, location, stock, and listing, so treat these as planning ranges rather than bids.
A cabinet-grade plywood cover may cost less in materials but take longer to fit and finish. Professional labor can dominate when the technician must move an appliance, protect tile, rebuild trim, or verify a rated assembly. Get a written scope that states whether patching, painting, waterproofing, and permit or inspection work are included.
Do not choose a smaller panel merely to save a few dollars. One avoided wall repair can pay for several proper doors. The same maintenance-first thinking applies to other ownership costs, including tiny house insurance and the precautions described in our guide to moving a tiny house.
Inspection and maintenance checklist
Inspect each access area at least seasonally, before freezing weather, and after moving a THOW. Look for moisture, corrosion, abrasion, loose supports, pests, damaged gaskets, and stiff valves. Exercise accessible shutoffs carefully, follow equipment maintenance instructions, and correct small leaks before closing the panel again.
Use a flashlight and dry paper towel to check connections. Water tracks can travel along tubing, so inspect above the first damp spot. Confirm that filter housings remain removable, pump strainers can open, and drain pans or leak sensors have not shifted. Never ignore staining, a musty smell, swollen wood, or repeated pump cycling.
Keep panel screws and latches in good condition. Replace stripped holes with a durable repair such as a threaded insert or properly sized fastener in sound blocking. Renew compressible gaskets when they no longer make even contact. Do not seal a recurring leak behind fresh caulk and close the door. Find and repair the source.
Frequently asked questions
Do all plumbing fittings need an access panel?
No. Some listed piping connections may be concealed when the product instructions and adopted code allow it. Operating parts, serviceable components, required cleanouts, and certain concealed connections still need access. Verify the exact fitting system, fixture instructions, local code edition, and inspector expectations before closing the wall.
What is the best size for a shower valve access panel?
The best size exposes the valve body, service stops, pipe connections, and cartridge-removal path with room for both hands and the required tools. A 12-inch minimum applies to certain concealed slip-joint situations under the 2024 IPC, but the shower-valve manufacturer or local authority may require a different opening.
Can a plumbing access panel be inside a shower?
It is usually better to place shower-valve access on the dry side of the wall. An opening inside the wet area complicates waterproofing and can create a leak path. If no dry-side location exists, use a detail specifically accepted by the waterproofing-system manufacturer and the local building official.
How do I keep an access panel from rattling during travel?
Use solid perimeter blocking, a compressible gasket, and positive fasteners or latches that cannot release under vibration. Avoid relying on loose friction clips or magnets alone. Before each move, confirm the panel is secured. After arrival, inspect the cover, nearby pipes, supports, and fittings for movement or abrasion.
How much does a tiny house plumbing access panel cost?
In 2026, common basic panels often cost about $14 to $54, with metal, fire-rated, exterior, or specialty models costing more. Installation varies widely because cabinetry, tile, waterproofing, air sealing, and rated construction can dominate the job. Request a local quote for anything beyond a simple drywall opening.