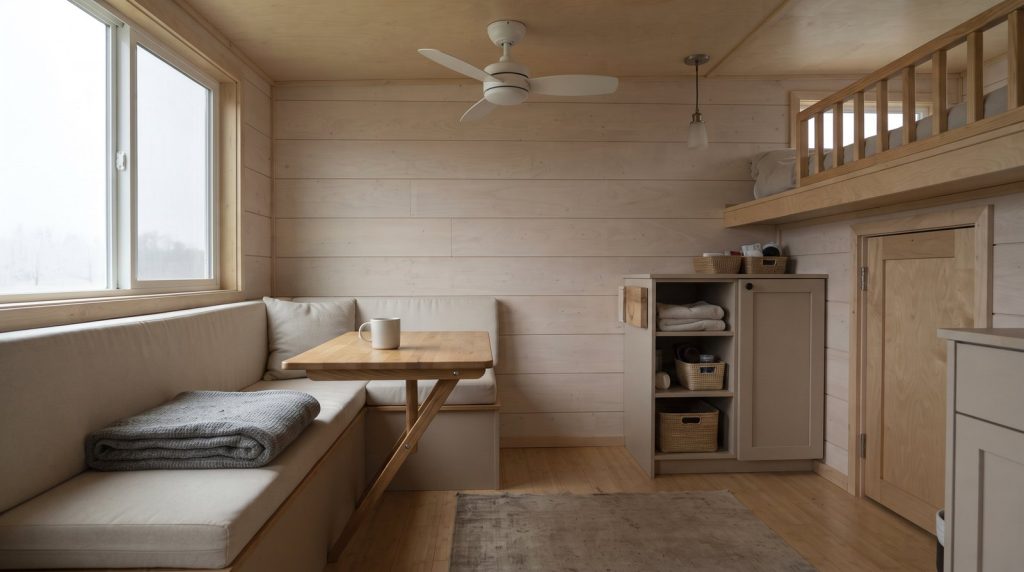
Tiny house interior trim should be compact, durable, and easy to remove where utilities need service. Use low-profile baseboards and casings, allow wood and flooring to move, fasten into solid backing, and keep wet areas protected. A simple trim plan usually looks better and survives travel better than elaborate layered molding.
Table of Contents
Plan the trim before cabinets and finish flooring
The best time to plan tiny house interior trim is before cabinets, wall panels, doors, and flooring are finalized. Draw every baseboard, casing, sill, corner strip, and transition on the interior elevations. This exposes tight clearances early and keeps trim from blocking drawers, vents, access panels, or folding furniture.
Start with a room-by-room trim schedule. Record the material, width, thickness, finish, fastening method, and whether each piece must be removable. Mark changes in floor material, wall thickness, and ceiling height. In a small house, even a half-inch projection can affect a pocket door, refrigerator panel, stair drawer, or bathroom aisle.
Decide which surface establishes the finished line. Baseboard normally follows the finished floor, while door and window casing follows the jamb. Cabinet fillers should meet trim cleanly rather than forcing a thin sliver between parts.
Foundation tiny homes can generally use ordinary residential detailing. A tiny house on wheels needs the same clean layout plus stronger attention to backing, light weight, removable service points, and movement during transport. The finish instructions, wall and floor assemblies, structure, local requirements, and expected travel conditions control the final detail.
Choose the right material for each location
No single trim material is best everywhere. Primed MDF is smooth and economical in dry rooms, finger-jointed pine is lighter and holds fasteners well, solid wood suits stained interiors, and moisture-resistant composite trim can help near splashes. Match the material to water exposure, finish, weight, repairability, and expected movement.
Quick answer by situation
- Dry painted living area: Primed MDF or finger-jointed pine keeps the cost reasonable and is easy to paint.
- Stained wood interior: Use stable, dry solid wood from the same species or a visually compatible species.
- Bathroom or entry: Use sealed wood, exterior-rated finger-jointed material, or a compatible moisture-resistant composite.
- Frequently moved THOW: Favor light profiles, solid fastening, short practical joints, and pieces that can be replaced.
- Utility access: Use screwed or clipped removable trim instead of permanently gluing the service path shut.
MDF paints cleanly, but exposed edges readily absorb water and swell. It is a poor choice at a shower curb, wet-room floor, or entry that regularly sees soaked boots unless the product is specifically rated and every cut edge is sealed. Solid wood handles localized dents and later repairs better, although it changes dimension as indoor humidity changes.
The USDA Forest Products Laboratory explains that wood exchanges moisture with the surrounding air and changes dimension as its moisture content changes. That is why trim should be dry and conditioned to the house before installation. Bringing cold, damp boards inside and fastening them immediately can produce open joints or buckling after the house reaches normal indoor conditions.
Keep baseboards and casings proportional
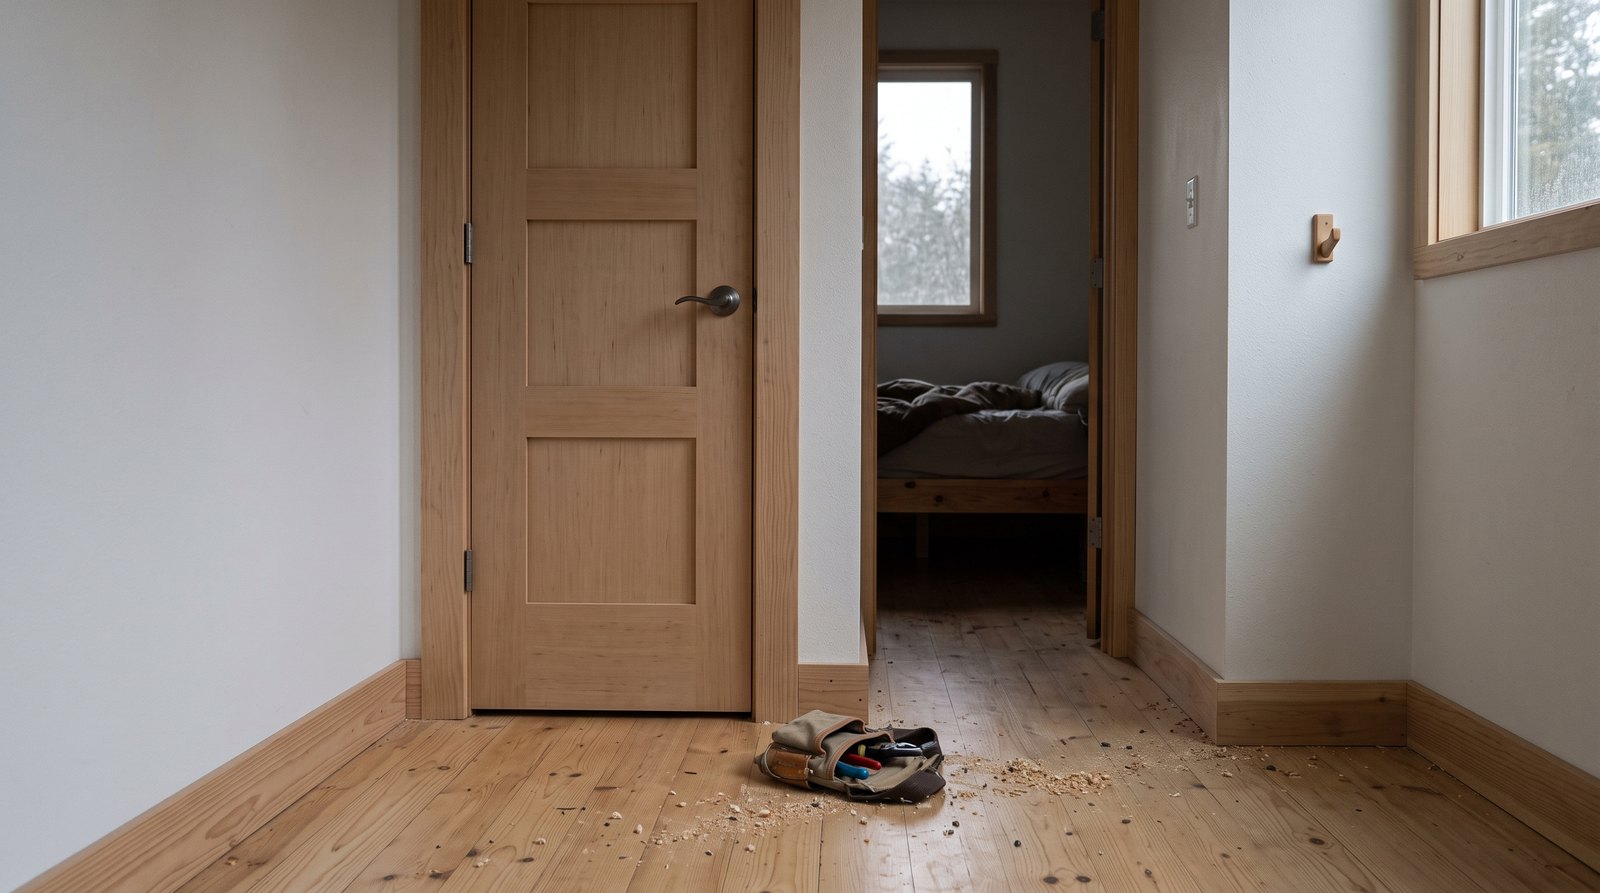
Low-profile trim usually makes a tiny interior feel calmer and preserves useful clearance. Baseboards around 2 1/2 to 3 1/2 inches high and door or window casings around 1 3/4 to 2 1/2 inches wide are practical starting points, but the wall system, jamb depth, flooring, and design still decide the final size.
A simple square-edge board often works better than an ornate profile. It is easier to scribe, easier to repair, and less likely to collect dust. A thickness of about 3/8 to 5/8 inch is common for compact baseboards and casings. Verify that the chosen thickness clears door hinges, cabinet faces, outlet covers, window cranks, and any sliding hardware.
Maintain a consistent reveal where casing meets a door or window jamb. A reveal of roughly 1/8 to 3/16 inch gives the installer a straight reference and keeps the casing away from the irregular outer edge of the jamb. Use a sample block to mark it instead of measuring every point independently.
Allow for floor, wall, and wood movement
Trim should cover required movement gaps without pinning the moving material. Floating floors need their manufacturer-specified perimeter clearance, wood trim needs room for seasonal moisture change, and long composite runs may need temperature allowances. Attach baseboard to the wall, not through a floating floor, unless the flooring instructions specifically allow it.
Do not fill the flooring expansion space with hard compound. The baseboard or shoe molding should bridge over it while allowing the floor to move beneath. If a wall is too uneven for the baseboard to cover the gap, correct or scribe the wall-side edge rather than forcing the floor tight.
Wall panels and framing can also shrink as they dry. Leave the clearances required by the panel and finish manufacturers. A flexible paintable sealant can disguise a small wall-to-trim joint, but it should not be used to defeat a designed expansion space.
Fasten trim into dependable backing
Reliable fastening begins with known backing, not with longer nails fired blindly into a thin wall. Mark studs and blocking before wall panels go up, then photograph the layout. Use appropriately sized finish nails, brads, trim screws, or removable clips based on the trim thickness, substrate, utility location, and product instructions.
Baseboard generally needs fasteners into studs, plates, or installed backing. Door and window casing can fasten partly to the jamb and partly to wall framing, which helps keep the joint stable. Keep fasteners back from board ends to reduce splitting, and predrill hardwood or narrow pieces when necessary.
Before driving a fastener, confirm the path of electrical cable, plumbing, propane lines, and control wiring. Shallow service cavities are common in tiny houses. Nail plates and protective routing details must remain intact, and fastener length should be chosen from the actual assembly rather than habit.
Use caulk and filler for different jobs
Use filler for stable holes and surface defects, and use flexible sealant for narrow joints that may move. Wood filler or glazing putty can hide nail holes before paint. Paintable elastomeric caulk can close a small trim-to-wall gap. Neither product should conceal a leak, replace a structural joint, or block required movement.
Fill and sand fastener holes only after the trim is secure. For stained work, test the filler on scrap because many fillers absorb stain differently from surrounding wood. A color-matched wax repair stick is often less visible for a small finished defect.
Caulk is not a waterproofing system. Shower and wet-bath assemblies require their listed membranes, drains, sealants, and transitions behind or beneath finish trim. If staining, swelling, or soft material appears, find and correct the moisture source before cosmetic repair.
Make utilities and hidden spaces serviceable
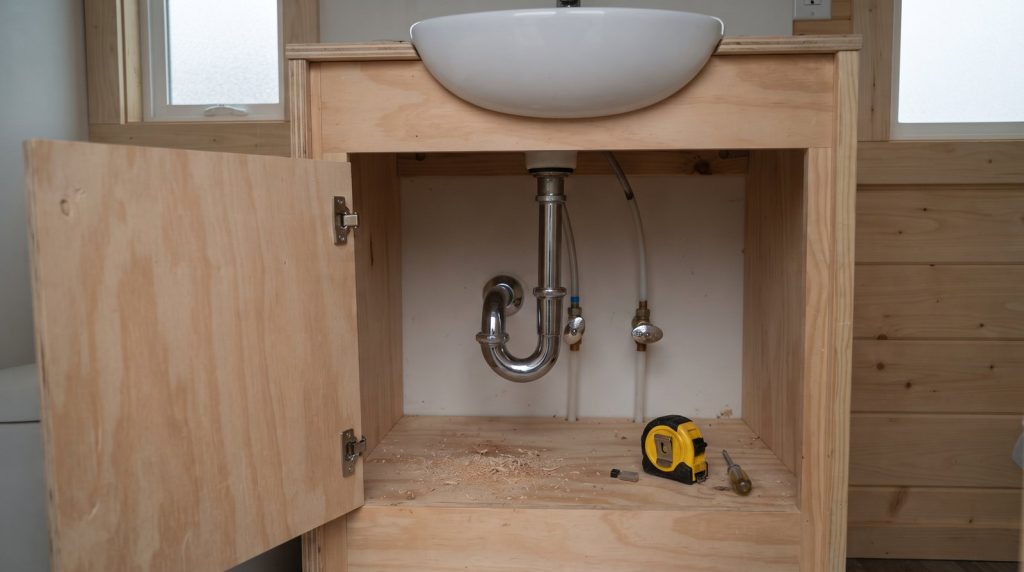
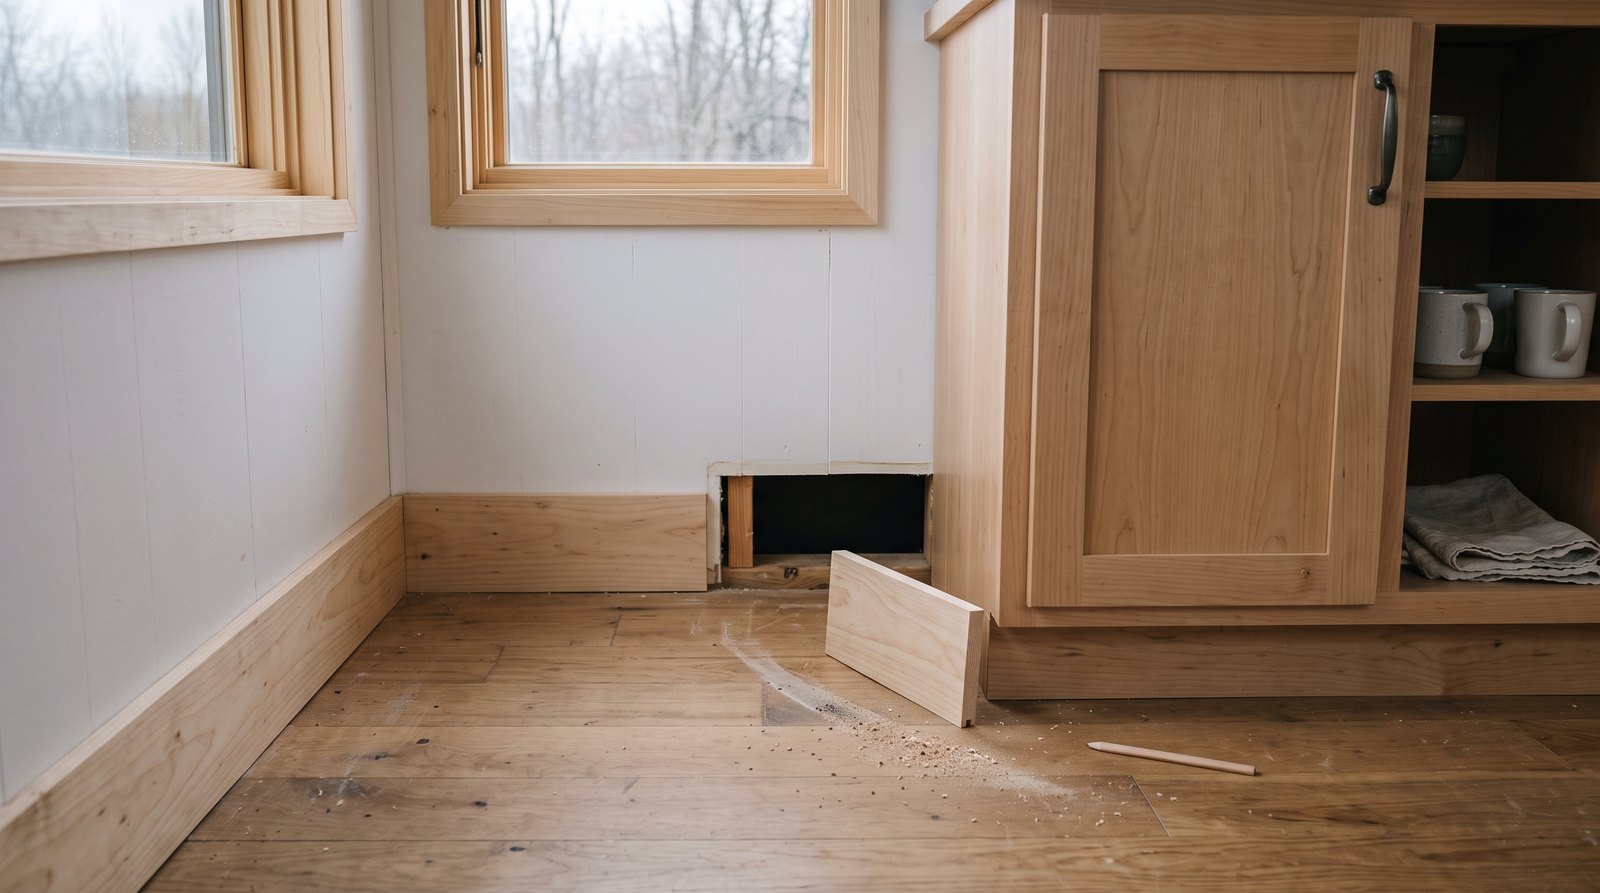
Any trim covering a shutoff, trap, pump, filter, electrical junction, trailer fastener, or inspection point should be intentionally removable. Use labeled drawings, concealed screws, magnetic catches, or clips that remain secure in normal use. A clean reveal around the removable piece makes it look planned instead of like a later patch.
A removable baseboard section can hide a low service chase, but the chase must still protect cables and pipes from fasteners. Place the screw locations in solid blocking outside the utility path. Keep a simple diagram with dimensions from a fixed corner so a future owner can find the section without prying at every board.
For more service-planning detail, see the guide to tiny house plumbing access panels. Coordinating trim with access panels before construction prevents awkward cuts and preserves a continuous visual line.
Detail a THOW for travel vibration
A tiny house on wheels needs trim that can tolerate repeated vibration, small frame movement, and occasional impact. Use solid backing, avoid fragile projections, secure removable pieces with positive latches, and inspect joints after the first trips. Travel loads vary widely, so the trailer design, house structure, route, and transport preparation remain controlling factors.
Long uninterrupted trim can telegraph movement. Practical joints at doorways, cabinets, and inside corners make isolated repair easier. Cope or butt inside corners according to the material and finish, and use glued miters cautiously where seasonal change or chassis movement can open them.
Before travel, latch access trim, remove loose decorative pieces, and check that no board can fall into an aisle or strike glass. After travel, inspect corners, fasteners, caulk lines, and areas beside heavy cabinets. A new crack may be cosmetic, but repeated opening can indicate inadequate backing or movement elsewhere in the assembly.
Insurance and classification can also influence repair documentation after a loss. Keep dated construction photographs, material records, and transport inspection notes. The overview of tiny house insurance costs and coverage explains why build records matter when discussing a THOW with an insurer.
Budget realistic 2026 trim costs
For a compact tiny house, a practical 2026 planning allowance is about $250 to $900 for trim materials, fasteners, fillers, sealants, primer, and paint. A professionally installed package may total roughly $900 to $3,000 or more. Material choice, stained finishes, complex corners, local labor, and repair work can change the price substantially.
- Basic painted package: Budget about $1 to $4 per linear foot for common trim material, plus finish supplies and waste.
- Stained solid wood: Budget roughly $4 to $10 or more per linear foot, depending on species, grade, milling, and finish.
- Hardware and consumables: Allow $75 to $250 for fasteners, adhesive where appropriate, caulk, filler, abrasives, and touch-up materials.
- Labor: Get local quotes. Small jobs can carry minimum charges, and a tiny interior often has more cuts per linear foot than a conventional room.
Measure every run and buy enough extra for defects, test cuts, and future repairs. Ten percent waste may work for simple square rooms. Complex casings, many short returns, matched grain, or a first-time installer may justify 15 to 20 percent. Save labeled offcuts for later patches.
Install in a repair-friendly sequence
Install trim only after wet work has dried, flooring conditions are stable, and doors, windows, and cabinets have been tested. Finish samples first, cut the least visible pieces before prominent ones, and preserve access to systems. A careful sequence reduces rework and leaves replaceable parts where tiny-house wear is most likely.
Acclimate material according to its manufacturer, verify moisture conditions, and reject bowed or damaged boards. Prime or seal vulnerable cut ends before installation, especially near floors and windows. Dry-fit each piece, confirm door and drawer operation, then fasten from the center or according to the material instructions.
Inspect the work after one heating and cooling season and, for a THOW, after early travel. Tighten only the fasteners designed to be tightened. Replace split pieces instead of hiding structural damage under filler. For a broader durability perspective, review how long tiny houses last and the maintenance choices that affect service life.
Tiny House Interior Trim FAQ
Tiny house trim questions usually come down to proportion, moisture, movement, access, and travel. The right answer depends on the exact wall, floor, window, door, and trailer assemblies. These short answers provide practical starting points, but product instructions, adopted codes, and the local inspector take priority where they apply.
What size baseboard is best in a tiny house?
A baseboard about 2 1/2 to 3 1/2 inches high often looks proportional and preserves clearance, but there is no universal size. Choose enough height to cover the flooring expansion gap and wall edge while checking cabinet doors, vents, stairs, and furniture. Mock up the profile before buying the full quantity.
Is MDF trim suitable for a tiny house?
MDF trim can work well in dry, painted rooms because it is smooth, stable, and affordable. Avoid ordinary MDF where wet boots, condensation, plumbing leaks, or shower spray are likely. Seal cut edges, follow the product instructions, and consider finger-jointed wood or moisture-resistant composite in vulnerable locations.
Should baseboard be nailed to the wall or floor?
Baseboard is normally fastened to wall framing or solid backing, not through a floating floor. This lets the flooring use its required perimeter movement gap. Fastener type and length depend on the wall assembly and hidden utilities, so verify the substrate and flooring instructions before fastening anything.
How do you keep tiny house trim from cracking during travel?
Use dry, stable material, solid backing, appropriate mechanical fasteners, and simple profiles with planned joints. Avoid trapping long runs between rigid surfaces, and latch removable pieces before transport. Inspect after early trips. Repeated cracks can indicate movement in the underlying assembly, not merely failed caulk.
How much does tiny house interior trim cost in 2026?
A straightforward DIY package often costs about $250 to $900 for materials and finish supplies. Professional installation may total about $900 to $3,000 or more. Stained hardwood, custom milling, many short corners, difficult access, travel-ready details, local labor rates, and minimum service charges can push the total higher.